
Halloween Brooches Free Crochet Pattern
- Elisa
- Sep 3, 2025
- 5 min read

Happy Wednesday my fellow crafters!
We’ve just stepped into September, and while Halloween is still a little ways off, it’s never too early to start on some fun seasonal projects!
I designed a set of three spooky-cute brooches – a Pumpkin, Frankenstein, and an Eye.
Today, I’m sharing the free patterns for two of them: the Pumpkin and the Eye!
These tiny accessories are quick to make, beginner-friendly, and a perfect way to add a playful touch to your fall wardrobe, bags, or even gift them as little party favors. The best part? They’re small projects that can be whipped up in no time and are great for using up yarn scraps.
And if you’d like to complete the trio, the full pattern (Pumpkin + Eye + Frankenstein) is available in my Etsy shop. It features more than 40 step-by-step pictures, schematics, and tips to help you along the way.
Happy crocheting!

***You can purchase a downloadable AD-FREE PDF of the pattern - 8 pages with more than 40 step-by-step pictures, and tips to guide you through the making process on Etsy HERE !
Here is what you need!
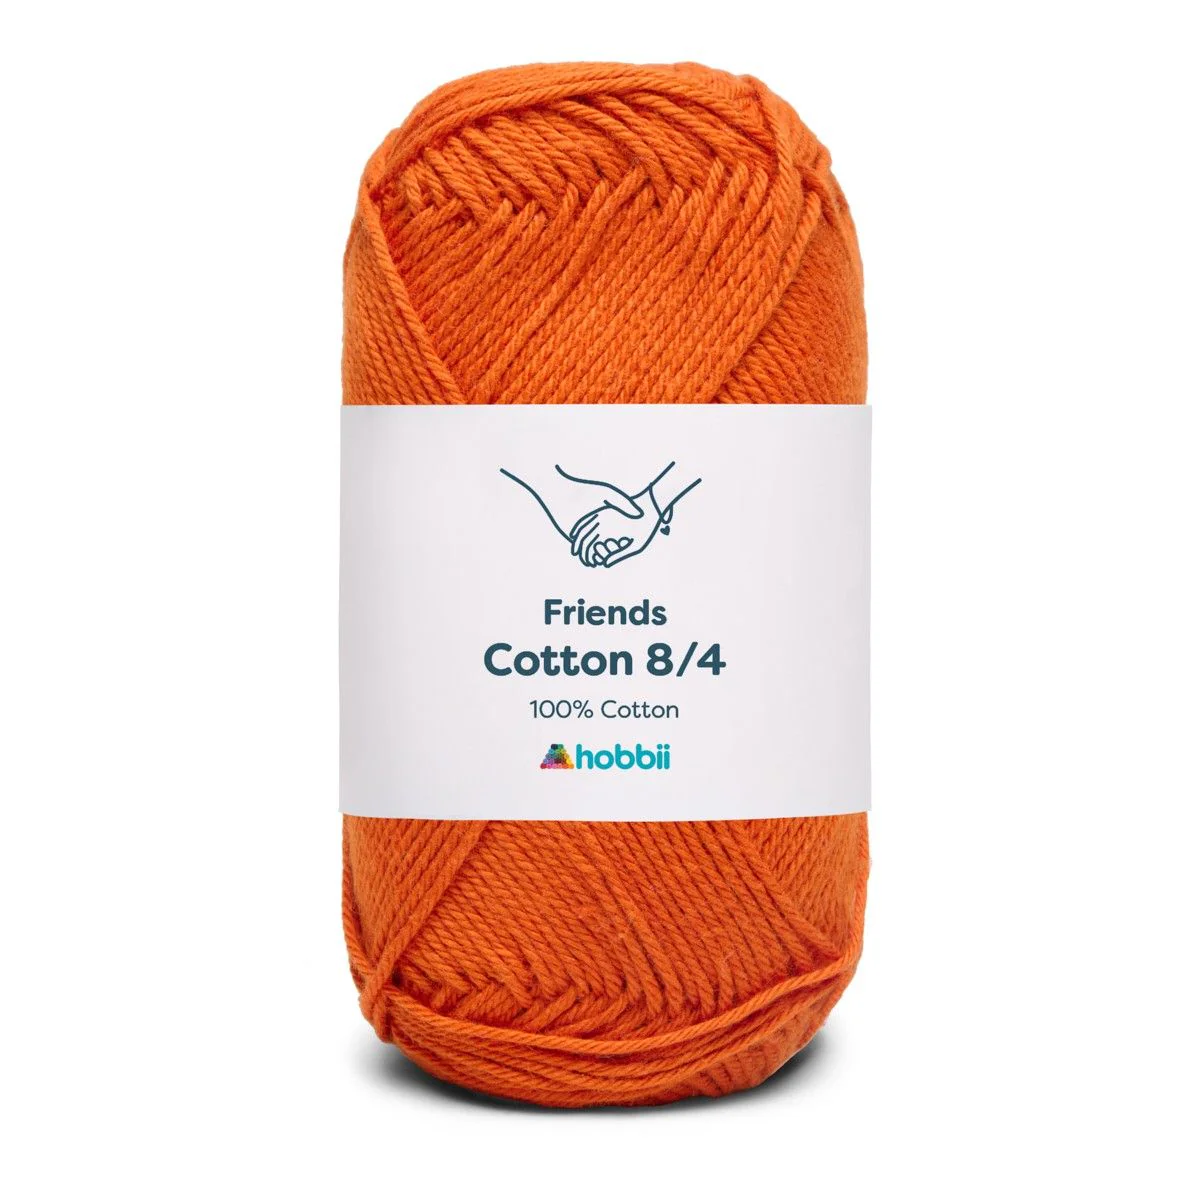
YARN
HOBBII® Friends Cotton 8/4
#16 Whisky 1 ball (A)
#124 Black 1 ball (B)
#114 Sage 1 ball (C)
#01 White 1 ball (D)
#118 Silver 1 ball (E)
Red Sewing Thread
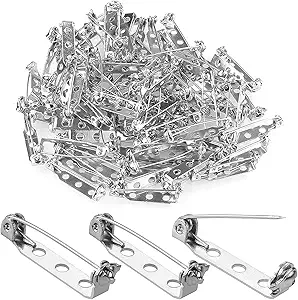
MATERIALS
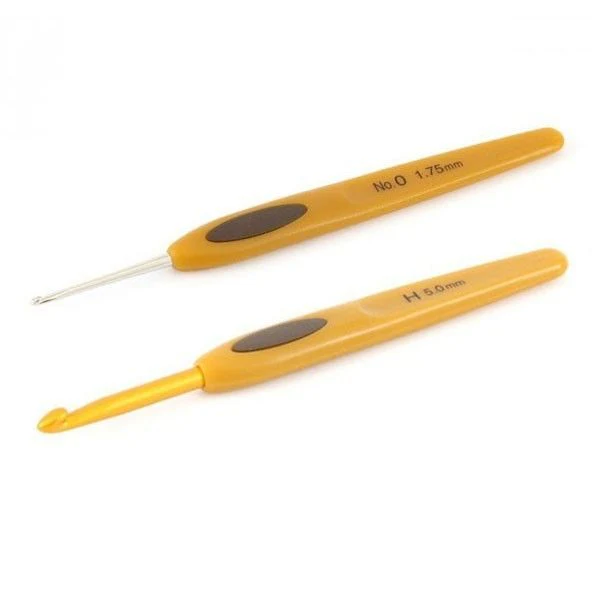
B– 2.25 mm Crochet Hook
Embroidery Needle
Brooch Pin Back Bases
DIMENSIONS
Approximately 3” (7.5 cm) in diameter
ABBREVIATIONS
chain (ch)
stitch (st)
slip stitch (sl st)
single crochet (sc)
half double crochet (hdc)
double crochet (dc)
spike double crochet (spk dc)
repeat (rep)
SKILL LEVEL
easy
Disclosure. Most blog posts on this website contain affiliate links. This means I get a small commission if you click-through & purchase (no additional cost to you).
PUMPKIN

FRONT PANEL
With A, make a magic ring.
Rnd 1: Work 7 sc in ring – 7 sc.
Rnd 2: 2 sc in each st around – 14 sc.
Rnd 3: (sc in next st, 2 sc in next st) rep around – 21 sc.
Rnd 4: (sc in next 2 sts, 2 sc in next st) rep around – 28 sc.
Rnd 5: Sl st in next st, sc in next st, hdc in next st, (2 dc in next st, dc in next st) rep 4 times, 2 dc in next st, hdc in next st, sc in next st, sl st in next st, sc in next st, hdc in next st, (2 dc in next st, dc in next st) rep 4 times, 2 dc in next st, hdc in next st, sc in next st – 38 sc.
Rnd 6: Sl st in next st, sc in next st, hdc in next st, (2 dc in next st, dc in next 2 sts) rep 4 times, 2 dc in next st, dc in next st, hdc in next st, sc in next st, sl st in next st, sc in next st, hdc in next st, dc in next st, (2 dc in next st, dc in next 2 sts) rep 4 times, 2 dc in next st, hdc in next st, sc in next st – 48 sc.
Fasten off and cut the yarn.
With B yarn embroider Eyes and Mouth.
BACK PANEL
With A, make a magic ring.
Rnd 1: Work 7 sc in ring – 7 sc.
Rnd 2: 2 sc in each st around – 14 sc.
Rnd 3: (sc in next st, 2 sc in next st) rep around – 21 sc.
Rnd 4: (sc in next 2 sts, 2 sc in next st) rep around – 28 sc.
Rnd 5: Sl st in next st, sc in next st, hdc in next st, (2 dc in next st, dc in next st) rep 4 times, 2 dc in next st, hdc in next st, sc in next st, sl st in next st, sc in next st, hdc in next st, (2 dc in next st, dc in next st) rep 4 times, 2 dc in next st, hdc in next st, sc in next st – 37 sc.
Rnd 6: Sl st in next st, sc in next st, hdc in next st, (2 dc in next st, dc in next 2 sts) rep 4 times, 2 dc in next st, dc in next st, hdc in next st, sc in next st, sl st in next st, sc in next st, hdc in next st, dc in next st, (2 dc in next st, dc in next 2 sts) rep 4 times, 2 dc in next st, hdc in next st, sc in next st – 48 sc.
Do not fasten off.
Place the front panel on top of the back one, so that sides match. With A yarn still on your hook, sl st through both layers all around.
Fasten off, cut the yarn and weave in ends.
STEM
With C, work in rows.
Row 1: Ch 5, sc in the 2nd ch from the hook, sc in next 3 chs – 4 sc; turn.
Row 2: Ch 1, sc in each st along – 4 sc; turn.
Row 3: Ch 1, sc in each st along – 4 sc.
With C yarn still on your hook, fold the stem and sl st through Rows 1 and 2 to join them.
Fasten off and leave a long tail to attach the Stem to the Pumpkin.
With A yarn sew brooch pin to back panel.
EYE

With B, make a magic ring.
Rnd 1: Work 6 sc in ring – 6 sc.
Rnd 2: 2 sc in each st around – 12 sc.
Rnd 3: With C, (sc in next st, 2 sc in next st) rep around – 18 sc.
Rnd 4: (sc in next 2 sts, 2 sc in next st) rep around – 24 sc.
Rnd 5: With D, (sc in next 2 sts, 2 sc in next st) rep around – 32 sc.
Rnd 6: (sc in next 3 sts, 2 sc in next st) rep around – 40 sc.
Rnd 7: Sc in each st around – 40 sc.
Fasten off and cut the yarn.
With D, embroider straight lines between Rnds 1 and 3 for white of Eye.
BACK PANEL
With B, make a magic ring.
Rnd 1: Work 6 sc in ring – 6 sc.
Rnd 2: 2 sc in each st around – 12 sc.
Rnd 3: (sc in next st, 2 sc in next st) rep around – 18 sc.
Rnd 4: (sc in next 2 sts, 2 sc in next st) rep around – 24 sc.
Rnd 5: (sc in next 2 sts, 2 sc in next st) rep around – 32 sc.
Rnd 6: (sc in next 3 sts, 2 sc in next st) rep around – 40 sc.
Rnd 7: Sc in each st around – 40 sc.
Do not fasten off.
Place the front panel on top of the back one, so that sides match. With D yarn still on your hook, sl st through both layers all around.
Fasten off, cut the yarn and weave in ends.
With red sewing thread, embroider short lines for Blood Vessels of the Eye.
With D yarn sew brooch pin to back panel.


I can't wait to see your version of my HALLOWEEN BROOCHES. Feel free to tag me (@elisascrochet) in your photos on Instagram or Facebook!
Elisa
This pattern is an original pattern by Elisa Sartori of Elisa's Crochet. Please do not claim this pattern as your own. If you wish to share this pattern, you may link to this pattern but please do not reprint it on your site. You may keep a copy for your own personal use but please DO NOT sell the pattern or distribute it.
You may sell products made from this pattern but please clearly credit the design to me, Elisa Sartori of Elisa's Crochet. Permission is NOT granted for mass production or factory manufacturing of any kind. Thank you!