
Polly the Opossum Free Crochet Pattern
- Elisa
- Jan 23
- 5 min read
Updated: Feb 25

Hello my fellow crafter!!
Meet Polly the Opossum, my newest crochet design and one of those projects that slowly grew a personality of its own. From her tiny fingers to her curious expression, Polly was designed to make you smile while you’re stitching.
This project came together with lots of attention to shaping and small features that bring Polly to life. Polly is a soft, tiny amigurumi! She's expressive without being complicated.
One of my favorite parts of the design is how the little fingers are worked, directly from the leg structure, giving them a natural and integrated look.

11 pages with 30+ step-by-step pictures, schematics, extra instructions, and stitch tips designed to guide you through every stage of the project with ease!
Here is what you need!

YARN
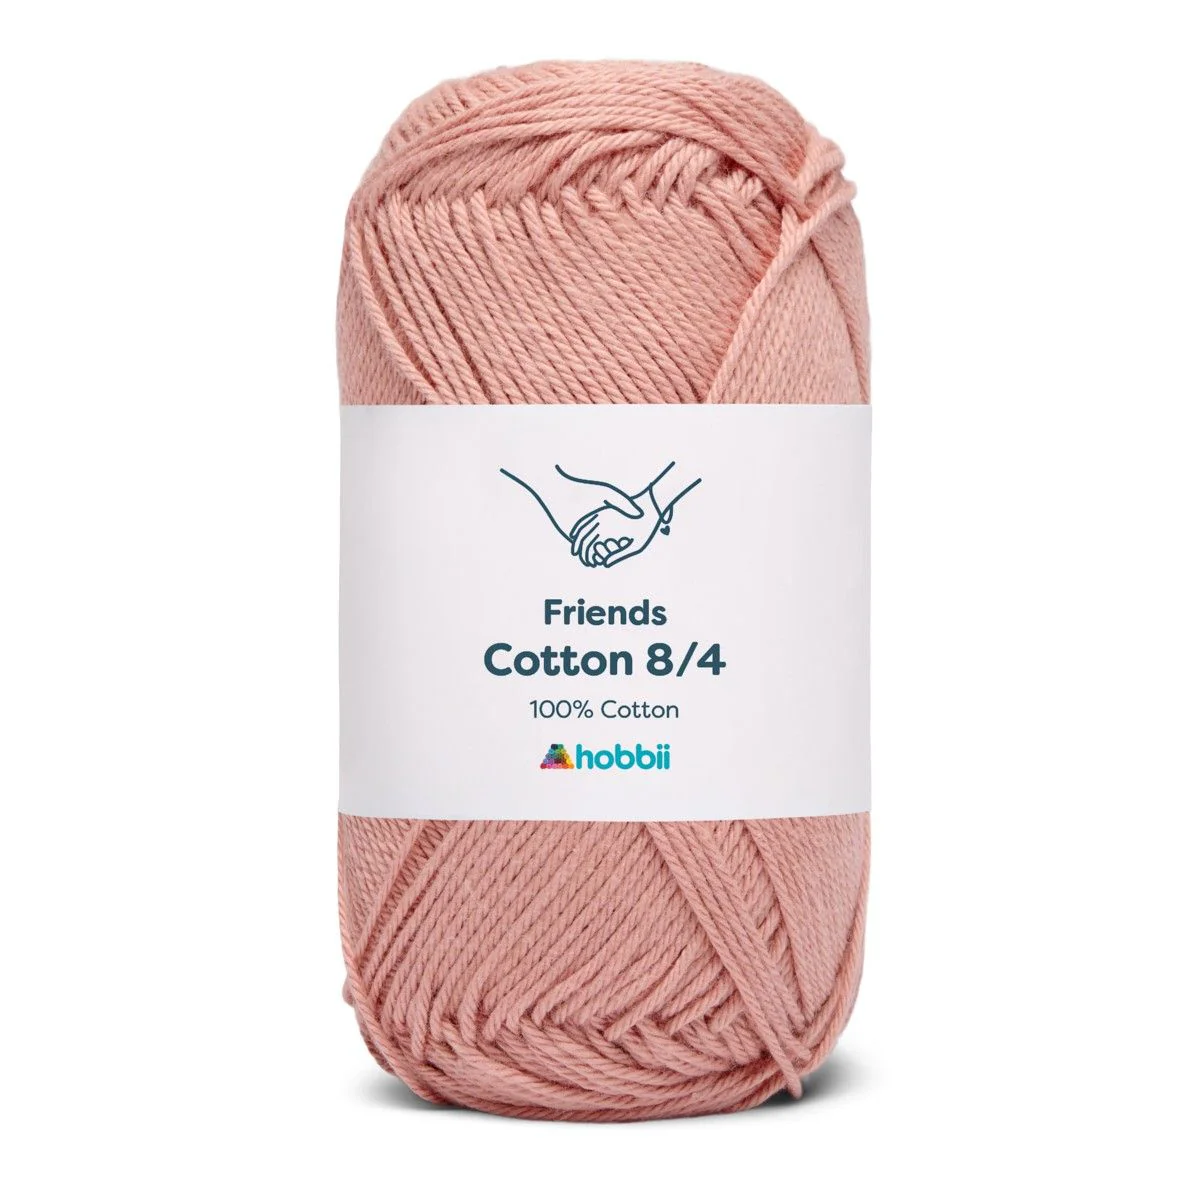
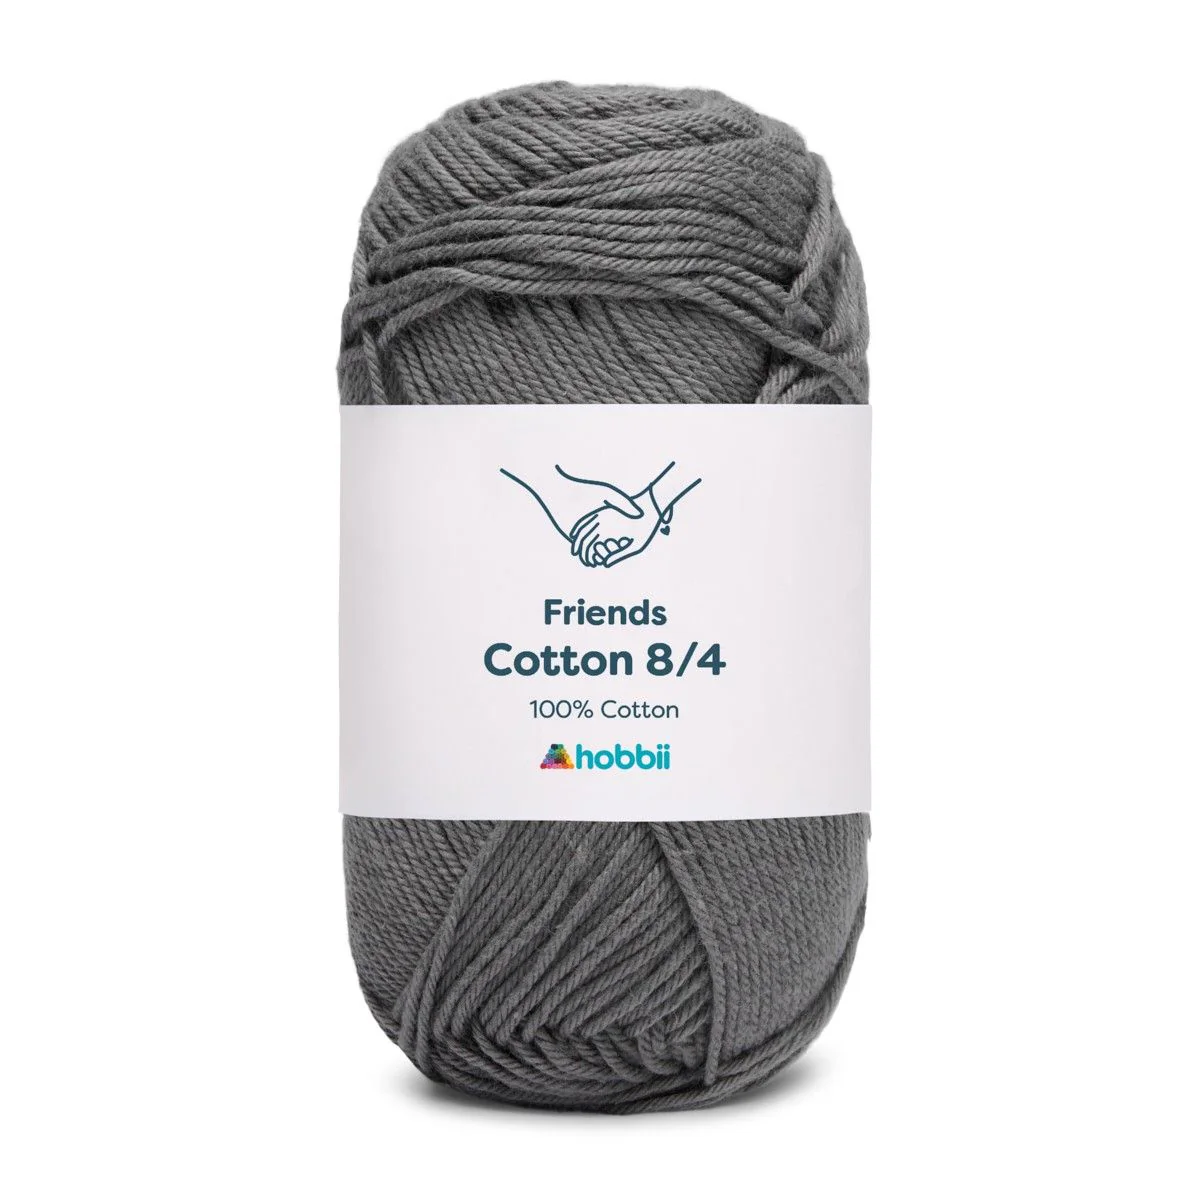
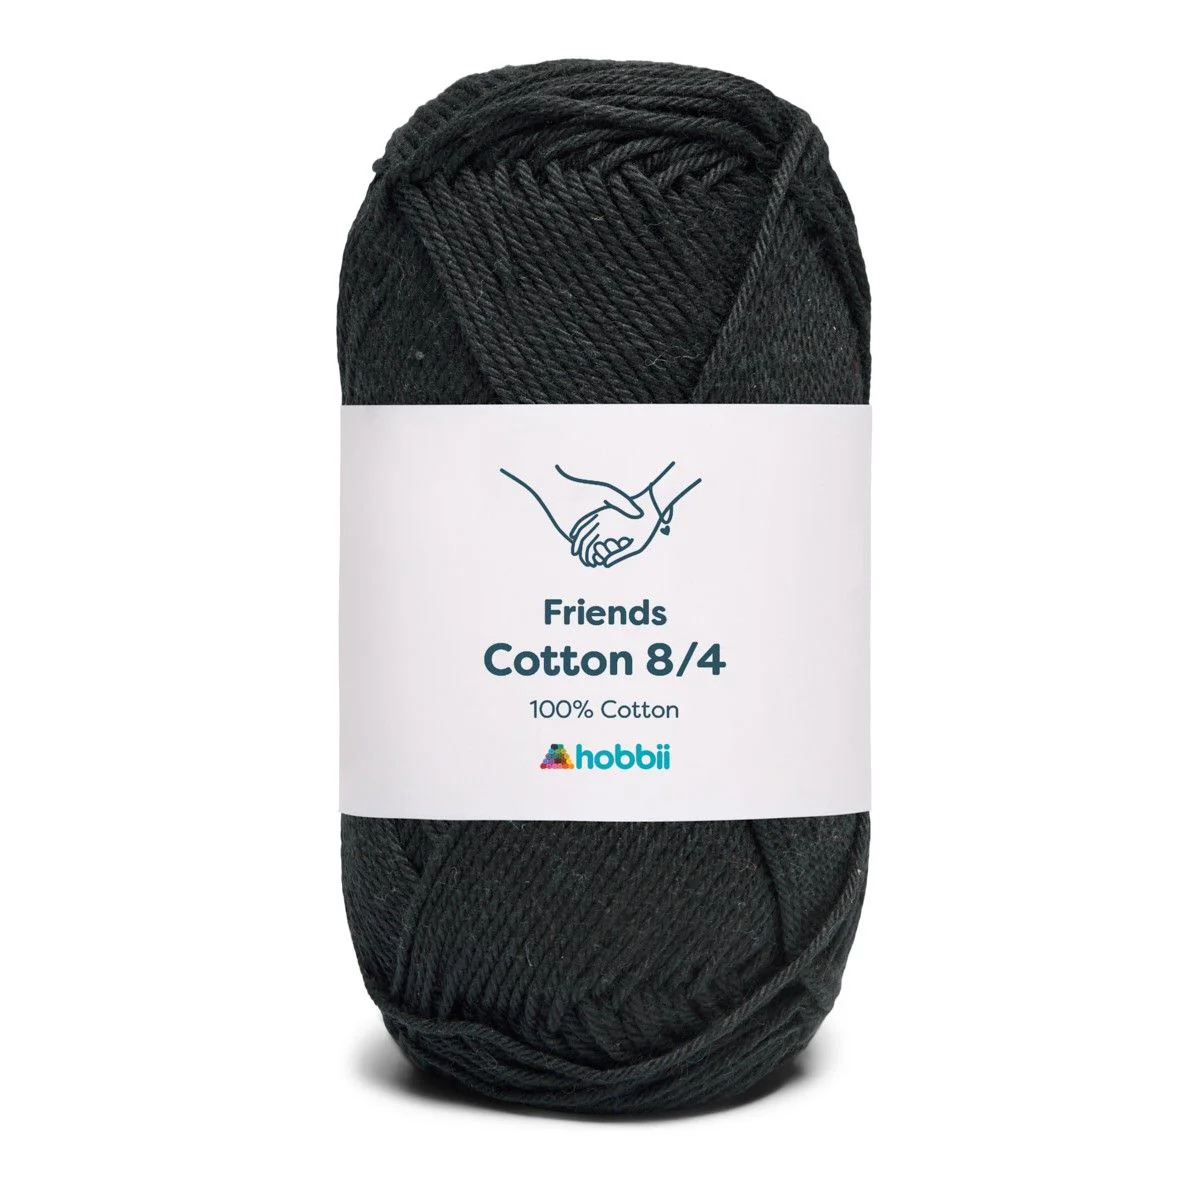
light yarn (3)
embroidery thread in black
MATERIALS
2.25mm crochet hook
6mm plastic safety eyes
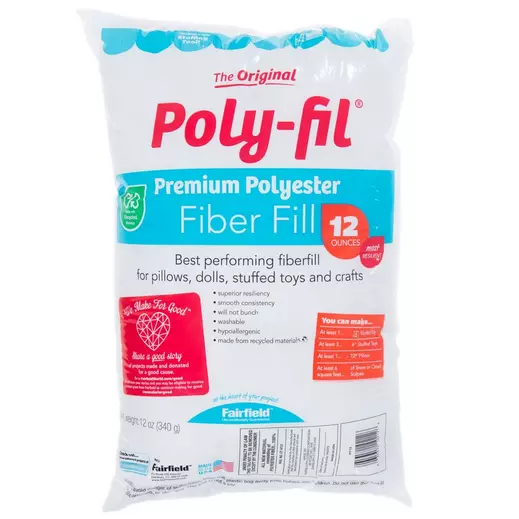
poly filling
yarn needle
DIMENSIONS
6” (15 cm) long
ABBREVIATIONS
magic ring (mr)
chain (ch)
stitch (st)
slip stitch (sl st)
single crochet (sc)
half double crochet (hdc)
spike single crochet (spsc)
repeat (rep)
SKILL LEVEL
easy


Disclosure. Most blog posts on this website contain affiliate links. This means I get a small commission if you click-through & purchase (no additional cost to you).
HEAD, BODY & TAIL
With A, make a magic ring.
Rnd 1: Work 5 sc in the ring – 5 sc.
Rnd 2: Sc in next 4 sts, 2 sc in next st – 6 sc.
Rnd 3: With B, (sc in next 2 sts, 2 sc in next st) rep twice – 8 sc.
Rnd 4: (sc in next st, 2 sc in next st) rep around – 12 sc.
Rnd 5: Sc in next 3 sts, 2 hdc in next 6 sts, sc in next 3 sts – 18 sts.
Rnd 6: Sc in next 3 sts, (hdc in next 2 sts, 2 hdc in next st) rep 4 times, sc in next 3 sts – 22 sts.
Rnd 7: Sc in next 3 sts, (hdc in next 3 sts, 2 hdc in next st) rep 4 times, sc in next 3 sts – 26 sts.
Rnd 8: Sc in next 3 sts, (hdc in next 4 sts, 2 hdc in next st) rep 4 times, sc in next 3 sts – 30 sts.
Rnd 9: With C, sc in next 14 sts, spsc in next 2 sts, sc in next 14 sts – 30 sts.
Rnds 10 - 11: Sc even around – 30 sc.
Insert plastic safety Eyes between Rnds 8 and 9, about 5 sts apart.
Rnd 12: (sc in next 3 sts, sc2tog) rep around – 24 sc.
Rnd 13: Working in front loop only, (sc in next 3 sts, 2 sc in next st) rep around – 30 sc.
Rnd 14: (sc in next 4 sts, 2 sc in next st) rep around – 36 sc.
Rnds 15 - 16: Sc even around – 36 sc.
Begin stuffing and continue until piece is complete.
Rnd 17: (sc in next 8 sts, 2 sc in next st) rep around – 40 sc.
Rnds 18 - 24: Sc even around – 40 sc.
Rnd 25: Sc in next 6 sts, (hdc in next 6 sts, hdc2tog) rep 4 times, sc in next 2 sts – 36 sts.
Rnd 26: Sc in next 5 sts, (hdc in next 3 sts, hdc2tog) rep 6 times, sc in next st – 30 sts.
Rnd 27: Sc in next 5 sts, (hdc2tog, hdc in next 2 sts) rep 6 times, sc in next st – 24 sts.
Rnd 28: Sc in next 6 sts, (hdc in next st, hdc2tog) rep 6 times – 18 sts.
Rnd 29: Sc in next 4 sts, hdc2tog 7 times – 11 sts.
Rnd 30: Sc in next 9 sts, sc2tog – 10 sc.
Rnd 31: With A, sc in each st around – 10 sc.
Rnd 32: (sc in next 3 sts, sc2tog) rep twice – 8 sc.
Rnd 33: (sc in next 2 sts, sc2tog) rep twice – 6 sc.
Rnds 34 - 41: Sc even around – 6 sc.
Rnd 42: (sc in next st, sc2tog) rep twice – 4 sc.
Rnds 43 - 48: Sc even around – 4 sc.
Rnd 49: sc2tog twice – 2 sc.
EARS (make two)
Rnd 1: Work 2 sc, 2 hdc, 2 sc in the ring – 6 sts.
Fasten off leaving a long tail to sew the Ears onto the Head.
LEGS (make 4)
Rnd 1: Work 6 sc in the ring – 6 sc.
Rnd 2: Working in back loop only, sc in next 6 sts – 6 sc.
Rnds 3 - 4: Sc in each st around – 6 sc.
Rnd 5: With C, (sc in next 2 sts, 2 sc in next st) rep twice – 8 sc.
Rnd 6: (sc in next 3 sts, 2 sc in next st) rep twice – 10 sc.
Rnd 7: Sc in each st around – 10 sc.
Do not stuff the Leg.
Row 8: Flatten the last rnd of the Leg and crochet through both layers, ch 1, sc in next 5 sts – 5 sc.
Fasten off leaving a long tail.
FINGERS
Hold the leg with the flat thigh facing you.
From the top, work into the front loops of Rnd 1 that line up with the flat side –
3 chs, 1 sl st in 2nd ch from the hook, 1 sl st in next ch, sl st into front loop you started working in, 3 chs, 1 sl st in 2nd ch from the hook, 1 sl st in next ch, sl st into next front loop, 3 chs, 1 sl st in 2nd ch from the hook, 1 sl st in next ch, sl st into same front loop, 3 chs, 1 sl st in 2nd ch from the hook, 1 sl st in next ch, sl st into same front loop – 24 sts
Sew the Legs to the Body.

I can't wait to see your version of my POLLY THE OPOSSUM. Feel free to tag me (@elisascrochet) in your photos on Instagram or Facebook!
Elisa
This pattern is an original pattern by Elisa Sartori of Elisa's Crochet. Please do not claim this pattern as your own. If you wish to share this pattern, you may link to this pattern but please do not reprint it on your site. You may keep a copy for your own personal use but please DO NOT sell the pattern or distribute it.
You may sell products made from this pattern but please clearly credit the design to me, Elisa Sartori of Elisa's Crochet. Permission is NOT granted for mass production or factory manufacturing of any kind. Thank you!