
Fall Gnomes Free Crochet Pattern


Fall is almost here, and I couldn't help but designing a super cute season inspired project! Let me introduce you to my latest cozy creation: the Fall Gnomes!
These little guys are the ultimate seasonal decor project. They feature, adorable hats and full, textured yarn beards that bring so much personality to your fall setup.
To celebrate the coming season, the pattern is available for free right here on the blog! You’ll find the step-by-step instructions to crochet the gnome body, and the pumpkin shaped hat.
If you want to whole full set, the complete 2-in-1 Fall Gnomes Pattern is available as a printable, ad-free PDF in my design shop. The paid shop version includes both hat options - so you can make both the pumpkin and acorn variations - along with expanded step-by-step photos to guide you through every detail!

16 pages with 60+ step-by step pictures, schematics and stitch tips designed to guide you through every stage of the project with ease!
Here is what you need!
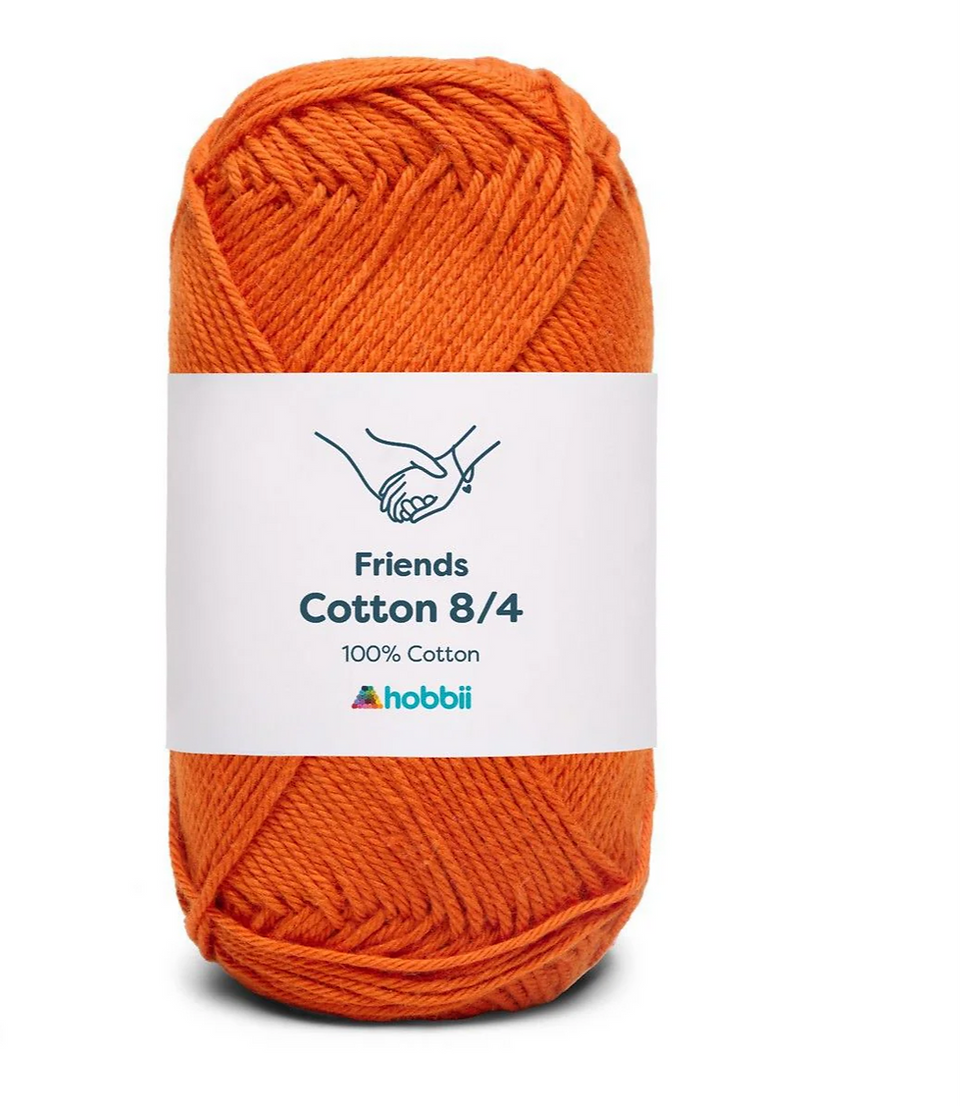
YARN
light yarn (3)
MATERIALS
2.75 mm Crochet Hook
Yarn Needle
Polyester Fiber Fill
DIMENSIONS
Approximately 6 in (15 cm) tall
ABBREVIATIONS
chain (ch)
stitch (st)
slip stitch (sl st)
single crochet (sc)
half double crochet (hdc)
double crochet (dc)
loop stitch (LS)
repeat (rep)
SKILL LEVEL
Intermediate


Body
With A, make a magic ring.
Rnd 1: 8 sc in the ring – 8 sc.
Rnd 2: 2 sc in each st around – 16 sc.
Rnd 3: (1 sc in next st, 2 sc in next st) rep around – 24 sc.
Rnd 4: (1 sc in next 2 sts, 2 sc in next st) rep around – 32 sc.
Rnd 5: (1 sc in next 3 sts, 2 sc in next st) rep around – 40 sc.
Rnd 6: (1 sc in next 4 sts, 2 sc in next st) rep around – 48 sc.
Rnd 7: (1 sc in next 5 sts, 2 sc in next st) rep around – 56 sc.
Rnd 8: (1 sc in next 6 sts, 2 sc in next st) rep around – 64 sc.
Rnd 9: Working in back loop only, 1 sc in each st around – 64 sc.
Rnd 10: Working in both loops now, 1 sc in each st around – 64 sc.
Rnds 11 - 23: 1 sc in each st around – 64 sc.
Rnd 24: (1 sc in next 6 sts, sc2tog) rep around – 56 sc.
Rnds 25 - 27: 1 sc in each st around – 56 sc.
Rnd 28: (1 sc in next 5 sts, sc2tog) rep around – 48 sc.
Rnds 29 - 30: 1 sc in each st around – 48 sc.
Rnd 31: With B, (1 sc in next 4 sts, sc2tog) rep around – 40 sc.
Rnds 32 - 34: 1 sc in each st around – 40 sc.
Begin stuffing and continue until piece is complete.
Rnd 35: (1 sc in next 3 sts, sc2tog) rep around – 32 sc.
Rnd 36: (1 sc in next 2 sts, sc2tog) rep around – 24 sc.
Rnd 37: (1 sc in next st, sc2tog) rep around – 16 sc.
Rnd 38: Sc2tog around – 8 sc.
Fasten off, leaving a long tail. Thread tail through top of sts of last rnd.
Pull tail to close opening and knot securely and weave in ends.
Nose
With B, make a magic ring.
Rnd 1: 8 sc in the ring – 8 sc.
Rnd 2: 1 sc in next 2 sts, 4 sc in next st, 1 sc in next 3 sts, 4 sc in next st, 1 sc in next st – 14 sc.
Rnd 3: 1 sc in next 3 sts, 2 sc in next 2 sts, 1 sc in next 5 sts, 2 sc in next 2 sts, 1 sc in next 2 sts – 18 sc.
Rnd 4: (1 sc in next 2 sts, 2 sc in next st) rep around – 24 sc.
Rnd 5: 1 sc in each st around – 24 sc.
Rnd 6: 1 sc in next 2 sts, sc2tog four times, 1 sc in next 4 sts, sc2tog four times, 1 sc in next 2 sts – 16 sc.
Fasten off, leaving a long tail of yarn. Stuff the Nose while sewing it to the Body.
Beard
With C/D, work in rows (ch 1 and turn at the end of each row).
Row 1: Ch 2, 2 sc in 2nd ch from the hook – 2 sc.
Row 2: 2 sc in next 2 sts – 4 sc.
Row 3: 2 hdc in next st, 1 sc in next 2 sts, 2 hdc in next st – 6 sts.
Row 4: 1 front side LS in next 6 sts – 6 LS.
Row 5: 2 hdc in next st, 1 sc in next 4 sts, 2 hdc in next st – 8 sts.
Row 6: 1 front side LS in next 8 sts – 8 LS.
Row 7: 2 hdc in next st, 1 sc in next 6 sts, 2 hdc in next st – 10 sts.
Row 8: 1 front side LS in next 10 sts – 10 LS.
Row 9: 2 hdc in next st, 1 sc in next 8 sts, 2 hdc in next st – 12 sts.
Row 10: 1 front side LS in next 12 sts – 12 LS.
Row 11: 2 hdc in next st, 1 sc in next 10 sts, 2 hdc in next st – 14 sts.
Row 12: 1 front side LS in next 8 sts – 14 LS.
Fasten off, leaving a long tail of yarn to sew the Beard below the Nose.
Arms (make two)
With B, make a magic ring.
Rnd 1: 6 sc in the ring – 6 sc.
Rnd 2: 2 sc in each st around – 12 sc.
Rnd 3: 1 sc in each st around – 12 sc.
Rnd 4: With A, 1 sc in each st around – 12 sc.
Rnds 5 - 10: 1 sc in each st around – 12 sc.
Rnd 11: (1 sc in next 4 sts, sc2tog) rep twice – 10 sc.
Rnds 12 - 14: 1 sc in each st around – 10 sc.
Stuff the Arm lightly. Flatten the last round and crochet through both layers.
Row 15: 1 sc in next 4 sts, 1 sl st in next st – 5 sts.
Fasten off and leave a long strand of yarn to sew the Arms to the side of the Body.
Pumpkin Hat
With E, make a magic ring.
Rnd 1: 10 sc in the ring – 10 sc.
Rnd 2: Working in back loop only, (1 sc in next 3 sts, sc2tog) rep twice – 8 sc.
Rnds 3 – 5: Working in both loops now, 1 sc in each st around – 8 sc.
Rnd 6: (1 sc in next st, 2 sc in next st) rep around – 12 sc.
Rnds 7: (1 sc in next 2 sts, 2 sc in next st) rep around – 16 sc.
Rnd 8: (1 sc in next 3 sts, 2 sc in next st) rep around – 20 sc.
Rnd 9: With D, (1 sc in next st, 2 sc in next st) rep around – 30 sc.
Rnd 10: (1 sc in next 2 sts, 2 sc in next st) rep around – 40 sc.
Rnd 11: (1 sc in next 3 sts, 2 sc in next st) rep around – 50 sc.
Rnd 12: 1 sc in each st around – 50 sc.
Rnd 13: (1 sc in next 4 sts, 2 sc in next st) rep around – 60 sc.
Rnds 14 - 21: 1 sc in each st around – 60 sc.
Rnd 22: (1 sc in next 4 sts, sc2tog) rep around – 50 sc.
Rnd 23: (1 sc in next st, 2 sc in next st) rep 11 times, 2 sc in next 7 sts, (1 sc in next st, 2 sc in next st) rep 10 times, 1 sc in next st – 78 sc.
Rnd 24: 1 sc in each st around – 78 sc.
Fasten off, cut the yarn and weave in ends.
After completing the hat, use surface crochet to create the vertical ribs. Work 6 evenly spaced vertical lines of surface slip stitches from the top of the hat to the base.
Pumpkin Tendrils
LONG TENDRIL
With E.
Row 1: Ch 26, 2 sl st in the 2nd ch from the hook, 2 sl st in next 24 chs – 50 sl st.
SHORT TENDRIL
With E.
Row 1: Ch 20, 2 sl st in the 2nd ch from the hook, 2 sl st in next 18 chs – 38 sl st.
Fasten off, leaving a long tail of yarn to sew the Tendrils to the base of the Stem.
I can't wait to see your version of my FALL GNOMES. Feel free to tag me (@elisascrochet) in your photos on Instagram or Facebook!
Elisa
This pattern is an original pattern by Elisa Sartori of Elisa's Crochet. Please do not claim this pattern as your own. If you wish to share this pattern, you may link to this pattern but please do not reprint it on your site. You may keep a copy for your own personal use but please DO NOT sell the pattern or distribute it.
You may sell products made from this pattern but please clearly credit the design to me, Elisa Sartori of Elisa's Crochet. Permission is NOT granted for mass production or factory manufacturing of any kind. Thank you!


