
Lyla the Frog Free Crochet Pattern
- Elisa
- Mar 13
- 7 min read

Say hello to Lyla the Frog, the newest addition to my growing collection of crocheted animals! This cute little frog is a quick and super easy project, perfect for anyone who loves making adorable amigurumi.
Lyla has a simple, friendly design that works beautifully with different yarn types and sizes. Whether you choose a classic cotton yarn for a small, neat frog or a thicker, plush yarn for a softer and chunkier version, the pattern adapts easily. It’s a fun way to experiment and create your very own personalized frog.
This project is great for beginners who want to try amigurumi, but it’s also a relaxing and satisfying make for more experienced crocheters looking for a quick, cute project. Lyla can become a sweet handmade toy for little ones, a charming desk companion, or a thoughtful handmade gift.
As always, I’m happy to share the free instructions here on the blog so everyone can enjoy making Lyla.
If you prefer a more detailed version of the pattern, the paid PDF version is also available. It includes 12 pages of instructions with more than 40 step-by-step pictures, making it even easier to follow along and assemble your frog.
The premium version also helps support my work as a designer, which I truly appreciate!
I hope you enjoy making Lyla the Frog as much as I enjoyed designing her.
Have fun playing with different yarns and colors - and don’t forget to give your frog its own personality!

12 pages with
40+ step-by step pictures, extra instructions, and stitch tips designed to guide you through every stage of the project with ease!
Here is what you need!
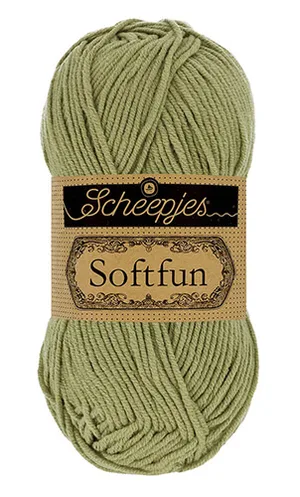
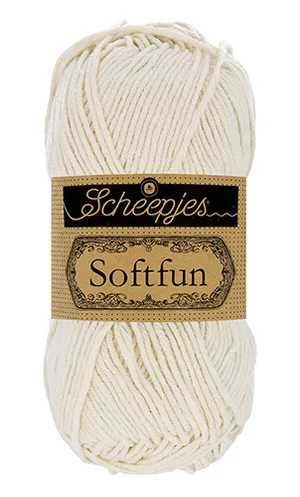
YARN
light yarn (3)
MATERIALS
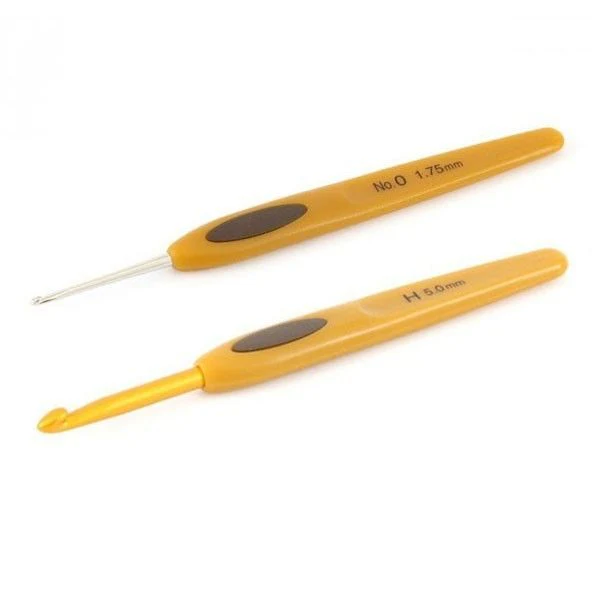
3.25 mm Crochet Hook
3.00 mm Crochet Hook
Yarn Needle
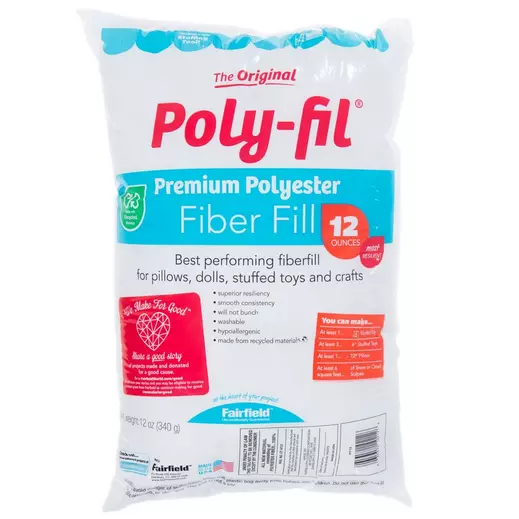
Polyester Fiber Fill
Black Plastic Safety Eyes – 6 mm
DIMENSIONS
Approximately 3.5” x 4” (9 x 10 cm)
ABBREVIATIONS
chain (ch)
stitch (st)
slip stitch (sl st)
single crochet (sc)
puff st (ps)
repeat (rep)
skip (sk)
SKILL LEVEL
easy
Disclosure. Most blog posts on this website contain affiliate links. This means I get a small commission if you click-through & purchase (no additional cost to you).
HEAD & BODY
With A, and bigger hook, make a magic ring.
Rnd 1: Work 8 sc in the ring – 8 sc.
Rnd 2: 2 sc in each st around – 16 sc.
Rnd 3: (sc in next st, 2 sc in next st) rep around – 24 sc.
Rnd 4: Sc in each st around – 24 sc.
Rnd 5: (sc in next 2 sts, 2 sc in next st) rep around – 32 sc.
Rnd 6: Sc in each st around – 32 sc.
Rnd 7: Sc in next 10 sts; with B, work in back loop only, sc in next 12 sts; with A, work in both loops now, sc in next 10 sts – 32 sc.
Rnd 8: Sc in next 9 sts; with B, sc in next st, sc2tog, sc in next 2 sts, 2 sc2tog, sc in next 2 sts, sc2tog, sc in next st; with A, sc in next 9 sts – 28 sc.
Rnd 9: Sc in next 9 sts; with B, sc in next 10 sts; with A, sc in next 9 sts – 28 sc.
Rnd 10: (sc in next 2 sts, 2 sc in next st) rep 3 times; with B, working in front loop only, (sc in next st, 2 sc in next st) rep 5 times; with A, working in both loops now, (sc in next 2 sts, 2 sc in next st) rep 3 times – 39 sc.
Rnds 11 - 12: Sc in next 12 sts; with B, sc in next 15 sts; with A, sc in next 12 sts – 39 sc.
Rnd 13: (sc in next 3 sts, 2 sc in next st) rep 3 times; with B, (sc in next 4 sts, 2 sc in next st) rep 3 times; with A, (sc in next 3 sts, 2 sc in next st) rep 3 times – 48 sc.
Rnds 14 - 15: Sc in next 15 sts; with B, sc in next 18 sts; with A, sc in next 15 sts – 48 sc.
Rnd 16: (sc in next 4 sts, sc2tog) rep twice, sc in next 3 sts; with B, sc in next st, sc2tog, (sc in next 4 sts, sc2tog) rep twice, sc in next 3 sts; with A, sc in next st, sc2tog, (sc in next 4 sts, sc2tog) rep twice – 40 sc.
Rnd 17: Sc in next 13 sts; with B, sc in next 15 sts; with A, sc in next 12 sts – 40 sc.
Begin stuffing and continue until piece is complete.
Rnd 18: (sc in next 3 sts, sc2tog) rep twice, sc in next 3 sts; with B, sc2tog, (sc in next 3 sts, sc2tog) rep twice, sc in next 3 sts; with A, sc2tog, (sc in next 3 sts, sc2tog) rep twice – 32 sc.
Rnd 19: (sc in next 2 sts, sc2tog) rep three times; with B, (sc in next 2 sts, sc2tog) rep twice, sc in next 2 sts; with A, sc2tog, (sc in next 2 sts, sc2tog) rep twice – 24 sc.
Rnd 20: (sc in next st, sc2tog) rep three times; with B, (sc in next st, sc2tog) rep three times; with A, (sc in next st, sc2tog) rep twice – 16 sc.
Rnd 21: sc2tog three times; with B, sc2tog three times; with A, sc2tog twice – 8 sc.
Fasten off, leaving a long tail.
Eyes (make two)
With A, and bigger hook, make a magic ring.
Rnd 1: Work 6 sc in the ring – 6 sc.
Rnd 2: Sc in next 5 sts, 2 sc in next st – 7 sc.
Fasten off leaving a long tail.
Insert plastic safety Eyes, position the piece and sew it in place.
Front LEGS (make 2)
With A, and smaller hook, make a magic ring.
Rnd 1: Work 6 sc in the ring – 6 sc.
Rnd 2: Sc in next 2 sts, working in back loop only, sc in next 3 sts, working in both loops now, sc in next st – 6 sc.
Rnds 3 - 10: Sc in each st around – 6 sc.
Fasten off leaving a long tail. Do not stuff the Leg.
TOES
With A and smaller hook
Facing the bottom side of the Front Leg, insert the hook into the 1st front loop on the right – ch 1, ps in the same st, sl st into the same st; sl st into the next front loop st, ps in the same st, sl st into the same st; sl st into the next front loop st, ps in the same st, sl st into the same st.
Fasten off, cut and weave in ends. Sew the Legs onto the Body.
Back Legs (make 2)
With A, and smaller hook, make a magic ring.
Rnd 1: Work 8 sc in the ring – 8 sc.
Rnd 2: (sc in next st, 2 sc in next st) rep around – 12 sc.
Rnd 3: (sc in next st, 2 sc in next st) rep around – 18 sc.
Rnd 4: Sc in each st around – 18 sc.
UPPER SECTION OF THE LEG
Rnd 5: 2 sc in next st, sc in next 2 sts, sc2tog twice, sc in next 2 sts, 2 sc in next st, sk next 8 sts, join to 1st st of the Rnd – 10 sc.
Rnd 6: 2 sc in next st, sc in next 8 sts, 2 sc in next st – 12 sc.
Rnd 7: (sc in next st, 2 sc in next st) rep around – 18 sc.
Rnd 8: Sc in each st around – 18 sc.
Stuff the Upper section of the Leg lightly.
Row 9: Flatten last rnd and crochet through both layers, sc in next 9 sts – 9 sc.
Fasten off and leave a long tail.
LOWER SECTION OF THE LEG
Rnd 5: 2 sc in the 1st unworked st of Rnd 4 of the Leg, sc in next st, sc2tog twice, sc in next st, 2 sc in next st, join to 1st st of this Rnd – 8 sc.
Rnds 6 - 7: Sc in each st around – 8 sc.
Stuff the Lower section of the Leg lightly.
Rnd 8: Sc in next 3 sts, sc2tog, sc in next 3 sts – 7 sc.
Rnd 9: Sc2tog, working in back loop only, sc in next 3 sts, working in both loops now, sc2tog – 5 sc.
Fasten off, leaving a long tail.
TOES
With A and smaller hook
Facing the bottom side of the Lower Leg, insert the hook into the 1st front loop on the right – ch 1, ps in the same st, sl st into the same st; sl st into the next front loop st, ps in the same st, sl st into the same st; sl st into the next front loop st, ps in the same st, sl st into the same st.
Fasten off, cut the yarn and weave in ends.
Position the Back Legs onto the Body and sew the last Row of the Upper Section in place.


I can't wait to see your version of my LYLA THE FROG. Feel free to tag me (@elisascrochet) in your photos on Instagram or Facebook!
Elisa
This pattern is an original pattern by Elisa Sartori of Elisa's Crochet. Please do not claim this pattern as your own. If you wish to share this pattern, you may link to this pattern but please do not reprint it on your site. You may keep a copy for your own personal use but please DO NOT sell the pattern or distribute it.
You may sell products made from this pattern but please clearly credit the design to me, Elisa Sartori of Elisa's Crochet. Permission is NOT granted for mass production or factory manufacturing of any kind. Thank you!