
Penguin Stacking Toy Free Crochet Pattern
- Elisa
- Nov 29, 2022
- 6 min read

Welcome back to my blog my fellow crafters!
Are you looking for a nice and easy project to create a toy for your little one?
This cute Penguin Stacking Toy is right for you!
It's safe and very soft to play with, and it's super cute too – I love the little penguin's expression!
If you want to personalize this project, you can play with colors and yarn textures! You can even go bigger by using a chunkier yarn and a bigger hook!
If you love handmade toys, don't miss out my Bee Stacking Toy project - click the picture below to get the pattern!


***You can purchase a downloadable AD-FREE PDF of the pattern with
40 step-by-step pictures,
diagrams, tips and sketches
9 pages of detailed instructions to guide you through the making process!
___________________________________________________________________________________________

Here's the Free pattern!
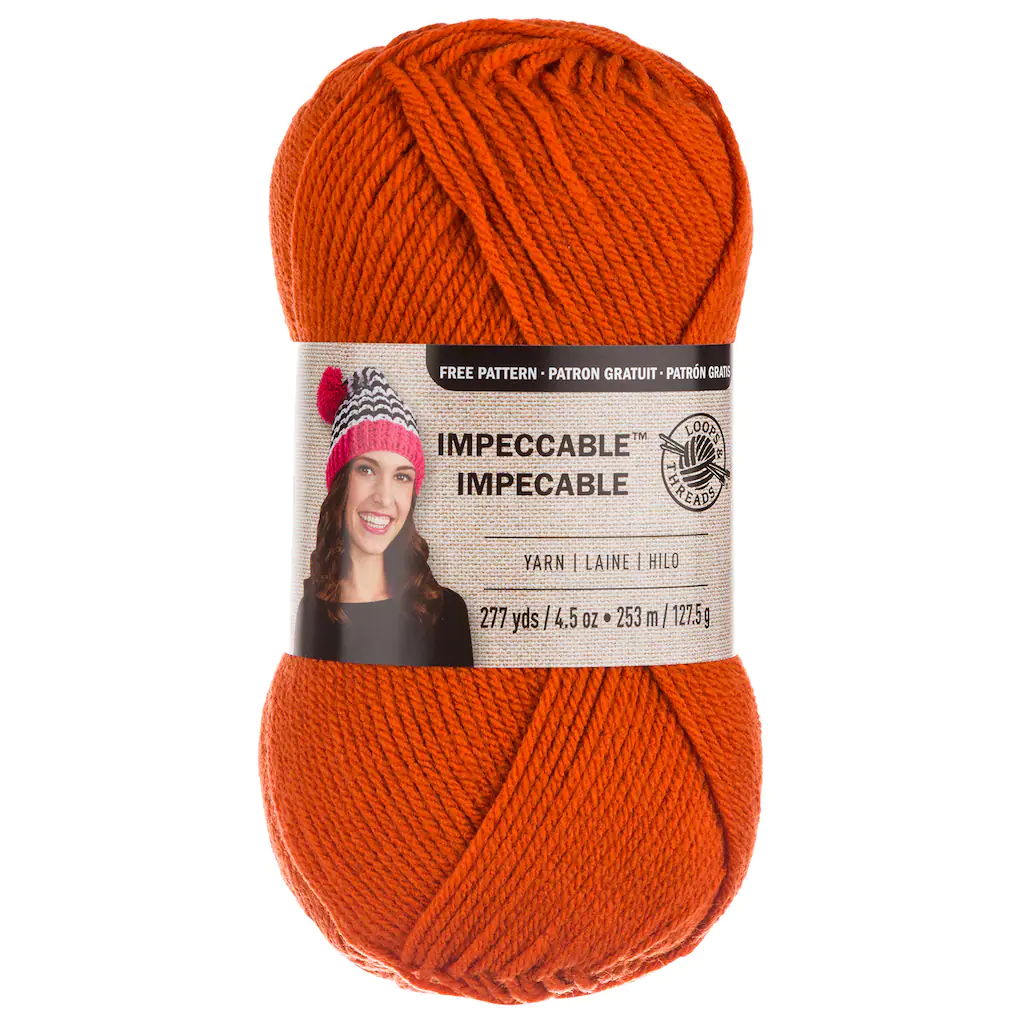
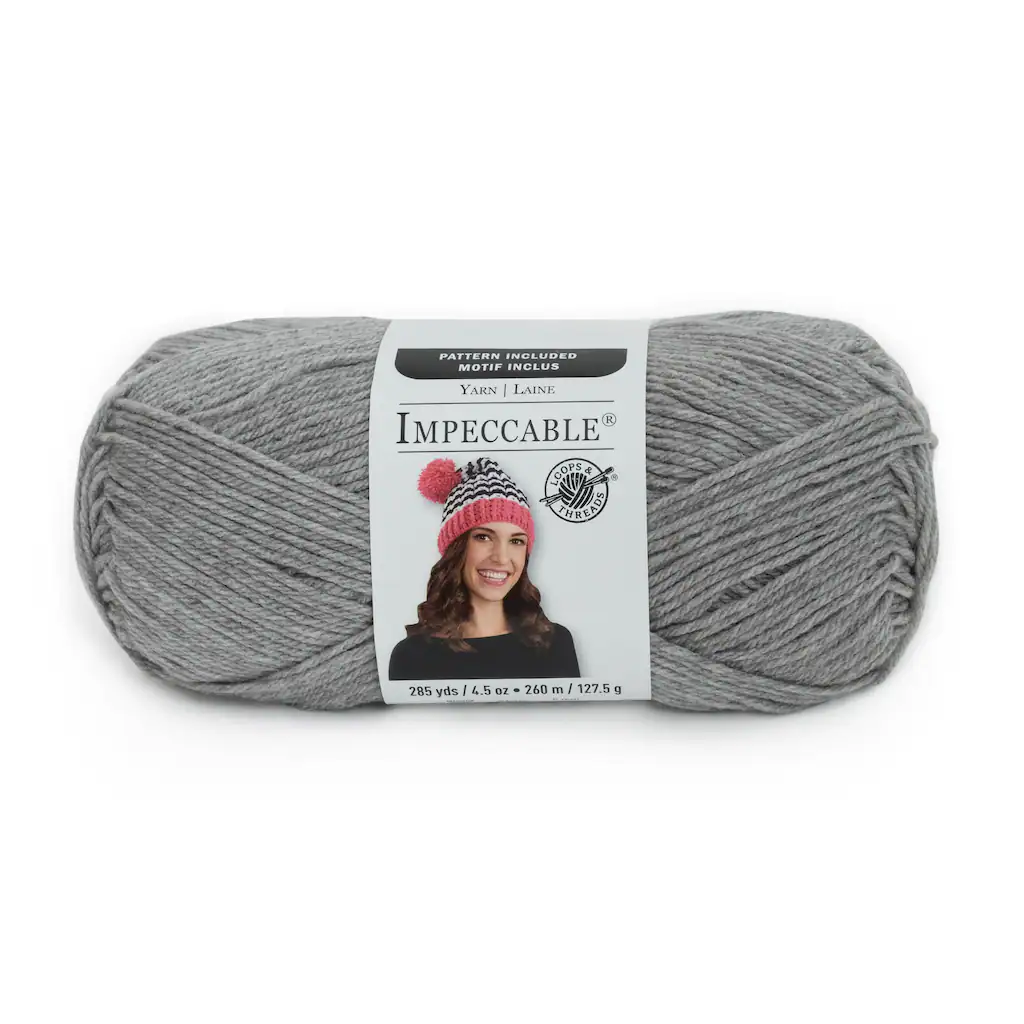
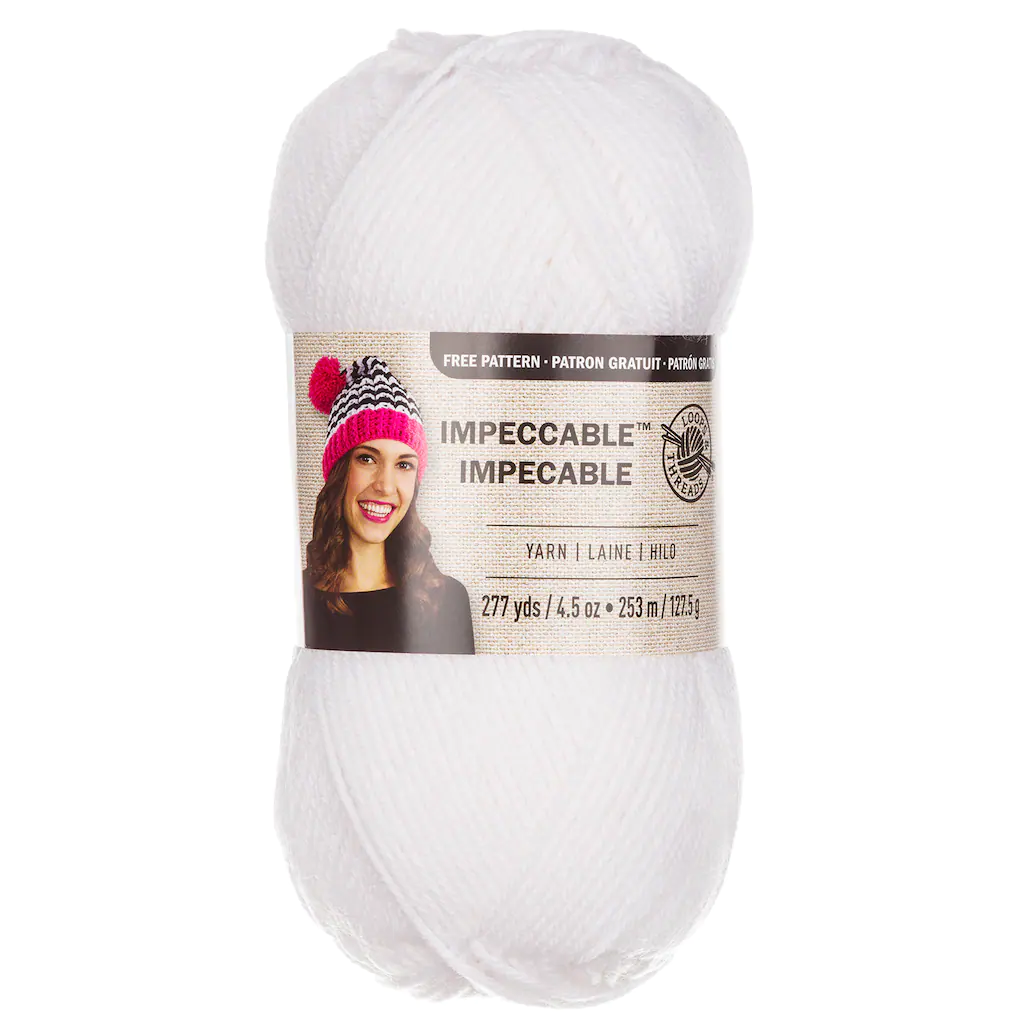
YARN: Impeccable Yarn by Loops and Threads – medium yarn (4) in white, pale gray, dark charcoal and pumpkin
MATERIALS: 3.75 mm crochet hook; yarn needle; 9mm plastic safety eyes, polyester fiberfill
DIMENSION: H. 7” x L. 5” (19 x 13 cm)
ABBREVIATIONS: magic ring (mr), chain (ch), stitch (st), slip stitch (sl st), single crochet (sc), back loop only (BLO), front loop only (FLO), increase (inc), decrease (dec), repeat (rep), fasten off (F/O)
SKILL LEVEL: beginner


Disclosure. Most blog posts on this website contain affiliate links. This means I get a small commission if you click-through & purchase (no additional cost to you).
When working in round…
Close each round with a sl st and then chain 1. Work the very first stitch of the round into the same stitch.
TOP (dark charcoal)
Rnd 1: 8 sc in a mr (8)
Rnd 2: sc inc around (16)
Rnd 3: (1 sc, 1 sc inc) rep around (24)
Rnd 4: (2 sc, 1 sc inc) rep around (32)
Rnd 5: (3 sc, 1 sc inc) rep around (40)
Rnd 6: sc even (40)
Rnd 7: (4 sc, 1 sc inc) rep around (48)
Rnds 8 - 12: sc even (48)
Rnd 13: 21 sc…
…let’s work the stripe in between the eyes…
- 6 sc (6); ch1 and turn
- 1 sc dec, 2 sc, 1 sc dec (4); ch1 and turn
- 4 sc (4); ch1 and turn
- 1 sc dec, 1 sc dec (2); ch1 and turn
- 2 sc (2); ch1 and turn
- 2 sc (2); ch1 and turn
- 2 sc (2)
- keep working on the left side, toward the last worked rnd; 5 sl st
- 1 sc into st #28 of rnd 13, then work 20 sc.
F/O and leave a long strand of yarn to secure the top to the head.
PENGUIN'S HEAD (white)
Rnd 1: 8 sc in a mr (8)
Rnd 2: sc inc around (16)
Rnd 3: (1 sc, 1 sc inc) rep around (24)
Rnd 4: (2 sc, 1 sc inc) rep around (32)
Rnd 5: (3 sc, 1 sc inc) rep around (40)
Rnds 6 - 7: sc even (40)
Rnd 8: (4 sc, 1 sc inc) rep around (48)
Rnds 9 - 13: sc even (48)
Insert plastic safety eyes between rnds 10 and 11, about 9 sts apart.
Rnd 14: (4 sc, 1 sc dec) rep around (40)
Rnds 15 - 16: sc even (40)
Rnd 17: (3 sc, 1 sc dec) rep around (32); stuff the head.
Rnd 18: sc dec around (16)
Rnd 19: sc dec around (8); F/O, close the hole and weave in end.
Place the dark charcoal Top on the Head (make sure that the edge of the stripe falls between rnds 10 and 11). Sew the last rnd of the Top to the Head with dark charcoal yarn.
BEAK (pumpkin)
Rnd 1: 4 sc in a mr (4)
Rnd 2: (1 sc, 1 sc inc) rep twice (6)
Rnd 3: (2 sc, 1 sc inc) rep twice (8)
Rnd 4: sc even (8); F/O and leave a long strand of yarn to sew the beak onto the head. Do not stuff the beak, flatten it instead.
Sew the beak below the Stripe with the extra tail of pumpkin yarn.
Embroider the EYEBROWS with black cotton thread between rnds 7 and 9, about 11 sts apart.

RING I (pumpkin)
Rnd 1: 40 chs, close the round (join 1st and last st with a sl st); ch 1 and work 1 sc into the same st, work 1 sc in each of the next 39 sts (40)
Rnd 2: (1 sc, 1 sc inc) rep around (60)
Rnds 3 - 10: sc even (60)
Rnd 11: (1 sc, 1 sc dec) rep around (40); F/O and leave a long strand of yarn.
Sew the last round to the foundation chain. Stuff as you go.

RING II (pale gray)
Rnd 1: 36 chs, close the round (join 1st and last st with a sl st); ch 1 and work 1 sc into the same st, work 1 sc in each of the next 35 sts (36)
Rnd 2: (1 sc, 1 sc inc) rep around (54)
Rnds 3 - 13: sc even (54)
Rnd 14: (1 sc, 1 sc dec) rep around (36)
Rnd 15: sc even (36); F/O and leave a long strand of yarn.
Sew the last round to the foundation chain. Stuff as you go.

RING III (pale gray)
Rnd 1: 32 chs, close the round (join 1st and last st with a sl st); ch 1 and work 1 sc into the same st, work 1 sc in each of the next 31 sts (32)
Rnd 2: (1 sc, 1 sc inc) rep around (48)
Rnds 3 - 12: sc even (48)
Rnd 13: (1 sc, 1 sc dec) rep around (32)
Rnd 14: sc even (32); F/O and leave a long strand of yarn.
Sew the last round to the foundation chain. Stuff as you go.

RING IV (dark charcoal)
Rnd 1: 28 chs, close the round (join 1st and last st with a sl st); ch 1 and work 1 sc into the same st, work 1 sc in each of the next 27 sts (28)
Rnd 2: (1 sc, 1 sc inc) rep around (42)
Rnds 3 - 11: sc even (42)
Rnd 12: (1 sc, 1 sc dec) rep around (28)
Rnd 13: sc even (28); F/O and leave a long strand of yarn.
Sew the last round to the foundation chain. Stuff as you go.
WINGS (dark charcoal – make two)
Rnd 1: 6 sc in a mr (6)
Rnd 2: (2 sc, 1 sc inc) rep twice (8)
Rnd 3: (3 sc, 1 sc inc) rep twice (10)
Rnd 4: (4 sc, 1 sc inc) rep twice (12)
Rnd 5: sc even (12)
Rnd 6: (5 sc, 1 sc inc) rep twice (14)
Rnd 7: sc even (14); do not stuff the wing
Flatten the last round and work through both layers, 7 sc (7); F/O and leave a long strand of yarn to sew the wing onto ring #4.
Place and secure the head with pins onto ring #4. With dark charcoal yarn, sew the ring to the Top only (leaving the white part of the Head unattached).
POLE (dark charcoal)
Rnd 1: 8 sc in a mr (8)
Rnd 2: sc even (8)
Rnd 3: (3 sc, 1 sc inc) rep twice (10)
Rnd 4: sc even (10)
Rnd 5: (4 sc, 1 sc inc) rep twice (12)
Rnd 6: sc even (12)
Rnd 7: (5 sc, 1 sc inc) rep twice (14)
Rnd 8: sc even (14)
Rnd 9: (6 sc, 1 sc inc) rep twice (16)
Rnd 10: sc even (16)
Rnd 11: (7 sc, 1 sc inc) rep twice (18)
Rnd 12: (8 sc, 1 sc inc) rep twice (20)
Rnd 13: sc even (20); start stuffing the pole
Rnd 14: (9 sc, 1 sc inc) rep twice (22)
Rnd 15: (10 sc, 1 sc inc) rep twice (24)
Rnd 16: sc even (24)
Rnd 17: (11 sc, 1 sc inc) rep twice (26)
Rnd 18: (12 sc, 1 sc inc) rep twice (28)
Rnd 19a: working in BLO, sc dec around (14)
Rnd 20a: working in both loops, sc dec around (7); F/O, close the hole and weave in end.
Insert the hook into the front loop of the 1st st of rnd 18.
Rnd 19b: working in FLO, (3 sc, 1 sc inc) rep around (35)
Rnd 20b: working in both loops now, (4 sc, 1 sc inc) rep around (42); F/O, cut the yarn and weave in ends.


I can't wait to see your version of my PENGUIN STACKING TOY! Feel free to tag me (@elisascrochet) in your photos on Instagram or Facebook if you'd like!
Elisa
This pattern is an original pattern by Elisa Sartori of Elisa's Crochet. Please do not claim this pattern as your own. If you wish to share this pattern, you may link to this pattern but please do not reprint it on your site. You may keep a copy for your own personal use but please DO NOT sell the pattern or distribute it.
You may sell products made from this pattern but please clearly credit the design to me, Elisa Sartori of Elisa's Crochet. Permission is NOT granted for mass production or factory manufacturing of any kind. Thank you!