
Ruby the Tiger Free Crochet Pattern

Updated: 7 days ago

Hello my friends!
Meet Ruby the Tiger: The Newest Member of the Scarf Gang! There is something so special about watching a crochet collection grow, and today I am beyond excited to introduce you to the latest sweet friend to join the crew: Ruby the Tiger!

If you’ve been following along with my designs, you already know how much I love this cozy little group. Ruby is joining her best pals in the Scarf Gang - Coco the Bunny, Theo the Reindeer, Rudy the Fox, Kyle the Crocodile, Zelda the Zebra, and Otto the Panda. Each character in this collection brings their own unique charm, and Ruby is here to add a warm, playful touch with her bright orange coat, sweet embroidered details, and bold black stripes.
I’m happy to share the free crochet pattern for Ruby the Tiger right here on the blog so you can stitch up your very own tiger buddy today!
Want to keep Ruby warm with her matching collection scarf and learn hot to surface crochet the tiger's stripes? The full instructions and detailed step-by-step illustrations are available in my Design Shop!
Happy crocheting!

15 pages with 50+ step-by step pictures, schematics and stitch tips designed to guide you through every stage of the project with ease!
Here is what you need!
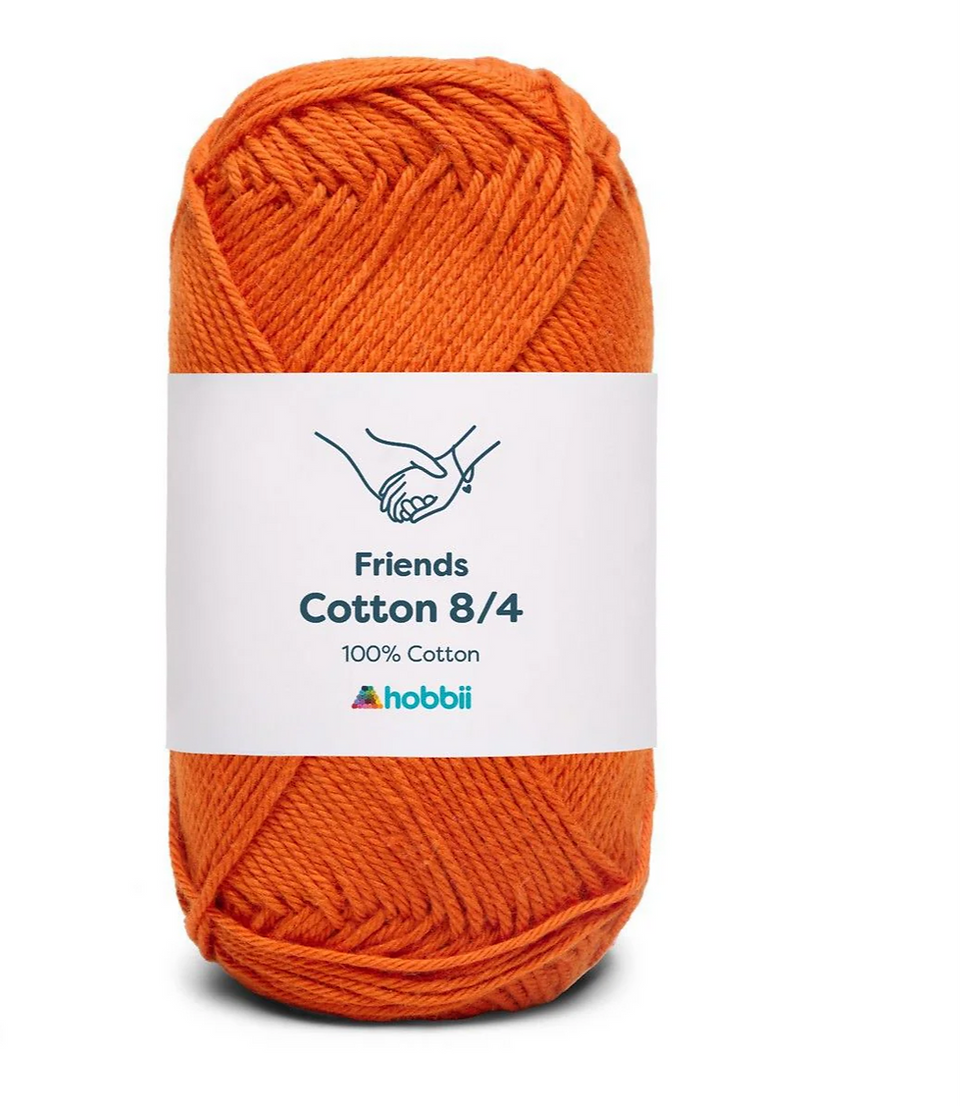
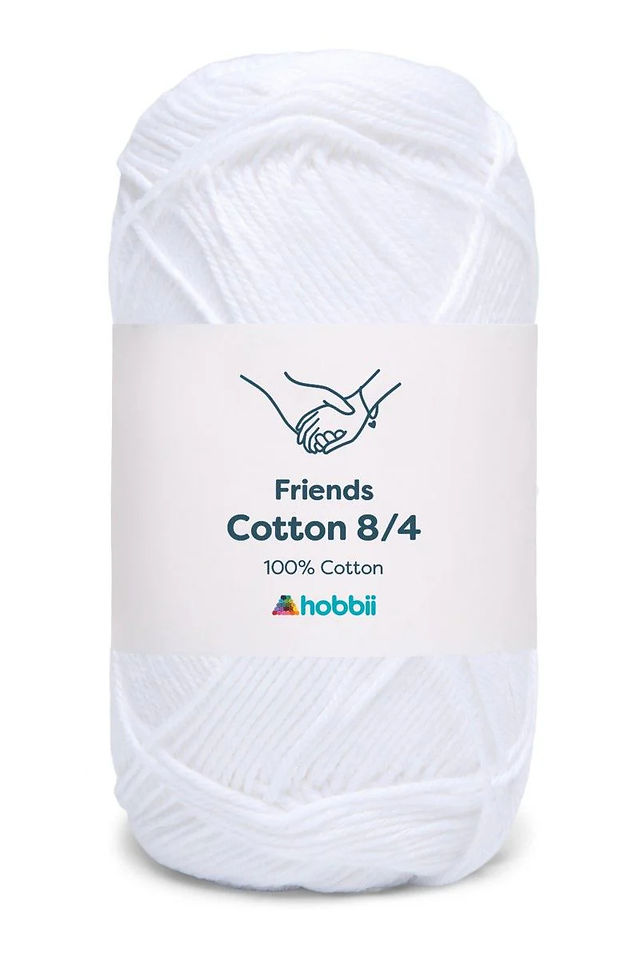
YARN
light yarn (3)
MATERIALS
2.75 mm Crochet Hook
Yarn Needle
Polyester Fiber Fill
Black Embroidery Thread
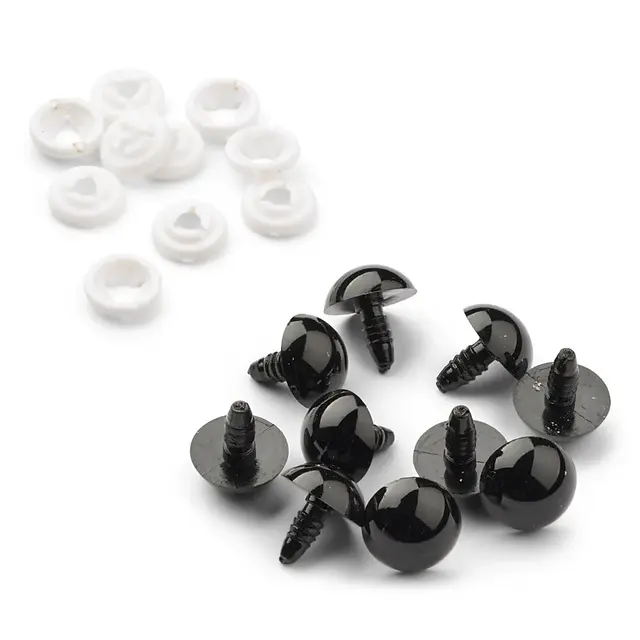
6 mm Plastic Safety Eyes
DIMENSIONS
Approximately 5 in (12.5 cm) long
ABBREVIATIONS
chain (ch)
stitch (st)
slip stitch (sl st)
single crochet (sc)
repeat (rep)
SKILL LEVEL
Beginner


Head & Body
With A, make a magic ring.
Rnd 1: 8 sc in the ring – 8 sc.
Rnd 2: 2 sc in next 3 sts; with B, 2 sc in next st ; with A , 2 sc in next 4 sts – 16 sc.
Rnd 3: (1 sc in next st, 2 sc in next st) rep 3 times; with B, 1 sc in next st, 2 sc in next st; with A, (1 sc in next st, 2 sc in next st) rep 4 times – 24 sc.
Rnd 4: (1 sc in next 2 sts, 2 sc in next st) rep 3 times; with B, 1 sc in next 2 sts, 1 sc with B and 1 sc with A in next st; keep working with A, (1 sc in next 2 sts, 2 sc in next st) rep 4 times – 32 sc.
Rnd 5: (1 sc in next 3 sts, 2 sc in next st) rep 3 times; with B, 1 sc in next 3 sts; with A, 2 sc in next st, (1 sc in next 3 sts, 2 sc in next st) rep 4 times – 40 sc.
Rnd 6: (1 sc in next 4 sts, 2 sc in next st) rep 3 times; with B, 1 sc in next 3 sts; with A, 1 sc in next st, 2 sc in next st, (1 sc in next 4 sts, 2 sc in next st) rep 4 times – 48 sc.
Rnds 7 - 9: 1 sc in next 18 st; with B, 1 sc in next 3 sts; with A, 1 sc in next 27 sts – 48 sc.
Rnds 10 - 11: 1 sc in next 18 st; with C, 1 sc in next 3 sts ; with A, 1 sc in next 27 sts – 48 sc.– 42 sc.
Rnd 12: (1 sc in next 5 sts, 2 sc in next st) rep twice; with B, 1 sc in next 5 sts, 2 sc in next st, 1 sc in next 8 sts, 2 sc in next st; with A, (1 sc in next 5 sts, 2 sc in next st) rep three times, 1 sc in next 2 sts, 2 sc in next st – 56 sc.
Insert plastic safety eyes between Rnds 8 and 9, about 9 sts apart.
Rnd 13: 1 sc in next 15 sts; with B, 1 sc in next 15 sts; with A, 1 sc in next 26 sts – 56 sc.
Rnd 14: 1 sc in next 16 sts; with B, 1 sc in next 13 sts; with A, 1 sc in next 27 sts – 56 sc.
Rnd 15: 1 sc in next 17 sts; with B, 1 sc in next 11 sts; with A, 1 sc in next 28 sts – 56 sc.
Rnds 16 - 18: With A only, 1 sc in each st around – 56 sc.
Embroider the Mouth line with black embroidery thread.
Embroider the Eyebrows between Rnds 5 and 7 with black embroidery thread.
Rnd 19: (1 sc in next 6 sts, 2 sc in next st) rep twice, 1 sc in next 6 sts; with B, 2 sc in next st, 1 sc in next 5 sts; with A, 1 sc in next st, 2 sc in next st, (1 sc in next 6 sts, 2 sc in next st) rep four times – 64 sc.
Rnd 20: 1 sc in next 21 sts; with B, 1 sc in next 9 sts; with A, 1 sc in next 34 sts – 64 sc.
Rnds 21 - 29: 1 sc in next 20 sts; with B, 1 sc in next 11 sts; with A, 1 sc in next 33 sts – 64 sc.
Rnd 30: 1 sc in next 21 sts; with B, 1 sc in next 9 sts; with A, 1 sc in next 34 sts – 64 sc.
Rnd 31: 1 sc in next 22 sts; with B, 1 sc in next 7 sts; with A, 1 sc in next 35 sts – 64 sc.
Rnd 32: (1 sc in next 6 sts, sc2tog) rep around – 56 sc.
Begin stuffing and continue until piece is complete.
Rnd 33: (1 sc in next 5 sts, sc2tog) rep around – 48 sc.
Rnd 34: (1 sc in next 4 sts, sc2tog) rep around – 40 sc.
Rnd 35: (1 sc in next 3 sts, sc2tog) rep around – 32 sc.
Rnd 37: (1 sc in next 2 sts, sc2tog) rep around – 24 sc.
Rnd 38: (1 sc in next st, sc2tog) rep around – 16 sc.
Rnd 39: Sc2tog around – 8 sc.
Fasten off, leaving a long tail. Thread tail through top of sts of last rnd.
Pull tail to close opening and knot securely and weave in ends.
The black stripes are created using the surface crochet technique. The head features two vertical stripes on top, along with horizontal stripes on each side of the face, while the body stripes run horizontally around the torso, leaving the front belly area open.
Ears (make two)
With A, make a magic ring.
Rnd 1: 8 sc in the ring – 8 sc.
Rnd 2: (q sc in next 3 sts, 2 sc in next st) rep twice – 10 sc.
Rnd 3: 1 sc in each st around – 10 sc.
Rnd 4: sc2tog around – 5 sc.
Flatten the Ears and sew them onto the Head between Rnds 4 and 5.
Front Legs (make two)
With A, make a magic ring.
Rnd 1: 10 sc in the ring – 10 sc.
Rnds 2 - 3: 1 sc in each st around – 10 sc.
Rnd 4: (1 sc in next 3 sts, sc2tog) rep twice – 8 sc.
Rnd 5: 1 sc in each st around – 8 sc.
Rnd 6: (1 sc in next 2 sts, sc2tog) rep twice – 6 sc.
Rnds 7 - 9: 1 sc in each st around – 6 sc.
Do not stuff the Arms. Sew them to the side of the Body, between Rnds 18 and 19.
Back Legs (make two)
With C, make a magic ring.
Rnd 1: 8 sc in the ring – 8 sc.
Rnd 2: (1 sc in next 3 sts, 2 sc in next st) rep twice – 10 sc.
Rnds 3 - 6: 1 sc in st around – 10 sc.
Rnd 7: With A, 1 sc in each st around – 10 sc.
Rnd 8: 1 sc in each st around – 10 sc.
Stuff the Legs. Fasten off, leaving a long tail to sew the Legs to the bottom side of the Body, between Rnds 34 and 38.
Tail
With C, make a magic ring.
Rnd 1: 8 sc in the ring – 8 sc.
Rnds 2 - 3: 1 sc in each st around – 8 sc.
Rnd 4: With A, (1 sc in next 2 sts, sc2tog) rep twice – 6 sc.
Rnds 5 - 16: 1 sc in each st around – 6 sc.
Fasten off, leaving a long tail to sew the Tail to the bottom side of the Body, between Rnds 31 and 34.
The black stripes on the tail are created using the surface crochet technique, worked horizontally along its length.
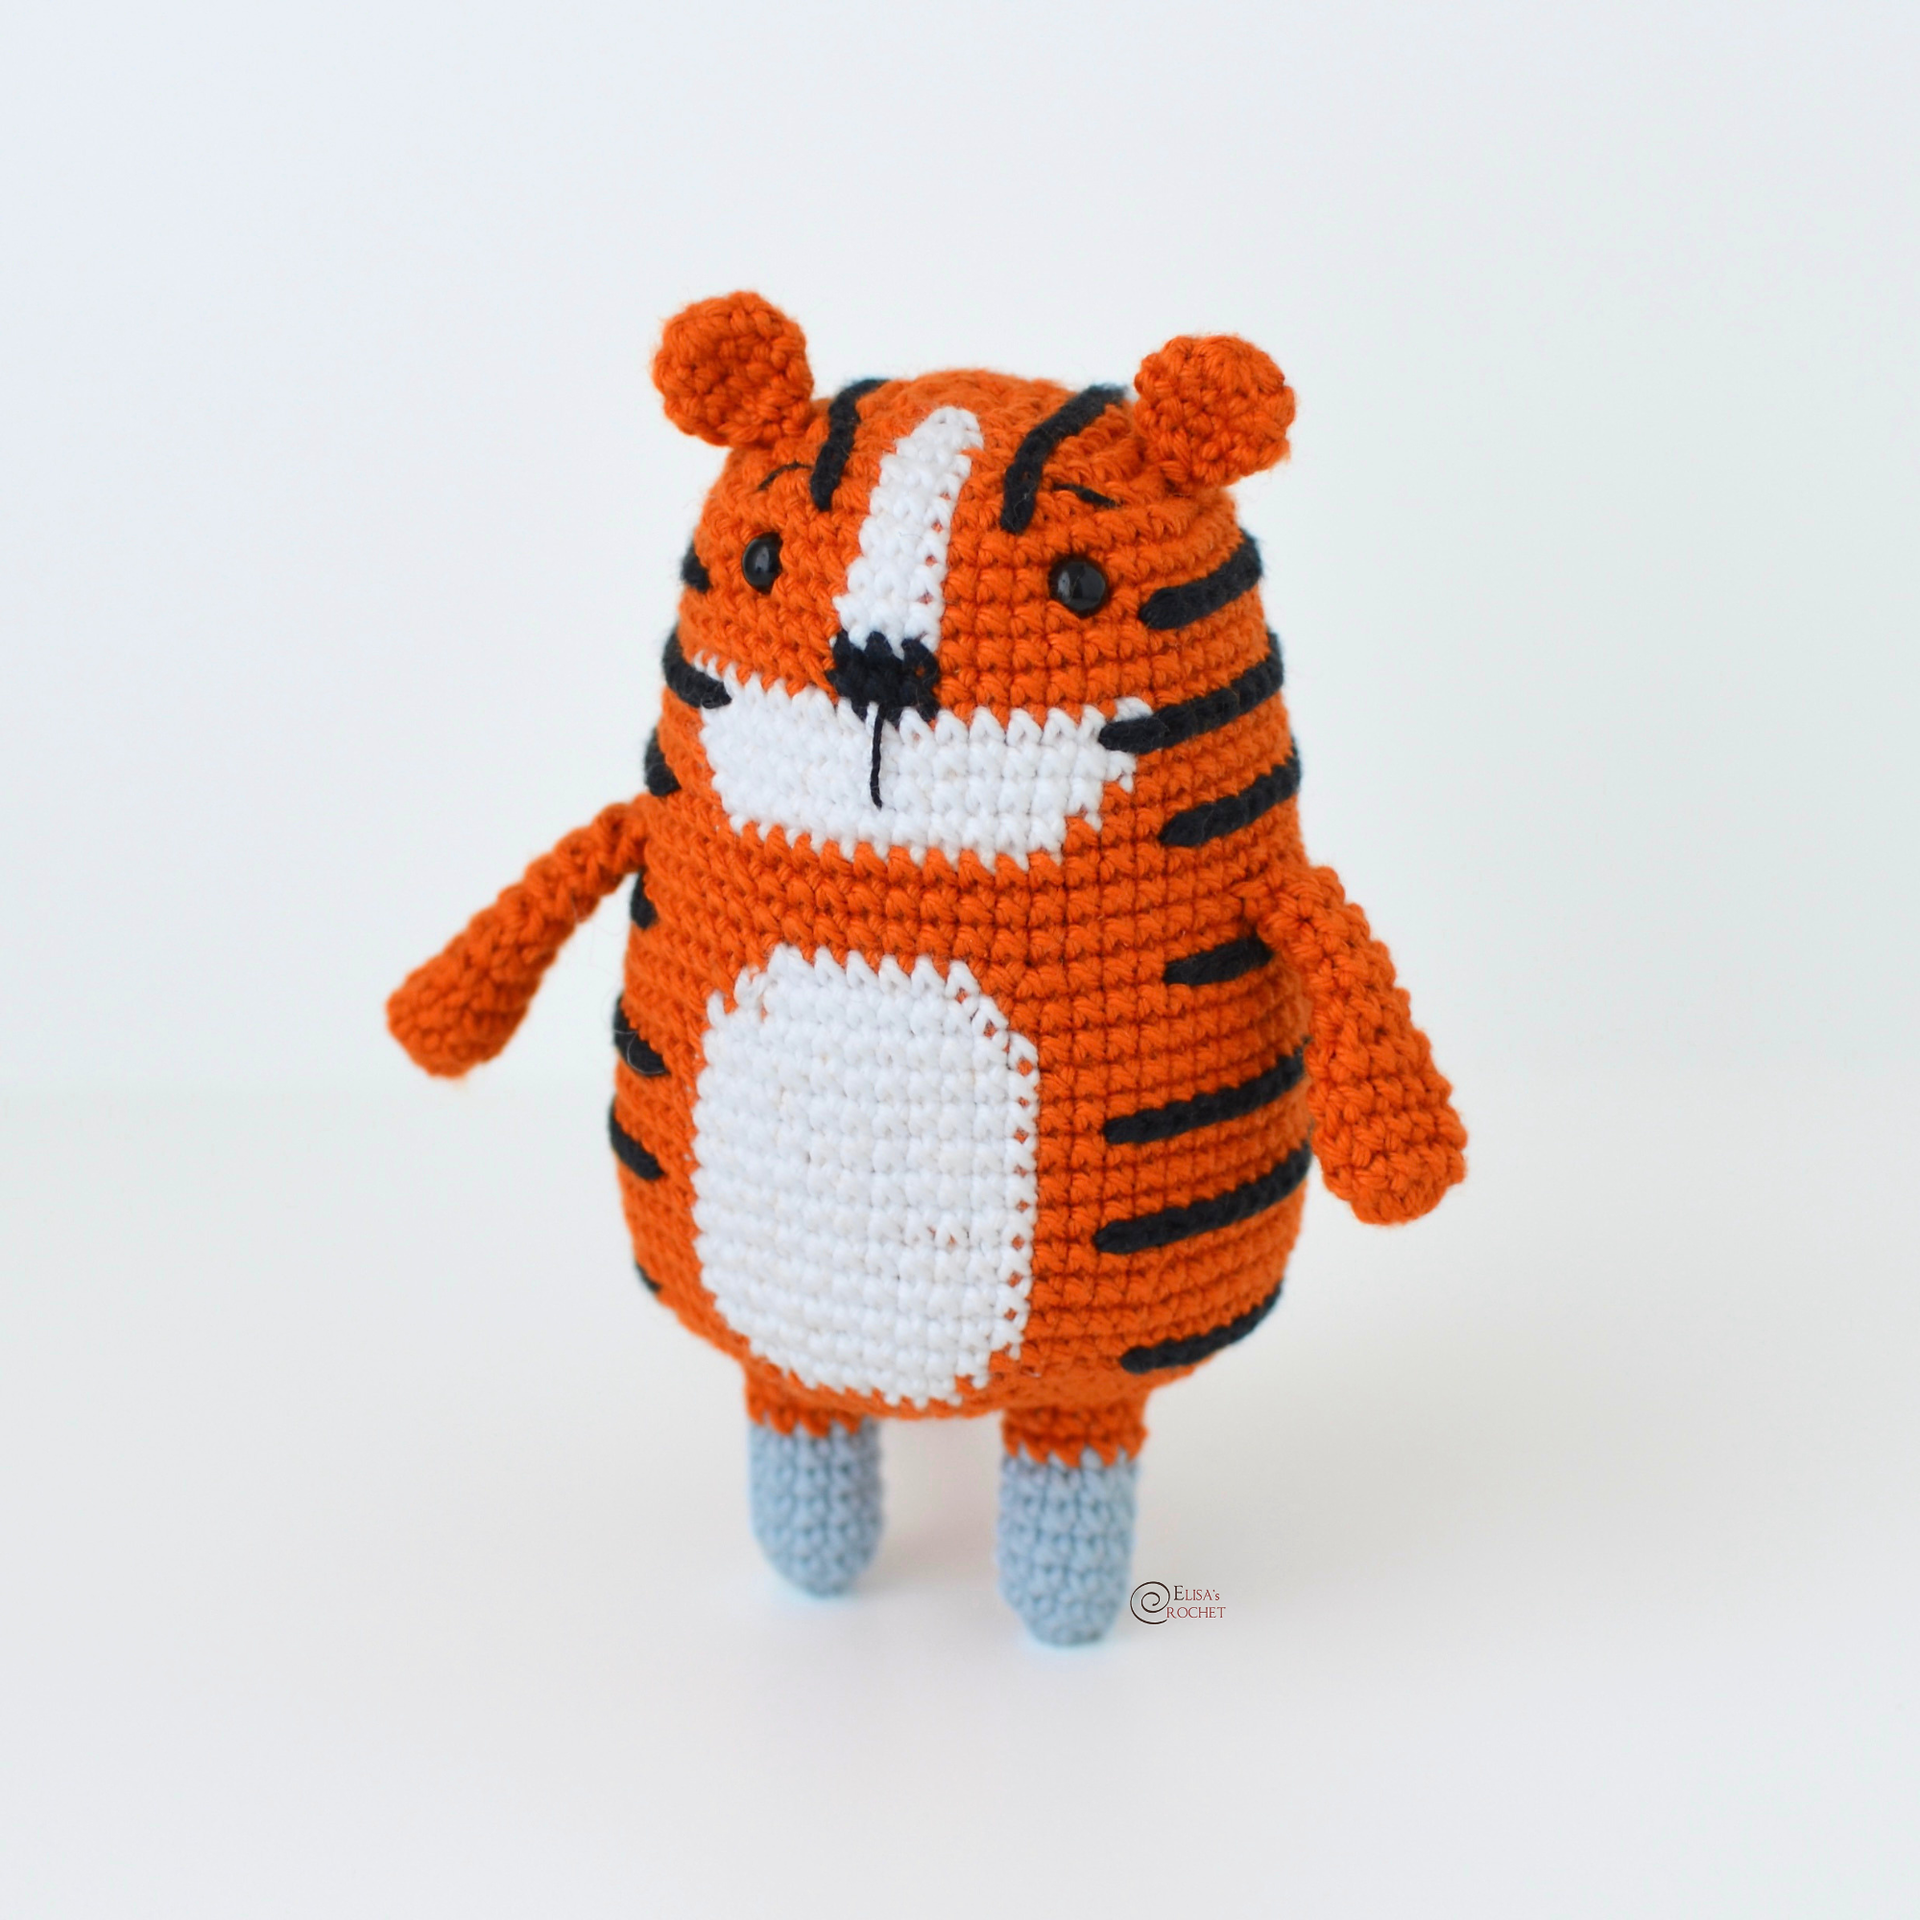
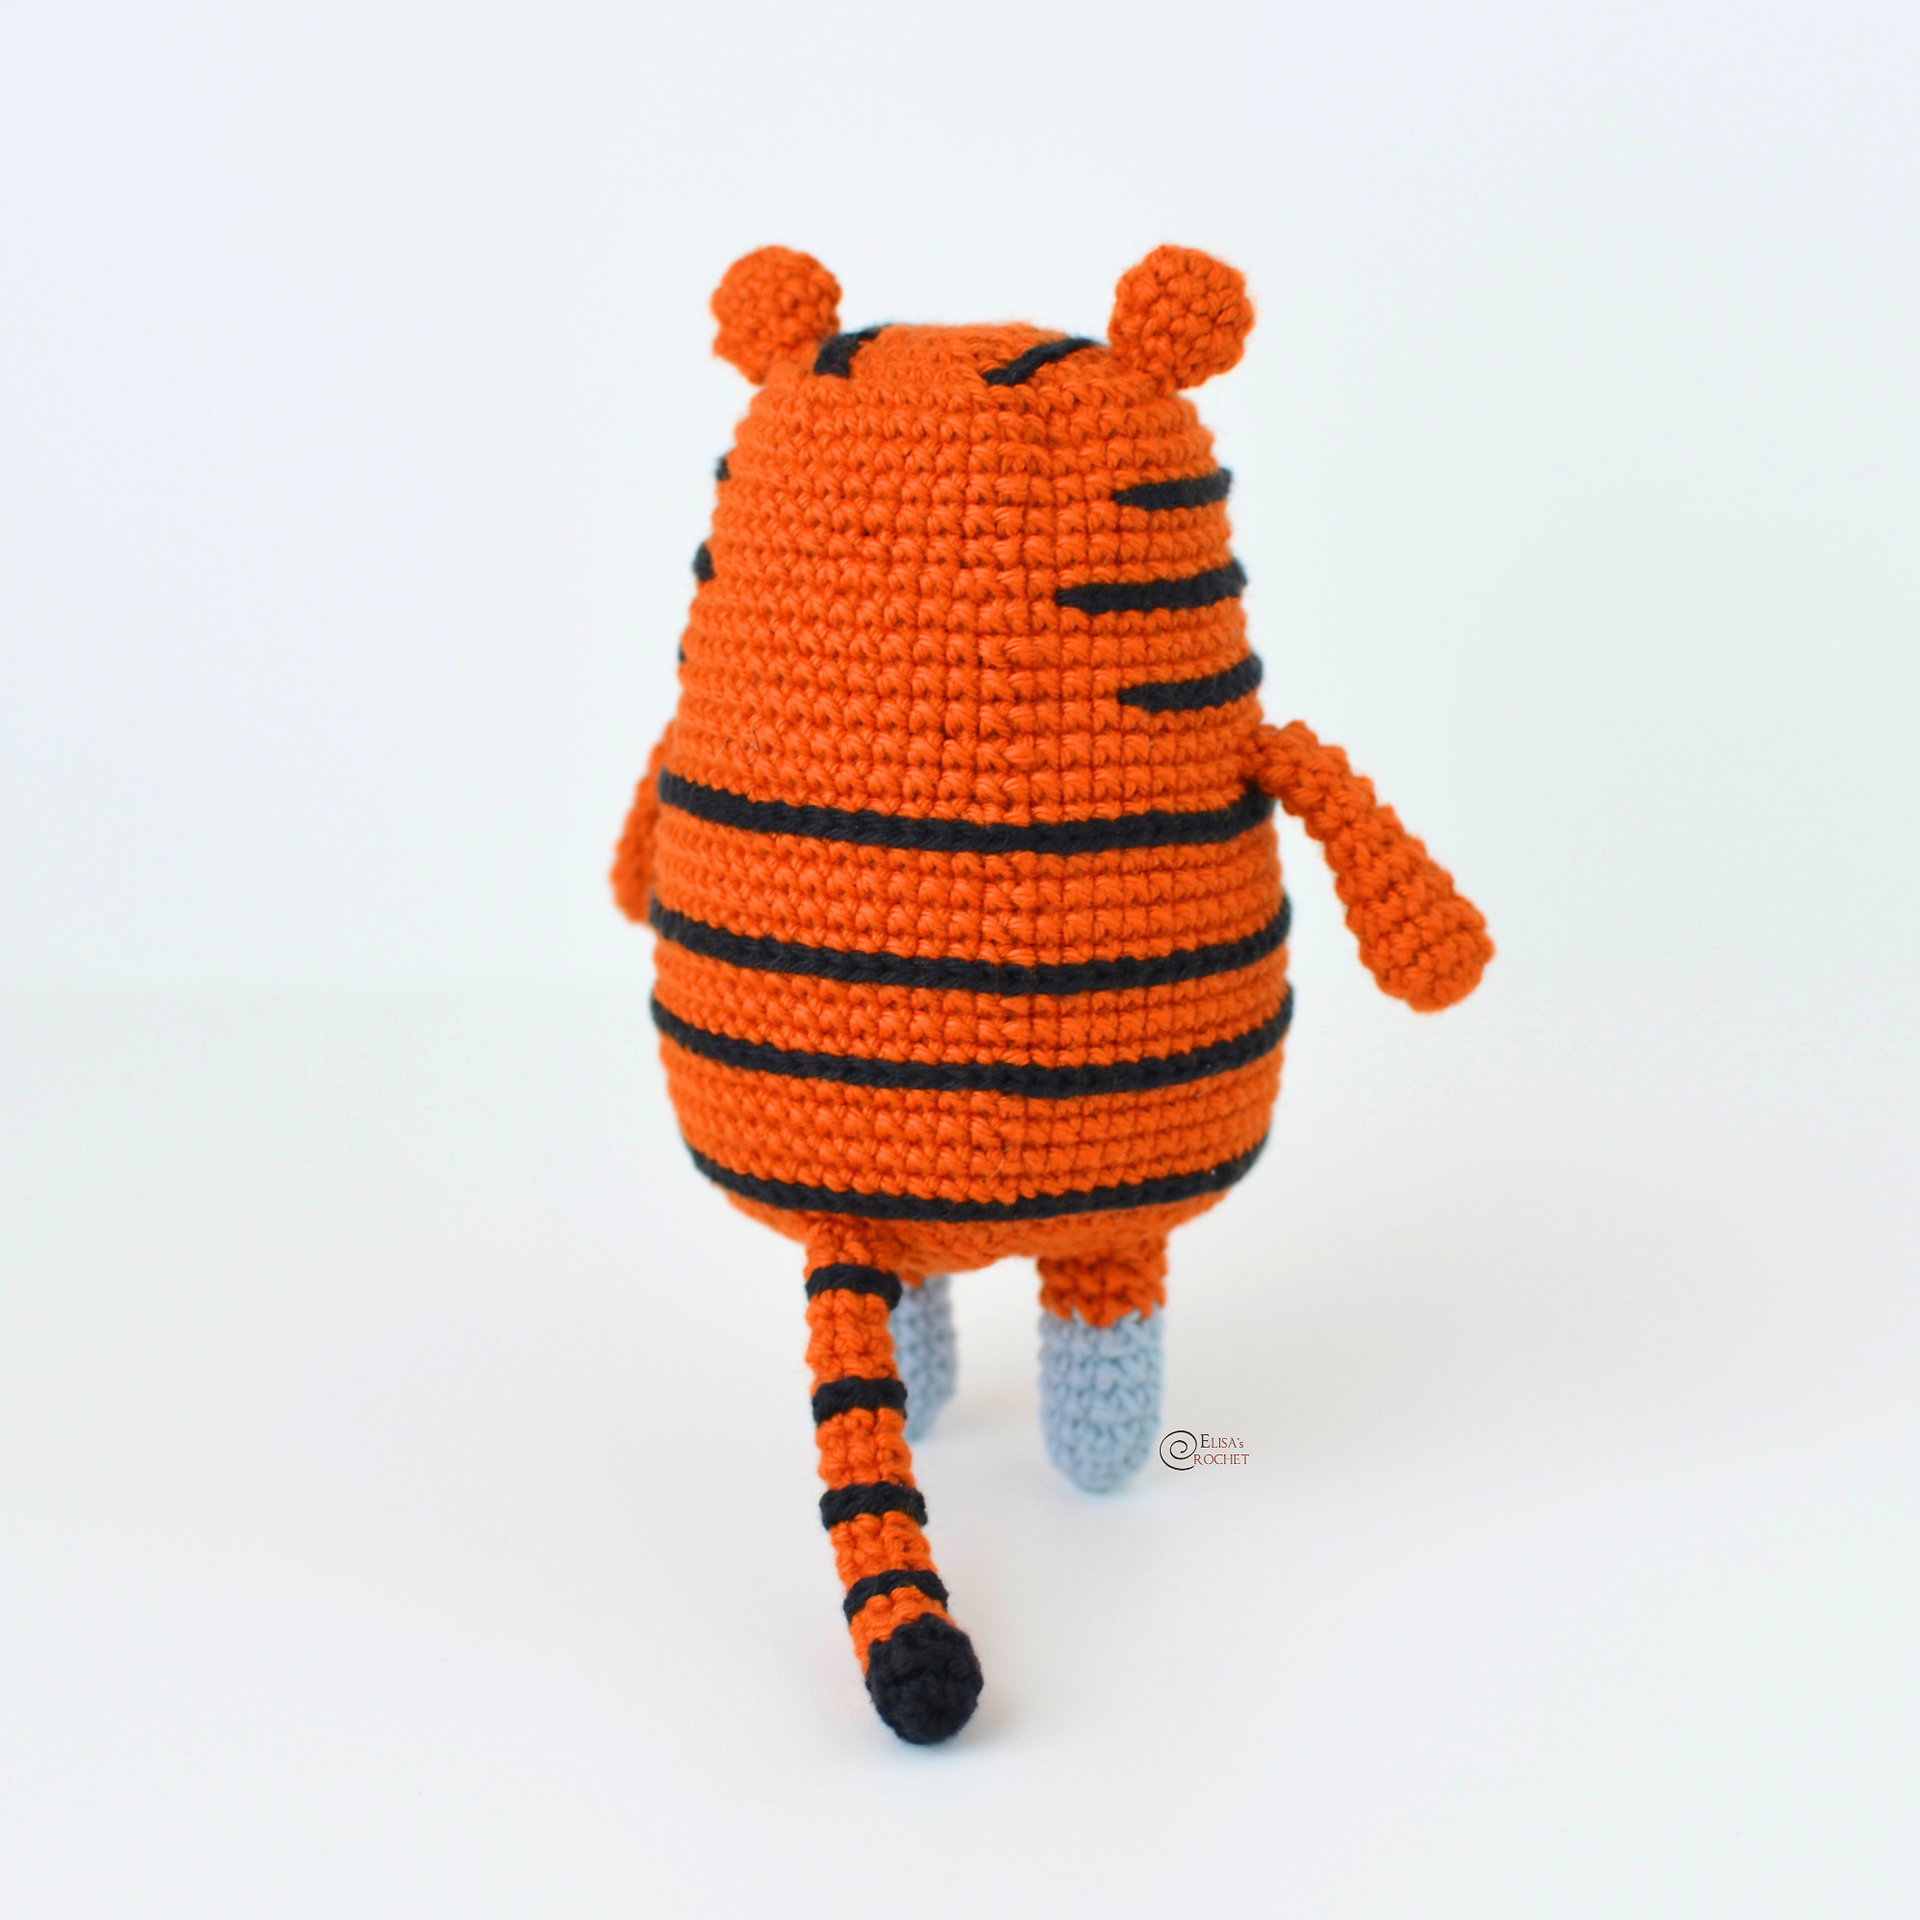


I can't wait to see your version of my RUBY THE TIGER. Feel free to tag me (@elisascrochet) in your photos on Instagram or Facebook!
Elisa
This pattern is an original pattern by Elisa Sartori of Elisa's Crochet. Please do not claim this pattern as your own. If you wish to share this pattern, you may link to this pattern but please do not reprint it on your site. You may keep a copy for your own personal use but please DO NOT sell the pattern or distribute it.
You may sell products made from this pattern but please clearly credit the design to me, Elisa Sartori of Elisa's Crochet. Permission is NOT granted for mass production or factory manufacturing of any kind. Thank you!
