
Zippy the Bunny Free Crochet Pattern
- Elisa
- Mar 24
- 5 min read

I’m so happy to introduce you to Zippy, my latest crochet project!
Designed with spring in mind, he feels right at home among fresh colors, blooming days, and all the joyful vibes of the Easter season.
Zippy is a fun and relaxing project to make; just the kind of design you’ll want on your hook as the days get brighter. His compact size and charming details make him perfect for:
Easter decorations
Handmade gifts
Adding a seasonal touch to your amigurumi collection
Using up some of your favorite yarn colors
The pattern for Zippy is available for free here on the blog, so you can start making your own bunny right away.
If you prefer a more detailed, visual approach, the illustrated PDF version is available in all my online shops.
It includes:
More than 20 step-by-step pictures
Helpful schematics
Extra guidance for assembly and details
The BOW TIE instructions
Perfect if you like having everything neatly organized and easy to follow.

12 pages with 20+ step-by step pictures, extra instructions for the BOW TIE, schematics, stitch tips designed to guide you through every stage of the project with ease!
Here is what you need!
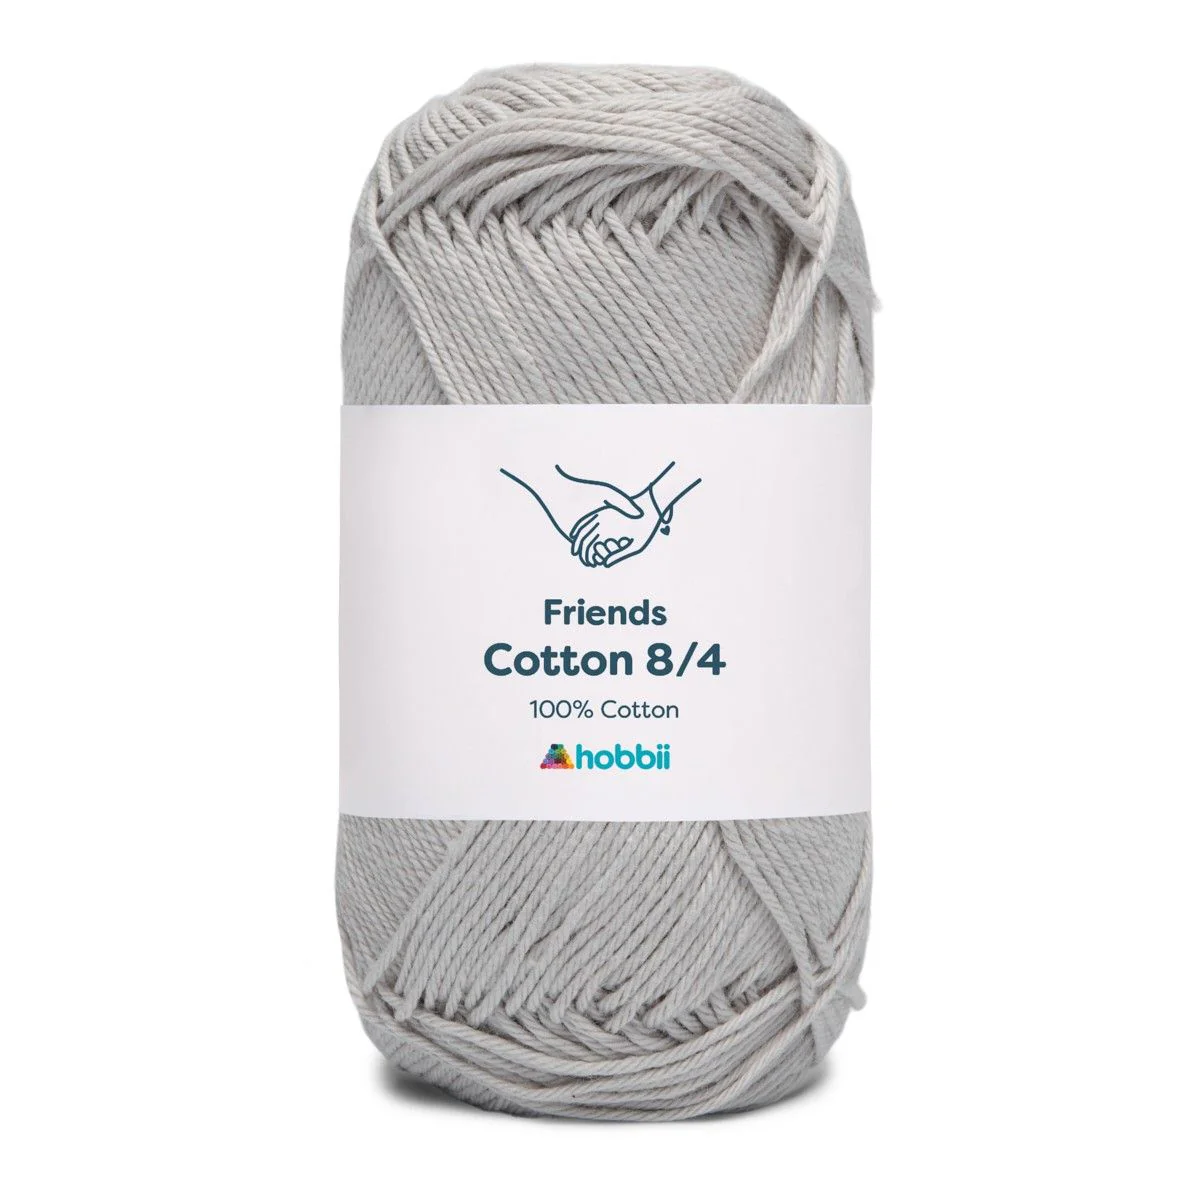
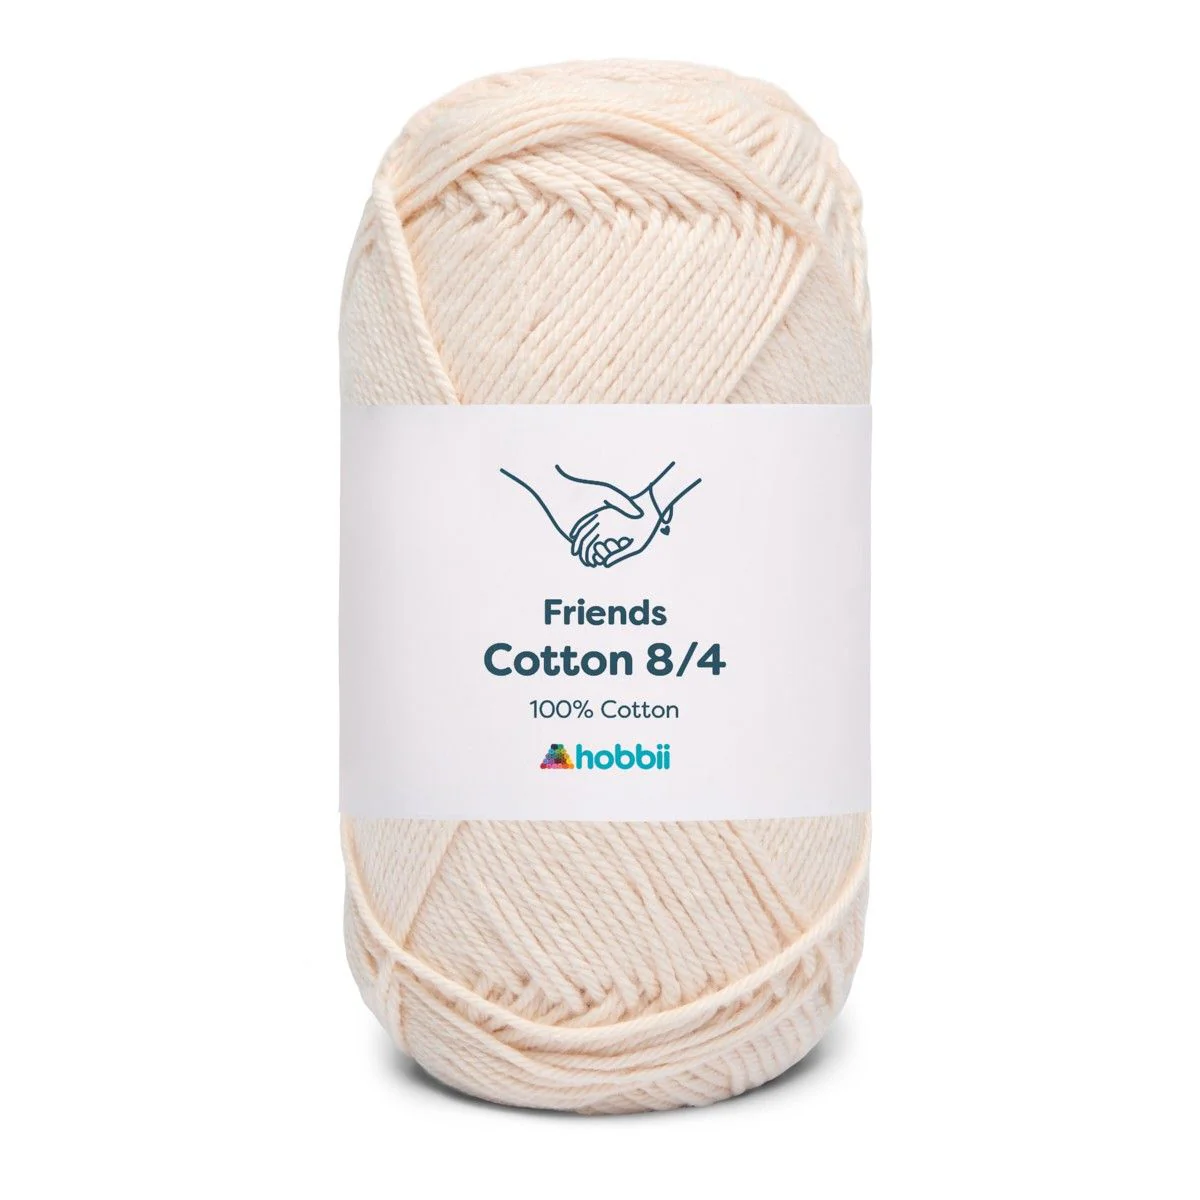
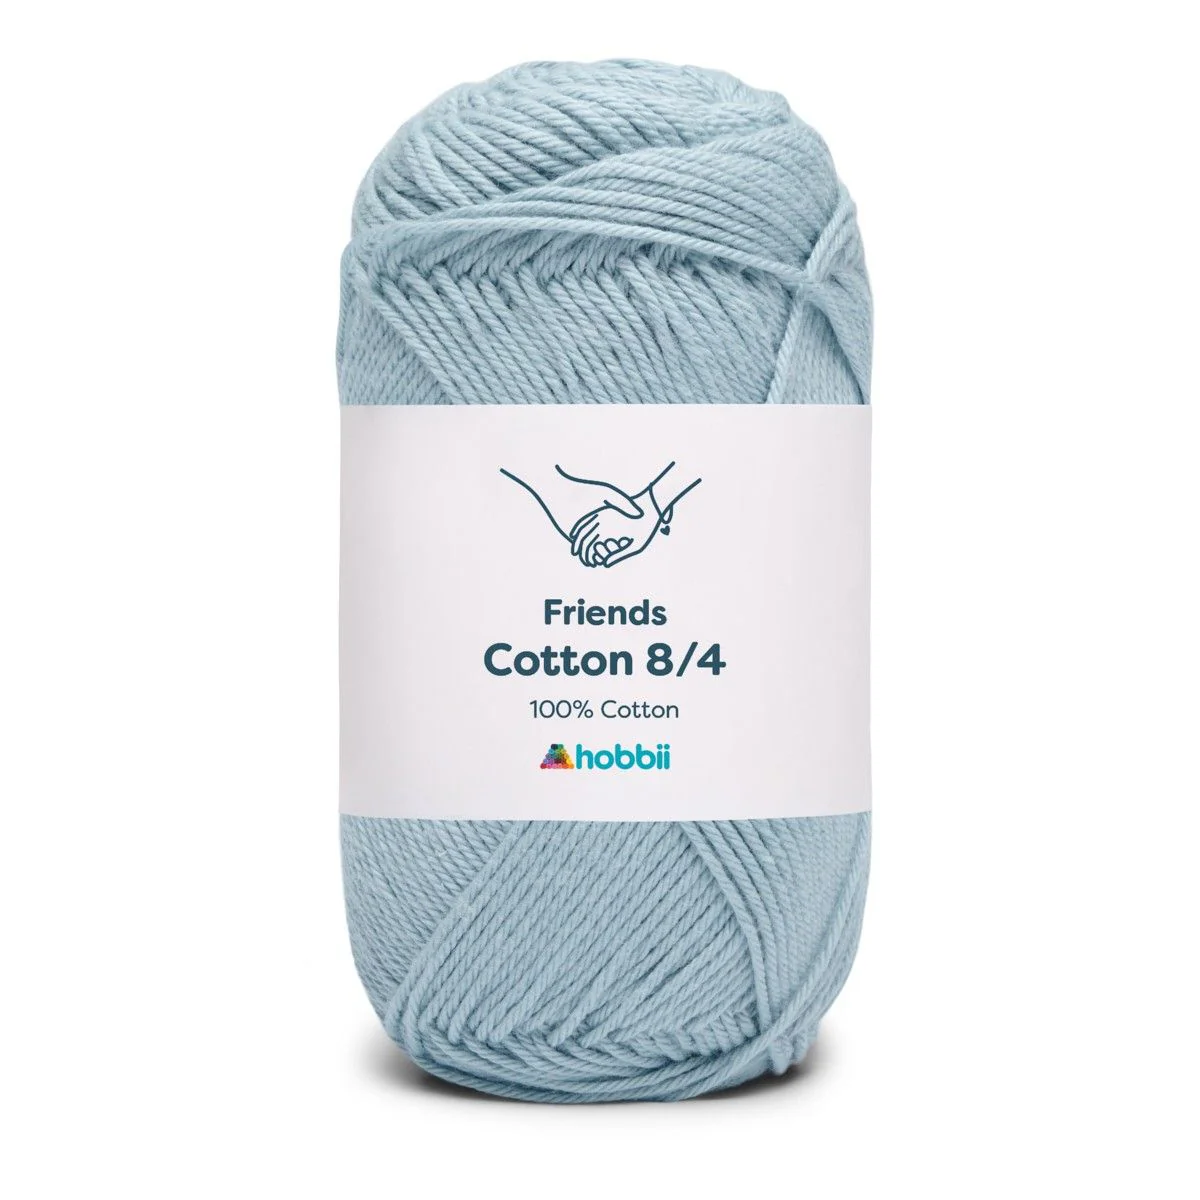
YARN
light yarn (3)
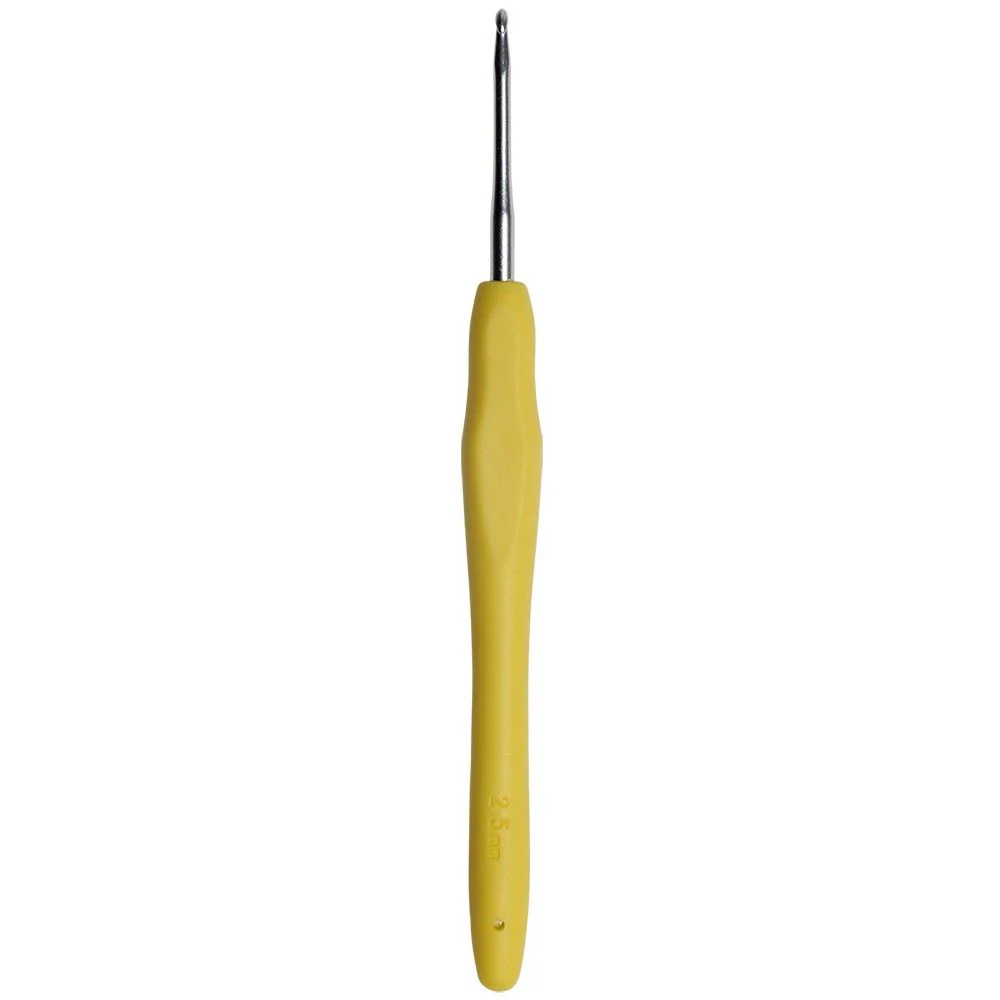
MATERIALS

2.5 mm Crochet Hook
Yarn Needle
Polyester Fiber Fill
DIMENSIONS
Approximately 5.5” (14 cm) tall
ABBREVIATIONS
chain (ch)
stitch (st)
slip stitch (sl st)
single crochet (sc)
half double crochet (hdc)
double crochet (dc)
repeat (rep)
SKILL LEVEL
Beginner

Disclosure. Most blog posts on this website contain affiliate links. This means I get a small commission if you click-through & purchase (no additional cost to you).
HEAD & BODY
With A, make a magic ring.
Rnd 1: Work 6 sc in the ring – 6 sc.
Rnd 2: 2 sc in each st around – 12 sc.
Rnd 3: (sc in next st, 2 sc in next st) rep around – 18 sc.
Rnd 4: (sc in next 2 sts, 2 sc in next st) rep around – 24 sc.
Rnd 5: Sc in each st around – 24 sc.
Rnd 6: (sc in next 3 sts, 2 sc in next st) rep around – 30 sc.
Rnds 7 - 11: Sc in each st around – 30 sc.
Rnd 12: (sc in next st, sc2tog) rep around – 20 sc.
Rnd 13: sc2tog around – 10 sc.
Rnd 14: With B, working in front loop only, 2 sc in each st around – 20 sc.
Begin stuffing and continue until piece is complete.
Rnd 15: Working in both loops now, (sc in next st, 2 sc in next st) rep around – 30 sc.
Rnd 16: (sc in next 4 sts, 2 sc in next st) rep around – 36 sc.
Rnds 17 - 18: Sc in each st around – 36 sc.
Rnd 19: (sc in next 5 sts, 2 sc in next st) rep around – 42 sc.
Rnd 20: With C, sc in each st around – 42 sc.
Rnds 21 - 24: Sc in each st around – 42 sc.
Rnd 25: (sc in next 5 sts, sc2tog) rep around – 36 sc.
Rnd 26: (sc in next 4 sts, sc2tog) rep around – 30 sc.
Rnd 27: (sc in next st, sc2tog) rep around – 20 sc.
Rnd 28: sc2tog around – 10 sc.
Fasten off, leaving a long tail. Thread tail through top of sts of last rnd.
Pull tail to close opening and knot securely and weave in ends.
With black thread, embroider Eyes, Eyebrows, Nose and Mouth Line
With B, embroider a vertical line on outer sides of Eyes.
Ears (make two)
With A
Rnd 1: Ch 11, sl st in 2nd ch from the hook, sc in next 2 sts, hdc in next 2 sts, dc in next 4 sts, (2 dc, 2 chs, 2 dc) in last ch; keep working on the other side of the foundation chain, dc in next 4 sts, hdc in next 2 sts, sc in next 2 sts, sl st in last st – 24 sts.
Fasten off and leave a long tail to sew Ears on top of Head.
Front LEGS (make 2)
With B, make a magic ring.
Rnd 1: Work 6 sc in the ring – 6 sc.
Rnds 2 - 3: Sc in each st around – 6 sc.
Rnds 4 - 8: With A, sc in each st around – 6 sc.
Stuff the Front Leg lightly.
Row 9: Flatten the piece and work through both layers, sc in each st across – 3 sc.
Fasten off leaving a long tail to sew Front Legs to Body.
With C, work the surface crochet technique to create Suspenders.
Back Legs (make 2)
With A, make a magic ring.
Rnd 1: Work 8 sc in the ring – 8 sc.
Rnd 2: (sc in next 3 sts, 2 sc in next st) rep twice – 10 sc.
Rnds 3 - 4: Sc in each st around – 10 sc.
Rnd 5: Sc in next 6 sts, sc2tog twice – 8 sc.
Begin stuffing the Leg and continue until piece is complete.
Rnd 6: Sc in next 4 sts, sc2tog twice – 6 sc.
Rnd 7: Working in front loop only, 2 sc in next 2 sts, working in both loops now, sc2tog twice – 6 sc.
Rnd 8: With C, sc in each st around – 6 sc.
Rnd 9: (sc in next 2 sts, 2 sc in next st) rep twice – 8 sc.
Rnd 2: (sc in next 3 sts, 2 sc in next st) rep twice – 10 sc.
Fasten off and leave a long tail of yarn to sew the Legs to the Body.
Tail
With A, make a magic ring.
Rnd 1: Work 8 sc in the ring – 8 sc.
Rnds 2 - 3: Sc in each st around – 8 sc.
Stuff the Tail. Fasten off, leaving a long strand of yarn to sew the tail to the back of the Body.

I can't wait to see your version of my ZIPPY THE BUNNY. Feel free to tag me (@elisascrochet) in your photos on Instagram or Facebook!
Elisa
This pattern is an original pattern by Elisa Sartori of Elisa's Crochet. Please do not claim this pattern as your own. If you wish to share this pattern, you may link to this pattern but please do not reprint it on your site. You may keep a copy for your own personal use but please DO NOT sell the pattern or distribute it.
You may sell products made from this pattern but please clearly credit the design to me, Elisa Sartori of Elisa's Crochet. Permission is NOT granted for mass production or factory manufacturing of any kind. Thank you!