
Bobble Stitch Pumpkin Free Pattern
- Elisa
- Jul 29, 2025
- 3 min read


Happy Tuesday my fellow crafters!
There’s something about bobble stitches that makes any crochet project extra fun and full of texture! This crocheted pumpkin is one of my favorite ways to play with them – simple, cute, and perfect for adding a cozy handmade touch to your fall décor.
On the blog today, I’m sharing the basic instructions for free, so you can make your own bobble stitch pumpkin and experiment with colors, sizes, and textures.
If you prefer a more detailed version of the pattern, complete with step-by-step photos, helpful tips, and schematics to guide you through every step, you can find the full PDF pattern in my Etsy store.
Happy crocheting!

***You can purchase 4 downloadable AD-FREE PDFs of the patterns - many step-by-step pictures, schematics and tips to guide you through the making process on Etsy HERE !
Here is what you need!
YARN
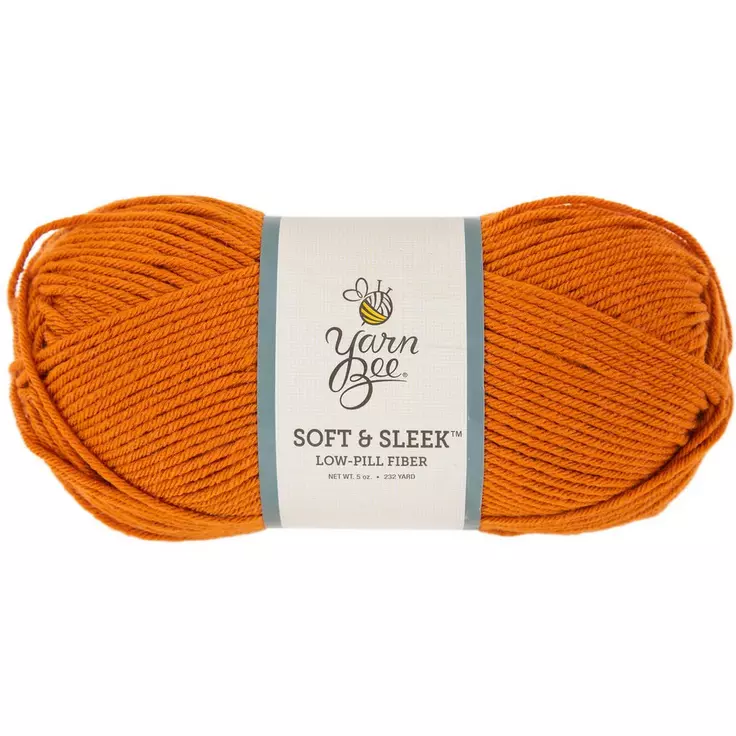
YARN BEE Soft and Sleek
#805 Pumpkin 1 ball
MATERIALS
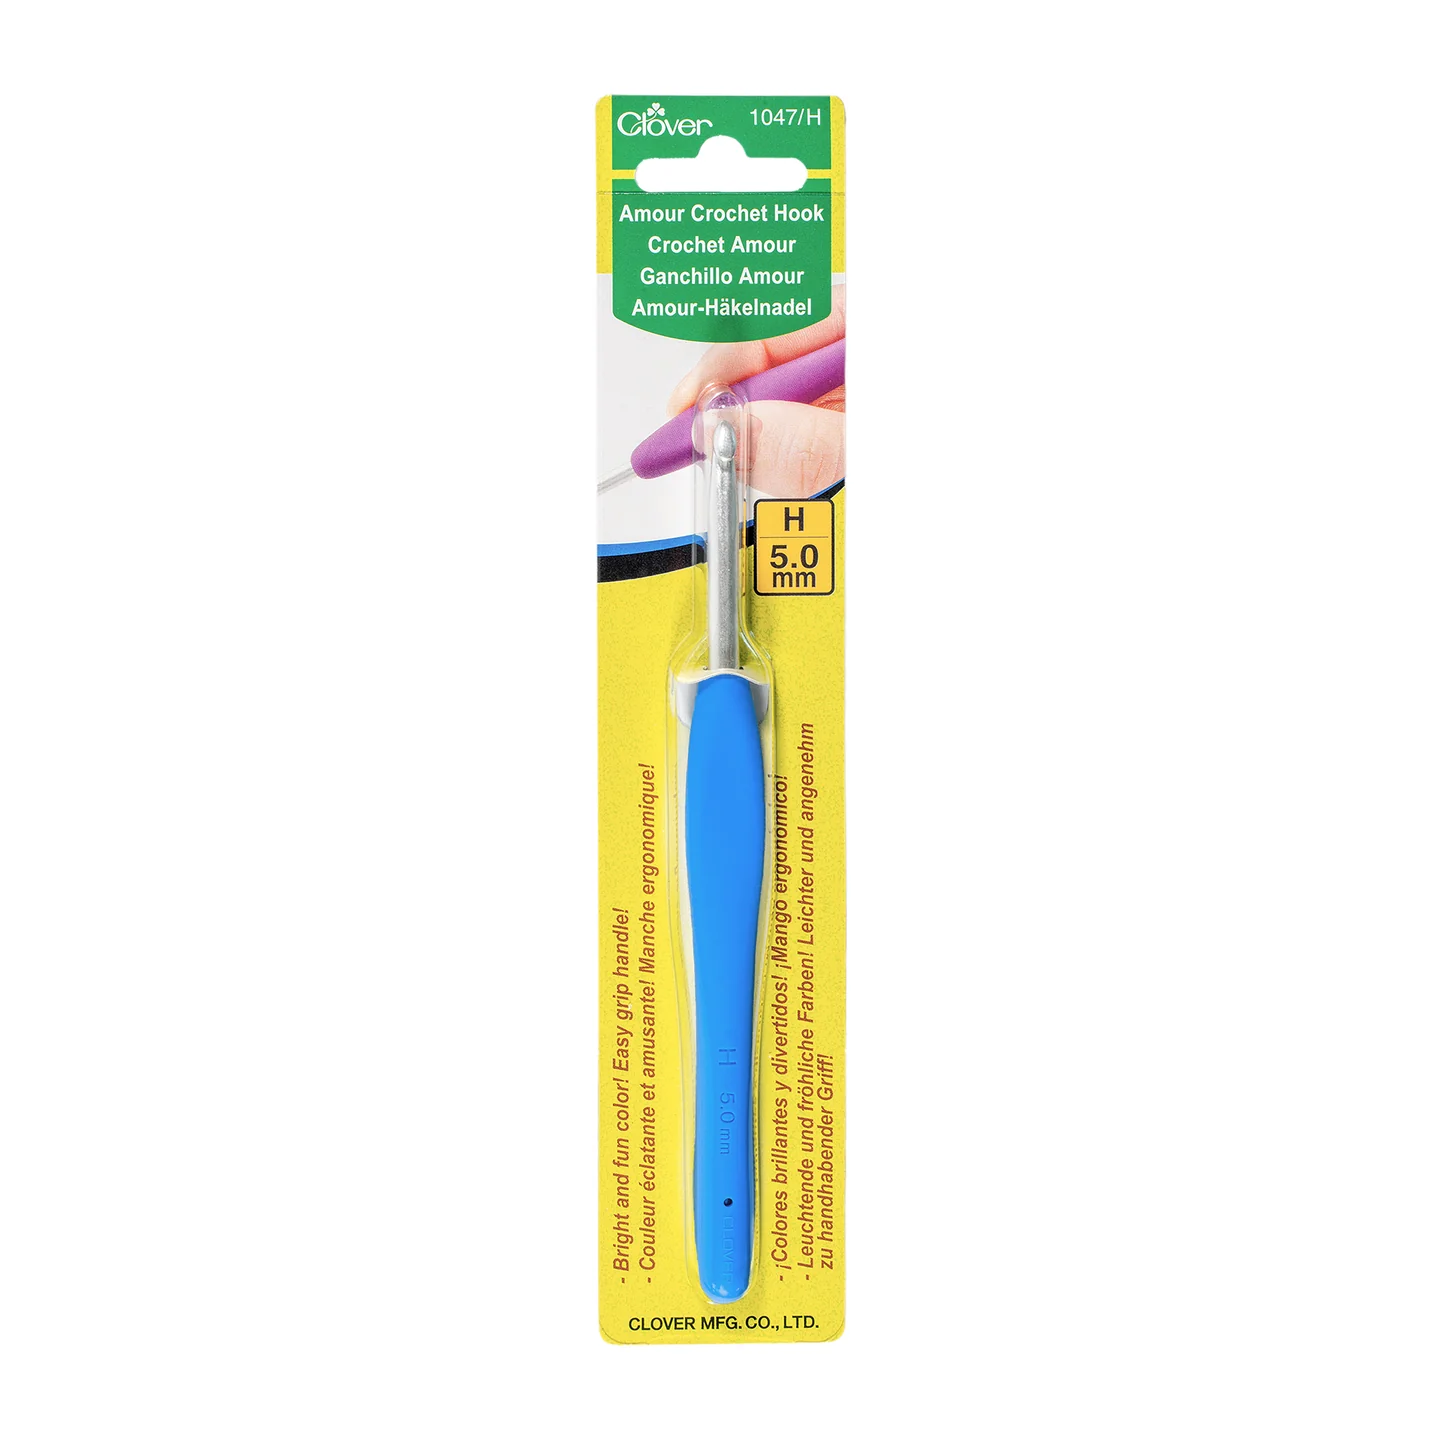
5 mm crochet hook
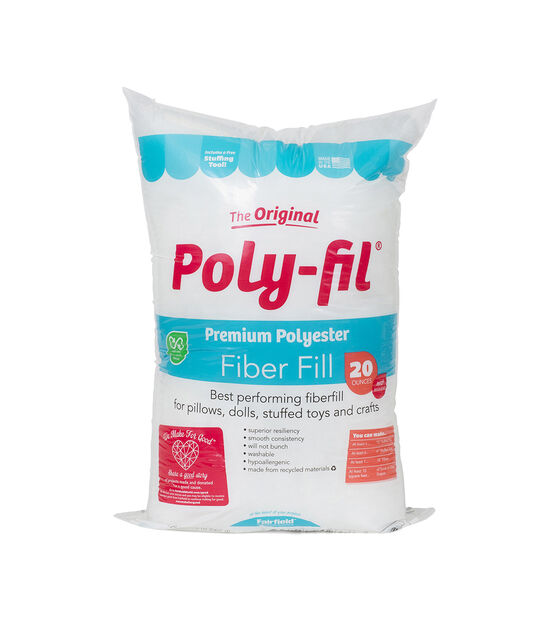
poly filling
yarn needle
Wooden Stick thick)
DIMENSIONS
Approximately 7 in. (18 cm) tall
SKILL LEVEL
Easy
ABBREVIATIONS
magic ring (mr)
chain (ch)
stitch (st)
slip stitch (sl st)
single crochet (sc)
bobble stitch (bo)
repeat (rep)

Disclosure. Most blog posts on this website contain affiliate links. This means I get a small commission if you click-through & purchase (no additional cost to you).
Pumpkin
With A
Row 1: Ch 30, sc in 2nd ch from the hook, sc in next 28 chs – 29 sc; turn.
Row 2: Ch 1, (sc in next st, bo in next st) rep 14 times, sc in next st – 29 sts; turn.
Rows 3 - 4: Ch 1, sc in each st along – 29 sc; turn.
Row 5: Ch 1, sc in each st along – 29 sc; turn.
Row 6: Ch 1, (sc in next st, bo in next st) rep 14 times, sc in next st – 29 sts; turn.
Rows 7 - 8: Ch 1, sc in each st along – 29 sc; turn.
Rows 9 - 48: Rep Rows 5, 6, 7 and 8 – 29 sts; turn.
Fold the panel in half with bobbles on the inside and join the short sides with slip stitches. Turn right side out and use the yarn tail to close one open end: thread it onto a yarn needle, weave it through the stitches around the edge of the opening, and pull tight to cinch it closed. Stuff the pumpkin, then close the other end. Finish off and weave in ends. Finally, insert a small wooden stem into one of the top openings and secure it in place.

I can't wait to see your version of my BOBBLE STITCH PUMPKIN. Feel free to tag me (@elisascrochet) in your photos on Instagram or Facebook!
Elisa
This pattern is an original pattern by Elisa Sartori of Elisa's Crochet. Please do not claim this pattern as your own. If you wish to share this pattern, you may link to this pattern but please do not reprint it on your site. You may keep a copy for your own personal use but please DO NOT sell the pattern or distribute it.
You may sell products made from this pattern but please clearly credit the design to me, Elisa Sartori of Elisa's Crochet. Permission is NOT granted for mass production or factory manufacturing of any kind. Thank you!


