Camille the Bunny Free Crochet Pattern
- Elisa
- Mar 7, 2023
- 9 min read

Updated: Mar 21, 2023

Welcome back to my blog my friends!
March has started and it's time to have some fun with another beautiful yarn from Lion Brand Yarn Company!
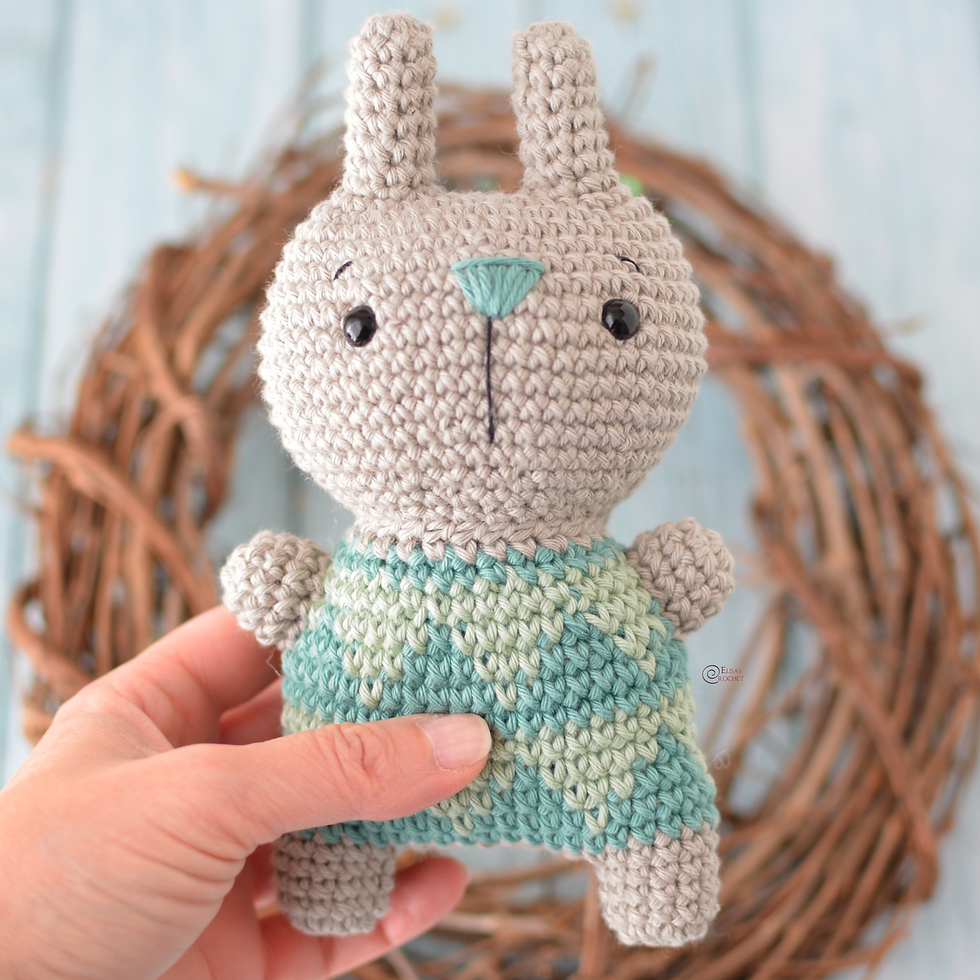
For today's project I decided to revisit an old design of mine - Camille the Bunny.
I reworked the bunny, improving little things here and there, adjusting proportions and make Camille look even cuter!
The gorgeous and super soft Lion Brand Pound of Love works up nicely, and the ball size makes it just right to stitch up big projects like blankets and afghans.
The free pattern you'll find below includes the instructions to crochet the bunny' body.
If you'd like to complete the look creating the adorable turquoise dress, head over my Etsy page to find the complete version of the pattern.

***You can purchase a downloadable AD-FREE PDF of the pattern with more than 40
step-by-step pictures, diagrams

Here is the FREE pattern!
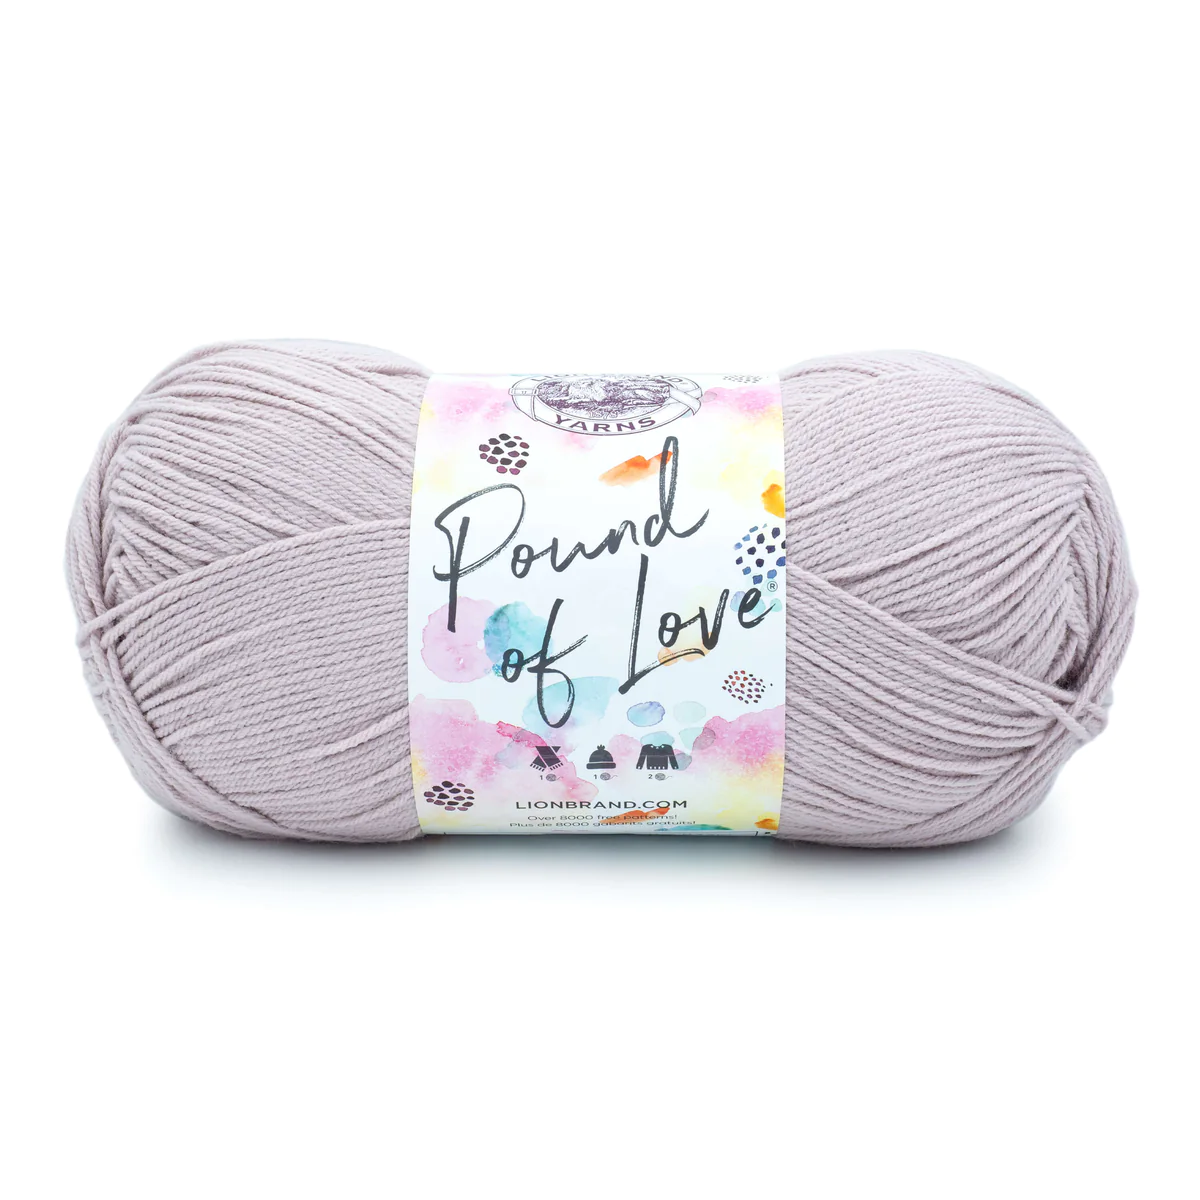
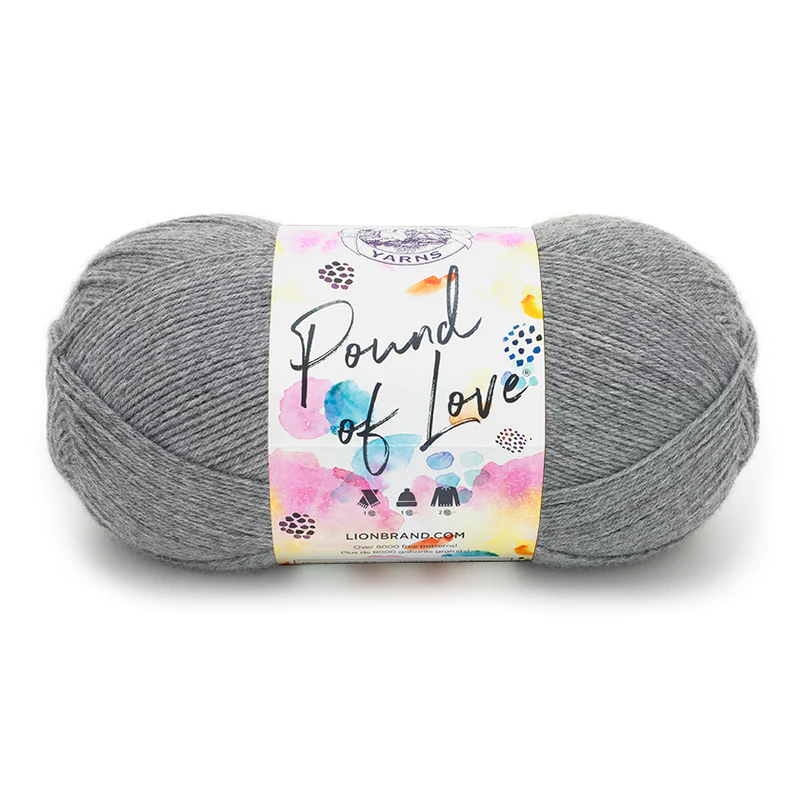
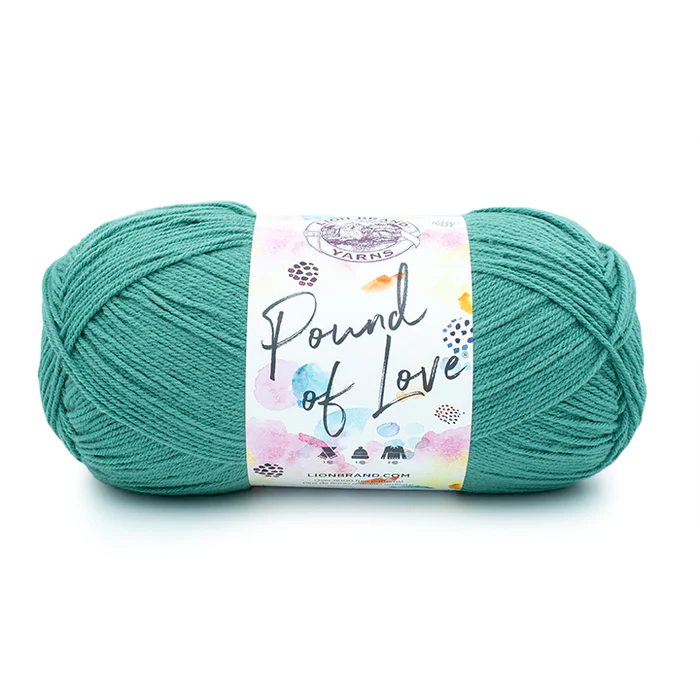
YARN: Lion Brand POUND OF LOVE - worsted weight yarn (4) in #141R Quartz 1 ball (A), #173AB Waterfall 1 ball (B), #150U Oxford Grey 1 ball (C)
MATERIALS: E 3.5 mm crochet hook, 10mm black plastic safety eyes, poly filling, yarn needle.
ABBREVIATIONS: magic ring (mr), chain (ch), stitch (st), slip stitch (sl st), single crochet (sc), half double crochet (hdc), double crochet (dc), fasten off (F/O), skip (sk), increase (inc), decrease (dec)
SKILL LEVEL: Beginner


Disclosure. Most blog posts on this website contain affiliate links. This means I get a small commission if you click-through & purchase (no additional cost to you).
HEAD
With A, make a magic ring.
Rnd 1: work 6 sc in ring.
Rnd 2: 2 sc in each st around – 12 sc.
Rnd 3: * sc in next st, 2 sc in next st; rep from * around – 18 sc.
Rnd 4: * sc in next 2 sts, 2 sc in next st; rep from * around – 24 sc.
Rnd 5: * sc in next 3 sts, 2 sc in next st; rep from * around – 30 sc.
Rnd 6: * sc in next 4 sts, 2 sc in next st; rep from * around – 36 sc.
Rnd 7: sc in each st around – 36 sc.
Rnd 8: * sc in next 5 sts, 2 sc in next st; rep from * around – 42 sc.
Rnd 9: * sc in next 6 sts, 2 sc in next st; rep from * around – 48 sc.
Rnds 10 - 13: 1 sc in each st around – 48 sc.
Rnd 14: 1 sc in the next 20 sts, 2 sc in each of the next 28 sts – 76 sc.
Rnd 15: 1 sc in each st around – 76 sc.
Rnd 16: 1 sc in the next 20 sts, * sc2tog, 1 sc in next 12 sts; rep from * 4 times – 72 sc.
Rnd 17: 1 sc in the next 20 sts, * sc2tog, 1 sc in next 23 sts; rep from * twice, sc2tog – 69 sc.
Rnd 18: 1 sc in the next 20 sts, sc2tog, 1 sc in next 45 sts, sc2tog – 67 sc.
Rnd 19: 1 sc in the next 20 sts, sc2tog, * 1 sc in next 7 sts, sc2tog; rep from * 5 times – 61 sc.
Rnd 20: 1 sc in the next 59 sts, sc2tog – 60 sc.
Rnd 21: 1 sc in each st around – 60 sc.
Rnd 22: * 1 sc in next 8 sts, sc2tog; rep from * 6 times – 54 sc.
Insert plastic safety eyes on front of Head (on the side with the 28 increases) between Rnds 11 and 12, about 9 sts apart.
Rnd 23: * 1 sc in next 7 sts, sc2tog; rep from * twice, * 1 sc in next 4 sts, sc2tog; rep from * 6 times – 46 sc.
Rnd 24: 1 sc in each st around – 46 sc.
Begin stuffing piece and continue stuffing until piece is complete.
Rnd 25: 1 sc in the next 16 sts, * 1 sc in next 3 sts, sc2tog; rep from * 6 times – 40 sc.
Rnd 26: * 1 sc in next 3 sts, sc2tog; rep from * 8 times – 32 sc.
Rnd 27: * 1 sc in next 2 sts, sc2tog; rep from * 8 times – 24 sc.
Rnd 28: * 1 sc in next 2 sts, sc2tog; rep from * 6 times – 18 sc.
Fasten off.
NOSE
With C make a magic ring.
Row 1: work 2 sc in ring; do not close the ring; pull the yarn tail to draw the center of the ring closed; Turn – 2 sc in each of the next 2 sts – 4 sc.
Row 2: 2 sc in next st, 1 sc in each of next 2 sts, 2 sc in next st – 6 sc.
Do not fasten off; start to work in rnd.
Rnd 3: Ch 1, 2 sc in next st (corner st), sc in next st, 2 sc in gap between 2 scs of row 1 (corner st), 1 sc in next st, 1 sc in next st, 3 sc in next st (corner st), 1 sc in next 4 sts, 1 sc in next st (corner st), join to 1st st with a sl st – 15 sc.
Fasten off, leaving a long tail for sewing Nose to Head between rnds 12 and 18.
With C, embroider mouth line between rnds 17 and 23.
With C, embroider eyebrows on face between rnds 6 and 10, approximately 7 sts apart.
LEGS AND BODY
Leg I
With A
Rnd 1: Ch 8, 3 sc in 2nd ch from hook, 1 sc in next 5 chs, 3 sc in the last ch; working along opposite side of beg ch-8, 1 sc in next 5 chs; join with sl st in first sc – 16 sc.
Rnd 2: Ch 1, 2 sc in next 3 sts, sc in next 5 sts, 2 sc in next 3 sts, sc in next 5 sts; join with sl st in first sc – 22 sc.
Rnd 3: Ch 1, * 1 sc in next st, 2 sc in the next st; rep from * 3 times, sc in next 5 sts, * 1 sc in next st, sc2tog; rep from * 3 times, sc in next 5 sts; join with sl st in first sc – 28 sc.
Rnd 4: Ch 1, * 1 sc in next 2 sts, 2 sc in the next st; rep from * 3 times, sc in next 5 sts, * 1 sc in next 2 sts, 2 sc in the next st; rep from * 3 times, sc in next 5 sts; join with sl st in first sc – 34 sc.
Rnds 5 - 7: Ch 1, sc in each st around; join with sl st in first sc – 34 sc.
Rnd 8: Ch 1, 1 sc in the next 14 sts, * 1 sc in next st, sc2tog; rep from * 6 times, 1 sc in the next 2 sts; join with sl st in first sc – 28 sc.
Rnd 9: Ch 1, 1 sc in the next 3 sts, * 1 sc in next st, sc2tog; rep from * twice, 1 sc in the next 8 sts, 4 sc2tog,1 sc in next 3 sts; join with sl st in first sc – 22 sc.
Rnd 10: Ch 1, 1 sc in the next 13 sts, 4 sc2tog, sc in next st; join with sl st in first
sc – 18 sc.
Begin stuffing piece and continue stuffing until piece is complete.
Rnd 11: Ch 1, sc2tog ,1 sc in the next 8 sts, sc2tog, 1 sc in next 6 sts; join with sl st in first sc – 16 sc.
Rnds 12 - 21: Ch 1, sc in each st around; join with sl st in first sc – 16 sc.
Rnd 22: Ch 1, * 1 sc in next 7 sts, 2 sc in next st; rep from * twice; join with sl st in first sc – 18 sc.
Rnds 23 and 24: Ch 1, sc in each st around; join with sl st in first sc – 18 sc.
Rnd 25: Ch 1, * 1 sc in next 8 sts, 2 sc in next st; rep from * twice; join with sl st in first sc – 20 sc.
Rnd 26: Ch 1, sc in each st around; join with sl st in first sc – 20 sc.
Fasten off.
Leg II
Work same as Leg I, work 3 sc more at the end of rnd 26. Do not fasten off.
Join Legs
Rnd 27: Ch 2 (for space between legs), insert hook in st # 14th of last rnd of Leg I and draw up a loop, ch 1, sc in same st, sc in next 19 st; working in back bumps of chains
between legs, 1 sc in next 2 chs; working in sts of Leg II, sc in first st following chain between legs, sc in next 19 sts; working in chains between legs, 1 sc in next 2 chs – 44 sts.
Do not fasten off.
Body
Rnds 28 - 34: sc in each st around – 44 sc.
Begin stuffing piece and continue stuffing until piece is complete.
Rnd 35: * 1 sc in next 20 sts, sc2tog; rep from * twice – 42 sc.
Rnds 36 and 37: sc in each st around – 42 sc.
Rnd 38: * 1 sc in next 5 sts, sc2tog; rep from * around – 36 sc.
Rnds 39 - 44: sc in each st around – 36 sc.
Rnd 45: * 1 sc in next 4 sts, sc2tog; rep from * around – 30 sc.
Rnds 46 and 47: sc in each st around – 30 sc.
Rnd 48: * 1 sc in next 3 sts, sc2tog; rep from * around – 24 sc.
Rnds 49 and 50: sc in each st around – 24 sc.
Rnd 51: * 1 sc in next 2 sts, sc2tog; rep from * around – 18 sc.
Rnds 52 - 54: sc in each st around – 18 sc.
Fasten off, leaving a long tail for sewing Body to Head.
EARS (make two)
With A, make a magic ring.
Rnd 1: work 6 sc in ring.
Rnd 2: 2 sc in each st around – 12 sc.
Rnd 3: * 1 sc in next 5 sts, 2 sc in next st; rep from * twice – 14 sc.
Rnd 4: * 1 sc in next 6 sts, 2 sc in next st; rep from * twice – 16 sc.
Rnd 5: * 1 sc in next 7 sts, 2 sc in next st; rep from * twice – 18 sc.
Rnd 6: * 1 sc in next 8 sts, 2 sc in next st; rep from * twice – 20 sc.
Rnd 7: * 1 sc in next 9 sts, 2 sc in next st; rep from * twice – 22 sc.
Rnd 8: * 1 sc in next 10 sts, 2 sc in next st; rep from * twice – 24 sc.
Rnds 9 - 12: sc in each st around – 24 sc.
Rnd 13: * 1 sc in next 2 sts, st2tog; rep from * around – 18 sc.
Rnd 14: sc in each st around – 18 sc.
Rnd 15: * 1 sc in next st, st2tog; rep from * around – 12 sc.
Rnds 16 - 18: sc in each st around – 12 sc.
Fasten off, leaving a long tail for sewing Ear to Head.
With A, sew an Ear to each side of Head, between Rnds 3 and 9.
With D, embroider curves along outer edges of safety eyes for whites of eyes.
With E, embroider curves along upper outer edges of safety eyes for black of eyes.
Arms (make two)
With A, make a magic ring.
Rnd 1: work 8 sc in ring.
Rnd 2: * sc in next st, 2 sc in next st; rep from * around – 12 sc.
Rnd 3: * 1 sc in next 2 sts, 2 sc in next st; rep from * around – 16 sc.
Rnds 4 - 6: sc in each st around – 16 sc.
Rnd 7: * 1 sc in next 2 sts, sc2tog; rep from * around – 12 sc.
Rnd 8: * sc in next st, sc2tog; rep from * around – 8 sc.
Rnds 9 - 23: sc in each st around – 8 sc.
Fasten off, leaving a long tail for sewing Arms to Body.
Stuff arm lightly.
With A, sew an Arm to each side of Body, between Rnds 48 and 49.
TAIL
With C, make a magic ring.
Rnd 1: work 6 sc in ring.
Rnd 2: 2 sc in each st around – 12 sc.
Rnd 3: * 1 sc in next 2 sts, 2 sc in next st; rep from * around – 16 sc.
Rnd 4: sc in each st around – 16 sc.
Rnd 5: * 1 sc in next 2 sts, sc2tog; rep from * around – 12 sc.
Fasten off, leaving a long strand for sewing Tail to Body.
Stuff Tail.
With C, sew Tail to back of Body, between Rnds 33 and 37.


I can't wait to see your version of my CAMILLE THE BUNNY! Feel free to tag me (@elisascrochet) in your photos on Instagram or Facebook!
Elisa
This pattern is an original pattern by Elisa Sartori of Elisa's Crochet. Please do not claim this pattern as your own. If you wish to share this pattern, you may link to this pattern but please do not reprint it on your site. You may keep a copy for your own personal use but please DO NOT sell the pattern or distribute it.
You may sell products made from this pattern but please clearly credit the design to me, Elisa Sartori of Elisa's Crochet. Permission is NOT granted for mass production or factory manufacturing of any kind. Thank you!