
Cody the Bison Free Crochet Pattern
- Elisa
- Jan 4, 2023
- 5 min read
Updated: Jan 10, 2024

Happy New Year!!!
2022 was a year full of great projects and exciting collaborations!
I loved sharing my passion for crochet with you all and I'm thrilled to start the new year with new inspiration and ideas.
I also have some exciting news: Lion Brand Yarn has decided to sponsor Elisa's Crochet Free Patterns!
This collaboration will allow me to continue create and share free patterns on a weekly basis, and I'm very thankful to Lion Brand for their support!
I had a lot of fun designing this adorable amigurumi bison!
The pattern is quite easy and fast to work, thanks to the super bulky yarn.
Legs, Body and Head are worked in one single piece to minimize the number of parts that need to be sewn together.
The mane is made of a series of loop stitches (check my downloadable pattern to get the instructions to work this fun stitch) to add some texture to the body!

***You can purchase a downloadable AD-FREE PDF of the pattern with more than 50
step-by-step pictures,
schematic and tips to guide you through the making process

Here is the FREE pattern!
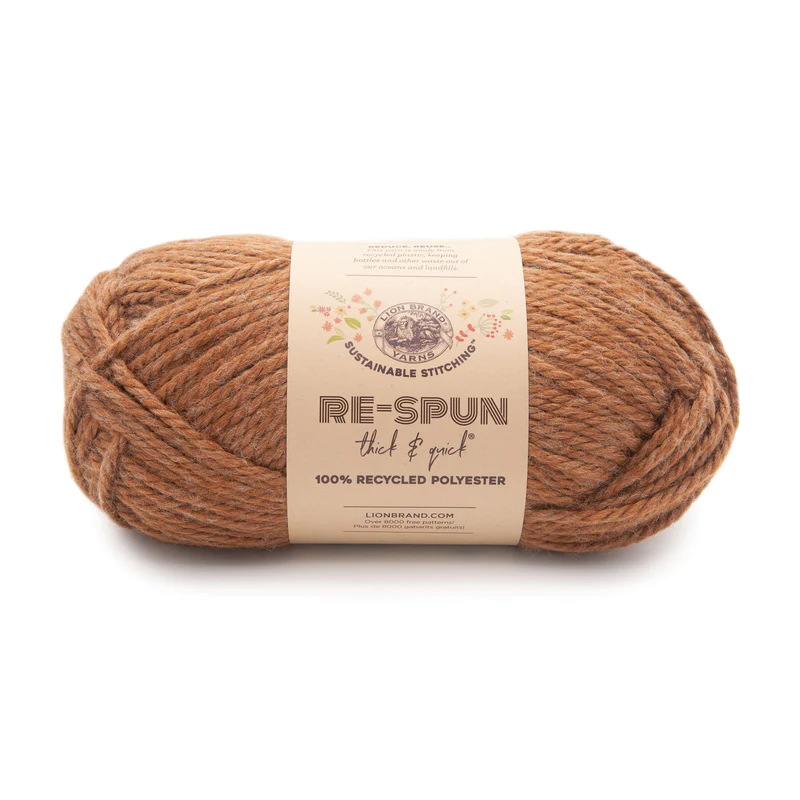
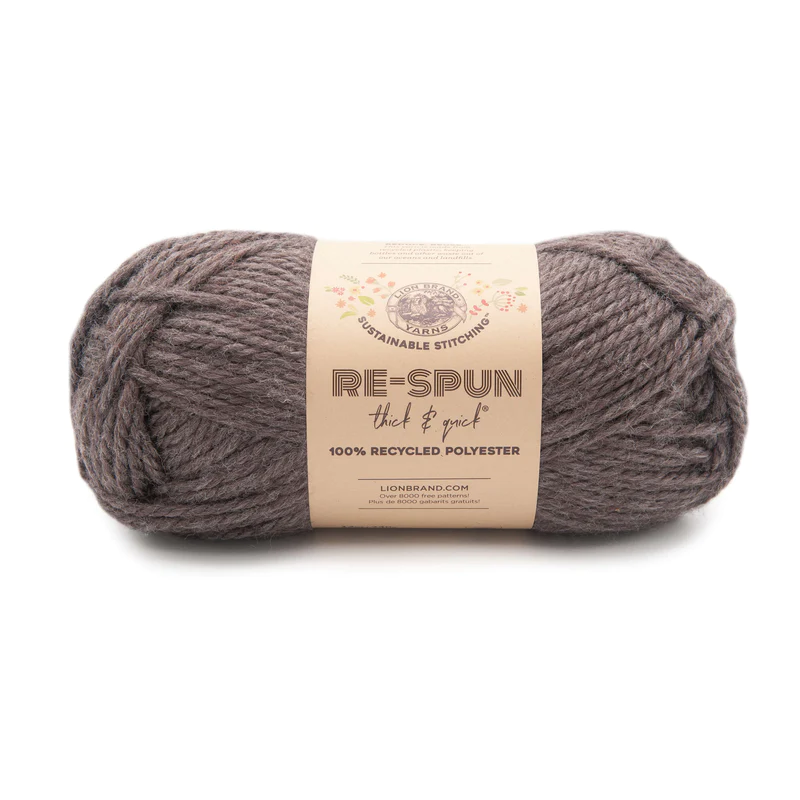
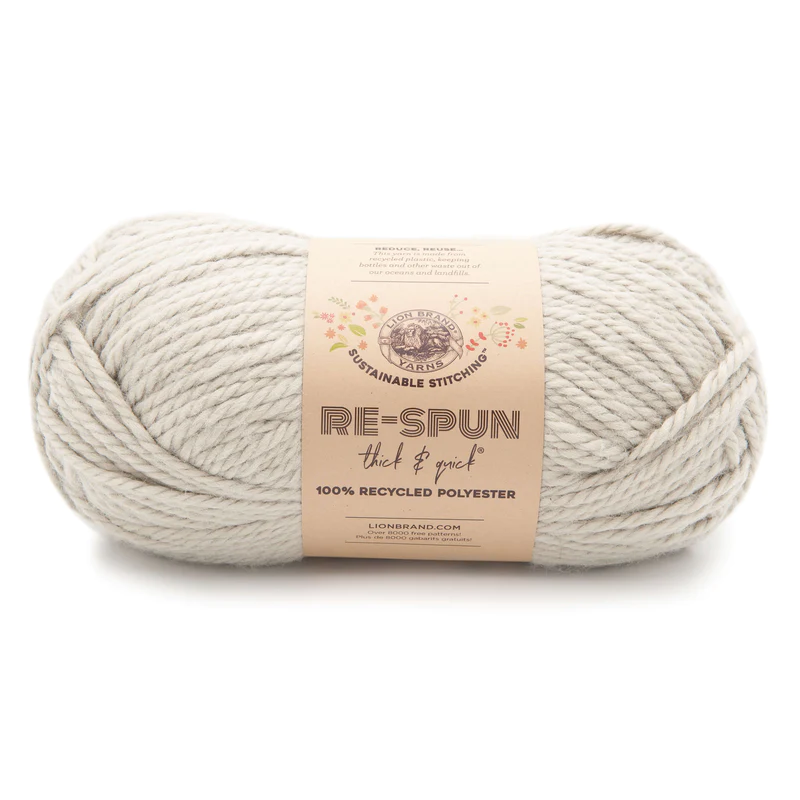
YARN: Lion Brand Re-Spun Thick and Quick - super bulky yarn (6) in Cider, Pumice Stone, Espresso
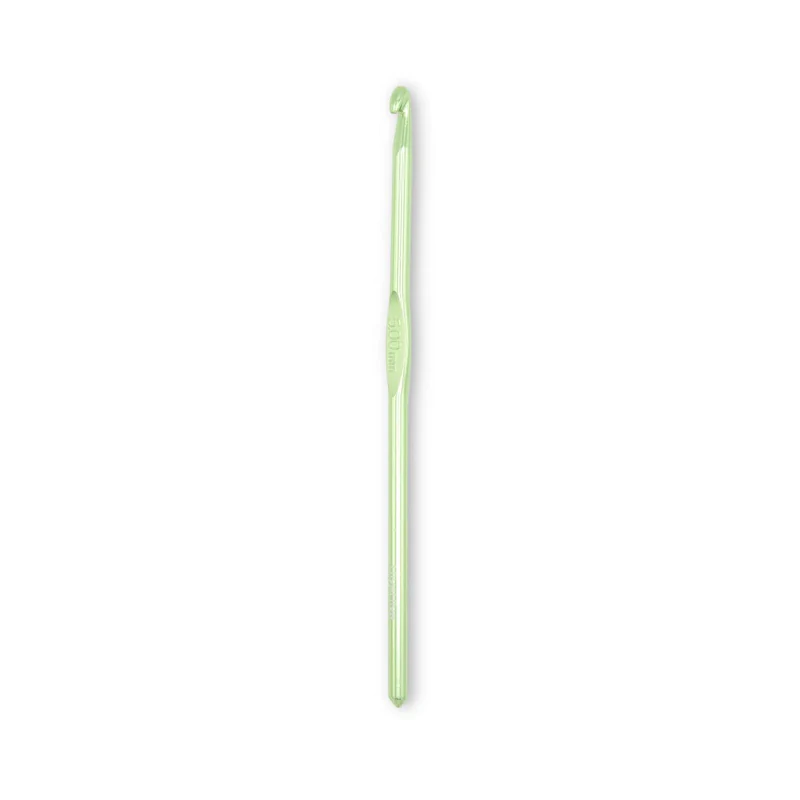
MATERIALS: 5 mm crochet hook; two 10 mm black plastic safety eyes; poly filling; yarn needle
ABBREVIATIONS: magic ring (mr); chain (ch); stitch (st); slip stitch (sl st); single crochet (sc); half double crochet (hdc); loop stitch (LS); back loop only (BLO); fasten off (F/O); increase (inc); decrease (dec)
SKILL LEVEL: Beginner


Disclosure. Most blog posts on this website contain affiliate links. This means I get a small commission if you click-through & purchase (no additional cost to you).
Legs, Body & Head (cider)
Leg I
Rnd 1: 8 sc in a mr (8)
Rnd 2: (1 sc, 1 sc inc) rep around (12)
Rnds 3 - 4: sc even (12)
Leg II
Work same as Leg I but do not fasten off.
Join Legs
Rnd 5: ch3 (for space in between the Legs), insert hook in any st of last rnd of Leg I and draw up a loop, ch 1, sc in the same st, sc in the next st, 1 sc inc, (2 sc, 1 sc inc) rep 3 times; working in the chs in between the 2 legs, 1 hdc in the next ch, 1 hdc inc in the next one, 1 hdc in the next ch; keep working on Leg II, 2 sc, 1 sc inc, (2 sc, 1 sc inc) rep 3 times; working in the chs in between the 2 legs, 1 hdc in the next ch, 1 hdc inc in the next one, 1 hdc in the next ch (40)
Rnd 6: 16 sc, 1 sc inc, 2 sc, 1 sc inc, 20 sc (42)
Rnds 7-12: sc even (42)
Rnd 13: 13 sc, 1 sc dec, 4 sc, 1 sc dec, 21 sc (40)
Rnd 14: sc even (40); start stuffing the legs
Rnd 15: (8 sc, 1 sc dec) rep around (36)
Rnds 16 - 17: sc even (36)
Rnd 18: (7 sc, 1 sc dec) rep around (32)
Rnd 19: sc even (32)
Rnd 20: (6 sc, 1 sc dec) rep around (28)
Rnd 21: (5 sc, 1 sc dec) rep around (24)
Rnd 22: working in FLO, (1 sc, 1 sc inc) rep around (36)
Rnd 23: working in both loops now, sc even (36)
Rnd 24: (2 sc, 1 sc inc) rep around (48)
Rnds 25 - 26: sc even (48)
Rnd 27: (23 sc, 1 sc inc) rep around (50)
Rnds 28 - 36: sc even (50)
Insert plastic safety eyes between rnds 29 and 30, about 11 sts apart.
Rnd 37: (3 sc, 1 sc dec) rep around (40)
Rnd 38: (2 sc, 1 sc dec) rep around (30)
Rnd 39: (1 sc, 1 sc dec) rep around (20); finish stuffing
Rnd 40: (2 sc, 1 sc dec) rep around (15);F/O, leaving a long strand of yarn.
Embroider curves along outer edges of safety eyes for whites of eyes.
Embroider straight stitch eyebrows on face, above Eyes.
Muzzle (pumice stone)
Rnd 1: in a mr work 2 sc, 2 hdc, 3 sc, 2 hdc, 2 sc, 2 hdc (13)
Rnd 2: 2 sc, (1 sc, 2 hdc) in the next st, (2 hdc, 1 sc) in the next st, 3 sc, (1 sc, 2 hdc) in the next st, (2 hdc, 1 sc) in the next st, 4 sc (21)
Rnd 3: working in BLO, sc even (21); F/O, leaving a long strand of yarn to sew the muzzle to the head, between rnds 29 and 30. Stuff the muzzle before completing the seam.
Embroider straight stitch nostrils on Muzzle.
Head Stripe (espresso)
Row 1: 13 chs, 1 sc in the 2nd ch from the hook, 1 sc in each ch across (12)
Rows 2 - 4: sc even (12); F/O, leaving a long strand of yarn to sew
the head stripe to the head.
Sew the head stripe to top of head, placing one short edge between Rnds 29 and 30, just above the muzzle. Tie a few strands of espresso yarn to the head stripe, spread out the fibers of the strands and trim.
Ears (cider - make two)
Rnd 1: 6 sc in a mr (6); ch1 and turn
Rnd 2: (2 sc, 1 sc inc) rep twice (8)
Rnd 3: (3 sc, 1 sc inc) rep twice (10)
Rnd 4: sc even (10)
Rnd 5: sc dec around (5); do not stuff the hear
Row 6: flatten the last rnd and crochet through both layers now, 2 sc, 1 sl st (3); fasten off and leave a long strand of yarn to sew the ear onto the bison head between rnds # 30-32.
Horns (pumice stone - make two)
Rnd 1: 4 sc in a mr (4)
Rnd 2: 1 sc, 2 sc inc, 1 sc (6)
Rnd 3: 2 sc, 2 sc inc, 2 sc (8)
Rnd 4: 3 sc, 2 sc inc, 3 sc (10)
Rnd 5: 1 sc dec, 2 sc, 2 sc inc, 2 sc, 1 sc dec (10); fasten off and leave a long strand of yarn to sew the horns onto the bison head between rnds # 32-35.
Stuff the horns before attaching them to the head.
Arms (cider - make two)
Rnd 1: 8 sc in a magic ring (8)
Rnd 2: (3 sc, 1 sc inc) rep twice (10)
Rnd 3: sc even (10)
Rnd 4: (3 sc, 1 sc dec) rep twice (8)
Rnds 5 - 8: sc even (8)
Rnd 9: (2 sc, 1 sc dec) rep twice (6)
Rnd 10: sc even (6); stuff the arm lightly
Flatten the last round and crochet through both layers, 3 sc (3); fasten off and leave a long strand of yarn to sew the arm onto the body between rnds # 18-19.
Mane Hair (espresso)
Row 1: work 16 chs, 3 sc into the 2nd ch from the hook, 15 chs (32 chs, 3 sc); turn
Row 2: 1 loop stitch in each st along (33); fasten off and leave a long strand of yarn.
Wrap the mane around the bison’s neck and tie it in place with the extra strand of yarn.
Tail (cider)
Row 1: leaving some yarn length at the beginning of your work, crochet 7 chs, 1 sl st into the 2nd ch from the hook, 5 sl st (6); fasten off and leave a strand of yarn.
Cut a 4 inches strand of espresso yarn. Thread the yarn into a tapestry needle; insert the needle into the 1st sl st. Tie a tight knot on the end of the tail. Open the fibers and trim the lengths. Use the extra strands of cider yarn to secure the tail in place on the back of the bison between rnds # 11-12.


I can't wait to see your version of CODY the BISON! Feel free to tag me (@elisascrochet) in your photos on Instagram or Facebook!
Elisa
This pattern is an original pattern by Elisa Sartori of Elisa's Crochet. Please do not claim this pattern as your own. If you wish to share this pattern, you may link to this pattern but please do not reprint it on your site. You may keep a copy for your own personal use but please DO NOT sell the pattern or distribute it.
You may sell products made from this pattern but please clearly credit the design to me, Elisa Sartori of Elisa's Crochet. Permission is NOT granted for mass production or factory manufacturing of any kind. Thank you!