Gingerbread House Ornament Free Crochet Pattern
- Elisa
- Nov 21, 2023
- 4 min read


Happy Tuesday my friends!
Winter is the time for warmth and comfort, and there's nothing that make the house smell like Christmas as baking gingerbread!
...and gingerbread treats are usually not just delicious but they can also make wonderful decorations!
Let's make this cute little house together!
This project is worked with 24/7 DK yarn by Lion Brand!
100% cotton yarn with a lovely sheen and drape, making it perfect for year-round garments, shawls, home décor, bath and kitchen accessories, and baby items.

***You can purchase a downloadable AD-FREE PDF
of the pattern: 10 pages with
50 step-by-step pictures, schematics and tips to guide
you through the making process
Here is the FREE Crochet Pattern!
EASY
SIZE
About 3 1/2 in. (9 cm) tall
MATERIALS
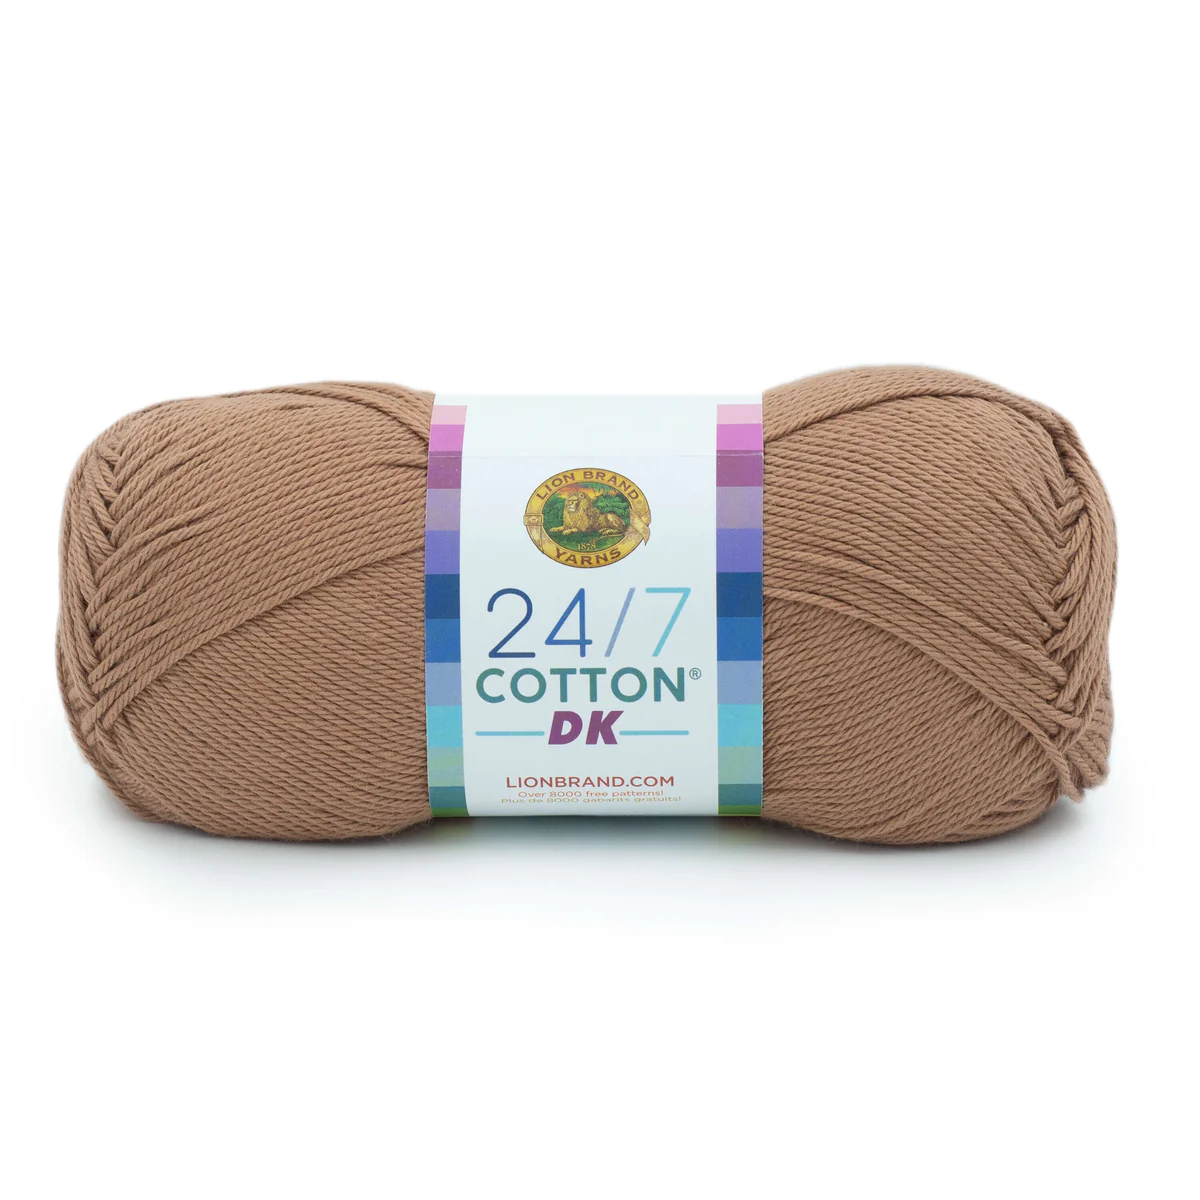
• LION BRAND® 24/7 COTTON® DK (Art. #769)
#127 Cacao 1 ball (A)
#305 Star 1 ball (B)
• LION BRAND® large-eyed blunt needle
ADDITIONAL MATERIALS
Crochet hook size D-3 (3.25 mm)
Fiberfill stuffing
Cardboard, at least 5 x 5 in. (12.5 x 12.5 cm)
GAUGE
6 sc + 7 rnds/rows = about 1 in. (2.5 cm)
ABBREVIATIONS
ch = chain
ch-sp(s) = chain space(s) previously made
rem = remain(ing)
rep = repeat
rnd(s) = round(s)
RS = right side
sc = single crochet
sl st = slip stitch
st(s) = stitch(es)


Disclosure. Most blog posts on this website contain affiliate links. This means I get a small commission if you click-through & purchase (no additional cost to you).
GINGERBREAD HOUSE
Lower Structure
With A, make a magic ring.
Base
Rnd 1: Work (2 sc in ring, ch 2) 4 times; join with sl st in first sc ¬– you will have 8 sc and 4 ch-2 sps in this rnd.
Note: Work first st of every rnd in same st as joining sl st.
Rnd 2: Ch 1, sc in next 2 sts, (sc, ch 2, sc) in next ch-2 sp; rep from around; join with sl st in first sc – 16 sc and 4 ch-2 sps.
Rnd 3: Ch 1, sc in next 3 sts, (sc, ch 2, sc) in next ch-2 sp, sc in next 4 sts, (sc, ch 2, sc) in next ch-2 sp; rep from 2 more times, sc in last st; join with sl st in first sc – 24 sc and 4 ch-2 sps.
Rnds 4-6: Ch 1, sc in each st to next ch-2 sp, (sc, ch 2, sc) in ch-2 sp; rep from 3 more times, sc in each st to end of rnd; join with sl st in first sc – 48 sc and 4 ch-2 sps in Rnd 6.
Rnd 7: Working in back loops only, sc in each st around, skipping all ch-2 sps; join with sl st in first sc – 48 sc.
Sides
Rnds 8-15: Working in both loops, sc in each st around; join with sl st in first sc.
Fasten off.
Upper Front
Row 1 (RS): From RS, draw up a loop of A in 8th st of last rnd, ch 1, sc in same st and in next 11 sts; leave rem sts unworked – 12 sc.
Row 2: Ch 1, turn, sc2tog, sc in next 8 sts, sc2tog – 10 sc.
Rows 3-5: Ch 1, turn, sc2tog, sc in each st to last 2 sts, sc2tog – 4 sc in Row 5.
Row 6: Ch 1, turn, (sc2tog) twice – 2 sc.
Row 7: Ch 1, turn, sc2tog – 1 sc.
Fasten off.
Upper Back
Row 1 (RS): From RS, skip next 12 unworked sts following Row 1 of Upper Front, draw up a loop of A in next unworked st, ch 1, sc same st and in next 11 sts; leave rem sts unworked – 12 sc.
Rows 2-7: Work same as Rows 2-7 of Upper Front.
Fasten off.
Upper Border
From RS, draw up a loop of B in first st of Row 1 of Upper Front, work 7 sc evenly spaced up edge of Upper Front to tip, work 3 sc in tip, work 7 sc evenly spaced down next edge of Upper Front working last st in last st of Row 1 Upper Front.
Fasten off, leaving a long tail for sewing.
Rep upper border along top of Upper Back.
With crochet hook and B, using photograph as a guide, outline the door and windows with surface crochet.
With blunt needle and B, using photograph and diagrams as guides, embroider décor above the door (3 lazy daisy stitches) and below the windows (2 lazy daisy stitches). The dot in between stitches is a French knot, with a single wrap.
Roof
Row 1 (RS): From RS, draw up a loop of B in first unworked st following Row 1 of Upper Front, ch 1, sc in same st and in next 11 sts – 12 sts.
Rows 2-7: Ch 1, turn, sc in each st across.
Fasten off.
HANGING LOOP
With B, leaving a long beginning tail, ch 33 very tightly.
Fasten off, leaving a long tail for sewing Loop to Roof.
FINISHING
Using photograph as a guide and yarn tails still attached to pieces whenever possible, assemble Gingerbread House as follows:
Cut pieces of cardboard following diagram and insert cardboard pieces into House to make a sturdy structure.
Stuff piece and continue stuffing until piece is complete.
With B, sew sides of Roof to Upper Side Borders.
Sew last row of Roof to remaining unworked sts of top edge of Lower Structure.
With yarn tail, sew Hanging Loop to top of Roof.
Weave in ends.

I can't wait to see your version of my GINGERBREAD HOUSE ORNAMENT! Feel free to tag me (@elisascrochet) in your photos on Instagram or Facebook!
Elisa
This pattern is an original pattern by Elisa Sartori of Elisa's Crochet. Please do not claim this pattern as your own. If you wish to share this pattern, you may link to this pattern but please do not reprint it on your site. You may keep a copy for your own personal use but please DO NOT sell the pattern or distribute it.
You may sell products made from this pattern but please clearly credit the design to me, Elisa Sartori of Elisa's Crochet. Permission is NOT granted for mass production or factory manufacturing of any kind. Thank you!