
Leo the Lion Free Crochet Pattern
- Elisa
- Apr 30, 2024
- 8 min read


Happy Tuesday my fellow crafters!
From the wild savanna to the safety of your kid's room, this adorable crocheted lion is destined to become your little one's best friend!
I had a blast designing and bringing this regal creature to life and I hope you will enjoy working on this fun project too!!
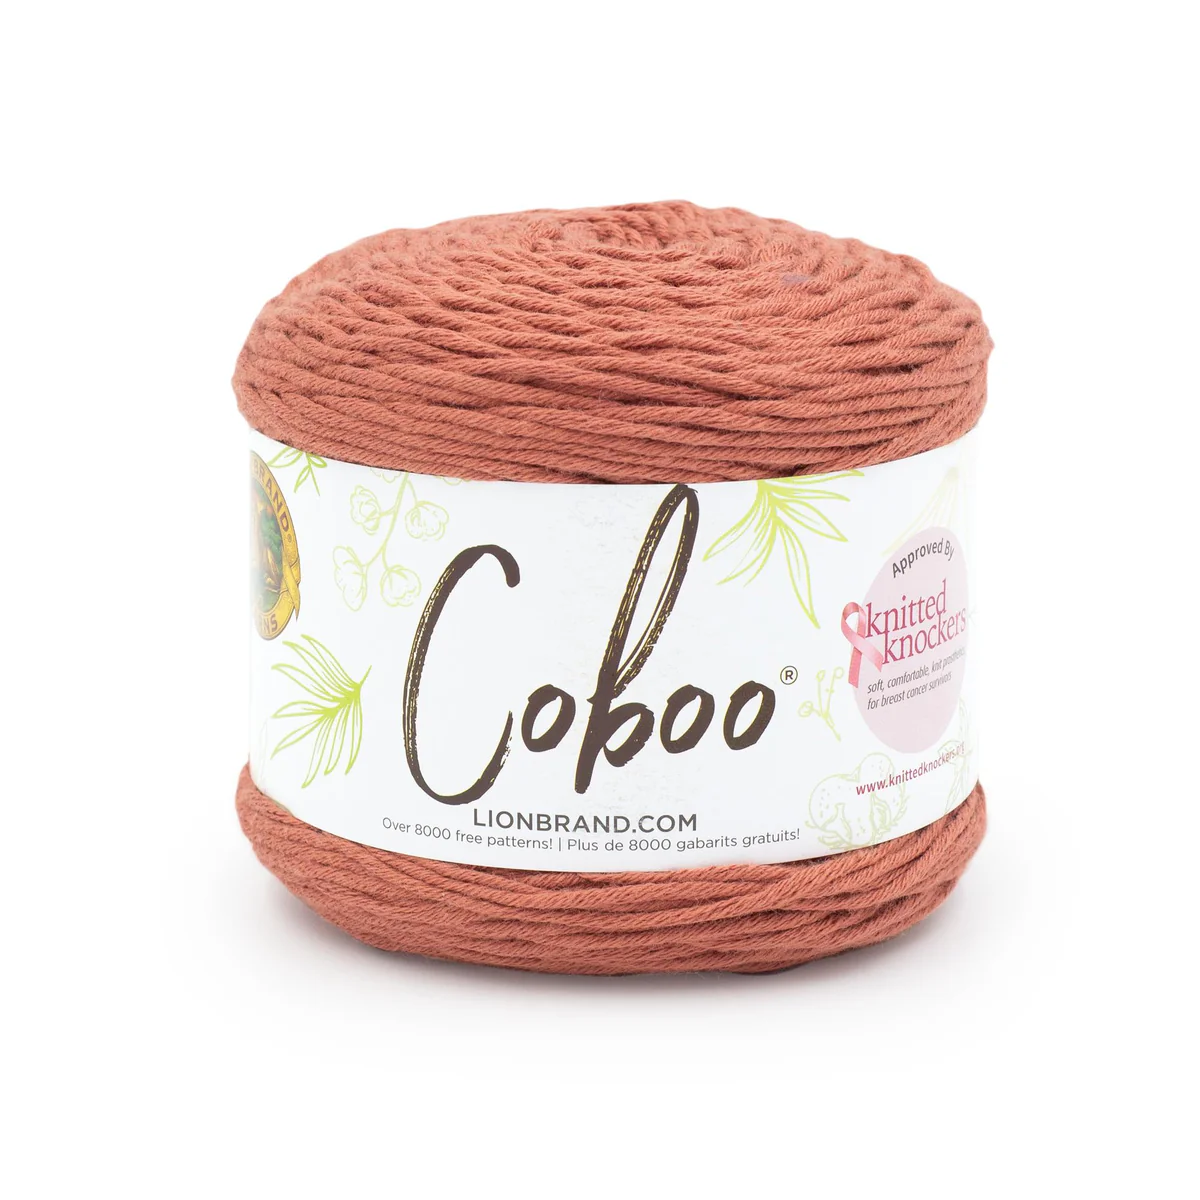
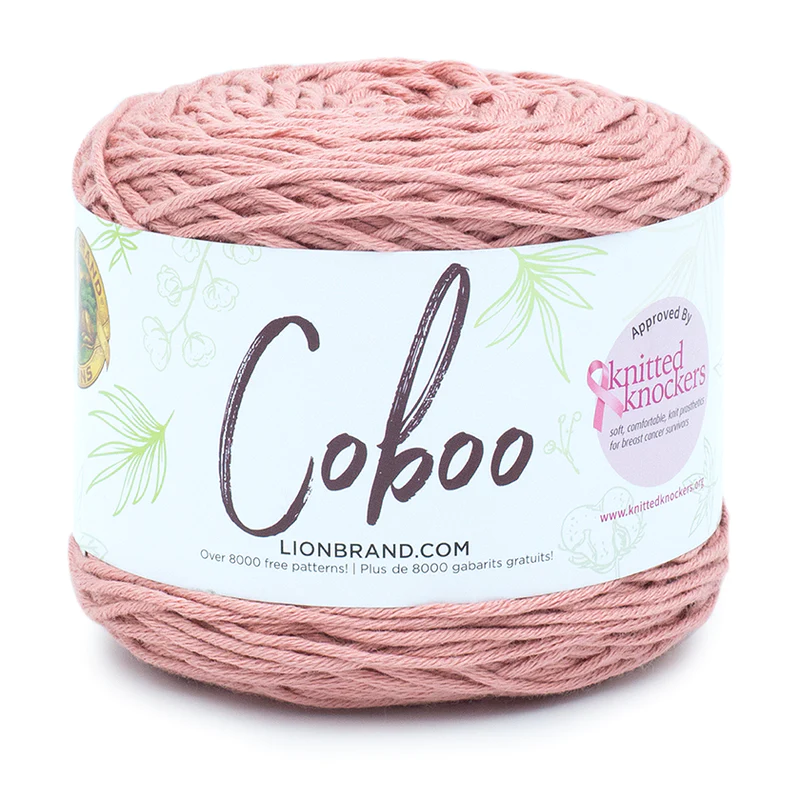
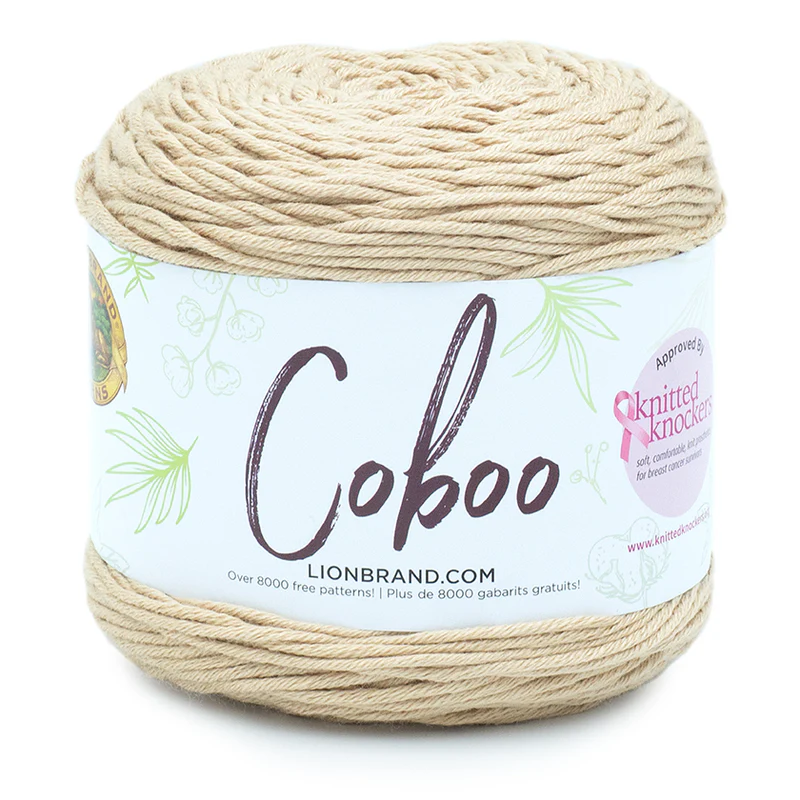
This project is worked with Coboo (Lion Brand) - is a light weight mix of cotton and bamboo perfect for those who love working with natural fibers.

***You can purchase a downloadable AD-FREE PDF of the pattern: 11 pages with more than
40 step-by-step pictures,
and tips to guide you through the making process
Here is the FREE pattern
EASY
SIZE
About 7 in. (18 cm) tall.
MATERIALS
· Lion Brand® COBOO® (Art. #835)
#122M Beige 1 ball (A)
#145L Mauve 1 ball (B)
#104H Russet 1 ball (D)
ADDITIONAL MATERIALS
Crochet hook size 3.25 mm
Black Plastic Safety Eyes (9 mm)
Black Embroidery Floss
White Embroidery Floss
Embroidery Needle
Poly Filling
1 Chenille Stem
GAUGE
7 sc + 7 rows = about 1 in. (2.5 cm).
ABBREVIATIONS
ch = chain
rep = repeat
rnd(s) = round(s)
sc = single crochet
sl st = slip stitch
st(s) = stitch(es)


Disclosure. Most blog posts on this website contain affiliate links. This means I get a small commission if you click-through & purchase (no additional cost to you).
HEAD
With A
Rnd 1: 8 sc in a magic ring – 8 sc.
Rnd 2: 2 sc in each st around – 16 sc.
Rnd 3: * sc in next st, 2 sc in next st; rep from * around – 24 sc.
Rnd 4: * sc in next 2 st, 2 sc in next st; rep from * around – 32 sc.
Rnd 5: * sc in next 3 st, 2 sc in next st; rep from * around – 40 sc.
Rnd 6: Sc in each st around – 40 sc.
Rnd 7: * sc in next 4 st, 2 sc in next st; rep from * around – 48 sc.
Rnds 8 - 12: Sc in each st around – 48 sc.
Rnd 13: * sc in next 7 st, 2 sc in next st; rep from * around – 54 sc.
Rnd 14: * sc in next 8 st, 2 sc in next st; rep from * around – 60 sc.
Place safety eyes between Rnds 11 and 12, approximately 6 sts apart.
Rnd 15: sc in next 9 st, 2 sc in next st; rep from around – 66 sc.
Rnd 16: sc in next 10 st, 2 sc in next st; rep from around – 72 sc.
Rnds 17 - 20: Sc in each st around – 72 sc.
Rnd 21: * sc in next 7 st, sc2tog; rep from * around – 64 sc.
Rnd 22: * sc in next 6 st, sc2tog; rep from * around – 56 sc.
Rnd 23: * sc in next 5 st, sc2tog; rep from * around – 48 sc.
Rnd 24: * sc in next 4 st, sc2tog; rep from * around – 40 sc.
Rnd 25: Sc in each st around – 40 sc.
Begin stuffing Head and continue until piece is finished.
Rnd 26: * sc in next 3 st, sc2tog; rep from * around – 32 sc.
Rnd 27: * sc in next 2 st, sc2tog; rep from * around – 24 sc.
Rnd 28: * sc in next 1 st, sc2tog; rep from * around – 18 sc.
Fasten off.
With white floss, embroider curves along outer edges of safety eyes for whites of eyes.
With black floss, embroider curves along upper edges of safety eyes for black of eyes.
With black floss, embroider straight lines above safety eyes for eyebrows.
NOSE
With B
Row 1: 1 sc in a magic ring – 1 sc; Turn. Pull the yarn to close the ring.
Row 2: Ch 1, 3 sc in the next st – 3 sc; Turn.
Row 3: Ch 1, 2 sc in next st, 1 sc in next st, 2 sc in next st – 5 sc; Turn.
Row 4: Ch 1, sc in next 5 sts – 5 sc; Turn.
Row 5: Ch 1, working in back loop, sc in next 5 sts – 5 sc; Turn.
Row 6: Ch 1, working in both loops, sc2tog, 1 sc in next st, sc2tog – 3 sc; Turn.
Row 7: Ch 1, sc3tog – 1 sc.
Fasten off and leave a long tail.
Fold the Nose piece in half and, with B, sew the unjointed sides together.
With B, sew Nose to Head, between Rnds 12 and 16.
MUZZLE
With A
Rnd 1: 6 sc in a magic ring – 6 sc.
Rnd 2: 2 sc in each st around – 12 sc.
Rnd 3: * sc in next st, 2 sc in next st; rep from * around – 18 sc.
Rnd 4: * sc in next 2 st, 2 sc in next st; rep from * around – 24 sc.
Rnd 5: Sc in each st around – 24 sc.
Fasten off and leave a long tail. Stuff before sewing to Head.
CHIN
With A
Rnd 1: 6 sc in a magic ring – 6 sc.
Rnd 2: 2 sc in each st around – 12 sc.
Rnd 3: Sc in each st around – 12 sc.
Fasten off and leave a long tail. Stuff before sewing to Head.
EARS (make two)
With A
Rnd 1: 6 sc in a magic ring – 6 sc.
Rnd 2: 2 sc in each st around – 12 sc.
Rnd 3: * sc in next st, 2 sc in next st; rep from * around – 18 sc.
Rnd 4: * sc in next 2 st, 2 sc in next st; rep from * around – 24 sc.
Rnds 5 - 7: Sc in each st around – 24 sc.
Fasten off and leave a long tail.
Do not stuff Ears. Flatten Ears before sewing them onto the Head between Rnds 4 and 13.
BODY
With A
Rnd 1: 6 sc in a magic ring – 6 sc.
Rnd 2: 2 sc in each st around – 12 sc.
Rnd 3: * sc in next st, 2 sc in next st; rep from * around – 18 sc.
Rnd 4: * sc in next 2 st, 2 sc in next st; rep from * around – 24 sc.
Rnd 5: * sc in next 3 st, 2 sc in next st; rep from * around – 30 sc.
Rnd 6: * sc in next 4 st, 2 sc in next st; rep from * around – 36 sc.
Rnd 7: * sc in next 5 st, 2 sc in next st; rep from * around – 42 sc.
Rnd 8: * sc in next 6 st, 2 sc in next st; rep from * around – 48 sc.
Rnds 9 - 10: Sc in each st around – 48 sc.
Rnd 11: * sc in next 7 st, 2 sc in next st; rep from * around – 54 sc.
Rnds 12 - 18: Sc in each st around – 54 sc.
Begin stuffing Body and continue until piece is finished.
Rnd 19: * sc in next 7 st, sc2tog; rep from * around – 48 sc.
Rnds 20 - 21: Sc in each st around – 48 sc.
Rnd 22: * sc in next 6 st, sc2tog; rep from * around – 42 sc.
Rnd 23: Sc in each st around – 42 sc.
Rnd 24: * sc in next 5 st, sc2tog; rep from * around – 36 sc.
Rnd 25: Sc in each st around – 36 sc.
Rnd 26: * sc in next 4 st, sc2tog; rep from * around – 30 sc.
Rnd 27: * sc in next 3 st, sc2tog; rep from * around – 24 sc.
Rnd 28: * sc in next 2 st, sc2tog; rep from * around – 18 sc.
Fasten off and leave a long tail to sew Body to Head.
FRONT LEGS (MAKE TWO)
With A.
Rnd 1: 6 sc in a magic ring – 6 sc.
Rnd 2: 2 sc in each st around – 12 sc.
Rnd 3: * sc in next st, 2 sc in next st; rep from * around – 18 sc.
Rnd 4: 2 sc in next 6 sts, 1 sc in next 12 sts – 24 sc.
Rnd 5: Working in back loop, sc in each st around – 24 sc.
Rnds 6-7: Working in both loops, sc in each st around – 24 sc.
Rnd 8: Sc2tog 6 times, 1 sc in next 12 sts – 18 sc.
Rnd 9: * sc in next st, sc2tog; rep from * around – 12 sc.
Rnds 10-21: Sc in each st around – 12 sc.
Rnd 22: * sc in next 4 sts, sc2tog; rep from * twice – 10 sc.
Fasten off and leave a long tail.
Stuff the first section of Leg (Rnds 1 to 11) firmly, then stuff the rest of Leg lightly.
With A sew Front Legs to front of Body between Rnds 25 and 26, approximately 3 sts apart.
BACK LEGS (MAKE TWO)
With A.
Rnd 1: 8 sc in a magic ring – 8 sc.
Rnd 2: 2 sc in each st around – 16 sc.
Rnd 3: * sc in next st, 2 sc in next st; rep from * around – 24 sc.
Rnd 4: 2 sc in next 8 sts, 1 sc in next 16 sts – 32 sc.
Rnd 5: Working in back loop, sc in each st around – 32 sc.
Rnds 6-8: Working in both loops, sc in each st around – 32 sc.
Rnd 9: Sc2tog 8 times, 1 sc in next 16 sts – 24 sc.
Rnd 10: * sc in next st, sc2tog; rep from * around – 16 sc.
Rnd 11: * sc in next 6 sts, sc2tog; rep from * twice – 14 sc.
Rnds 12-15: Sc in each st around – 14 sc.
Stuff this first section of Leg firmly.
Rnd 16: * sc in next 6 sts, 2 sc in next st; rep from * twice – 16 sc.
Rnd 17: * sc in next st, 2 sc in next st; rep from* around – 24 sc.
Rnd 18: * sc in next 2 sts, 2 sc in next st; rep from * around – 32 sc.
Rnds 19-23: Sc in each st around – 32 sc.
Rnd 24: * sc in next 2 sts, sc2tog; rep from * around – 24 sc.
Rnd 25: * sc in next 2 sts, sc2tog; rep from * around – 18 sc.
Stuff the second section of Leg lightly.
Rnd 26: * sc in next st, sc2tog; rep from * around – 12 sc.
Rnd 27: sc2tog around – 6 sc.
Fasten off, leaving a long tail. Thread tail through top of sts of last rnd. Pull tail to close opening and knot securely.
With A sew the Back Legs to Body. Flatten the thigh and sew only the thigh section to Body.
With black floss create paw lines on Front and Back Legs.
TAIL
With C.
Rnd 1: 4 sc in a magic ring – 4 sc.
Rnd 2: * sc in next st, 2 sc in next st; rep from * twice – 6 sc.
Rnd 3: * sc in next 2 sts, 2 sc in next st; rep from * twice – 8 sc.
Rnd 4: * sc in next st, 2 sc in next st; rep from * around – 12 sc.
Rnd 5: * sc in next 3 sts, 2 sc in next st; rep from * around – 15 sc.
Rnds 6-7: Sc in each st around – 15 sc.
Rnd 8: * sc in next 3 sts, sc2tog; rep from * around – 12 sc.
Fasten off C.
Stuff the tip of Tail (Rnds 1 to 5).
Rnds 9: With A, * sc in next st, sc2tog; rep from * around – 8 sc.
Rnds 11-34: Sc in each st around – 8 sc.
Rnd 35: * sc in next 3 sts, 2 sc in next st; rep from * twice – 10 sc.
Insert chenille stem inside Tail.
With A, sew Tail to back of Body, between Rnds 7 and 11.
To create Mane around Lion’s face and back of Head
- cut 8” long strings of C yarn,
- fold your yarn in half, so that there’s a U-shaped bend on one side and two ‘tails’ on the other side,
- insert your hook into a loop and catch the bend in your hair piece,
- pull the bend through the loop,
- pull the two ‘tails’ of the hair through the bend and then pull the tails
- trim the mane the length you like.


I can't wait to see your version of the LEO THE LION! Feel free to tag me (@elisascrochet) in your photos on Instagram or Facebook!
Elisa
This pattern is an original pattern by Elisa Sartori of Elisa's Crochet. Please do not claim this pattern as your own. If you wish to share this pattern, you may link to this pattern but please do not reprint it on your site. You may keep a copy for your own personal use but please DO NOT sell the pattern or distribute it.
You may sell products made from this pattern but please clearly credit the design to me, Elisa Sartori of Elisa's Crochet. Permission is NOT granted for mass production or factory manufacturing of any kind. Thank you!


