
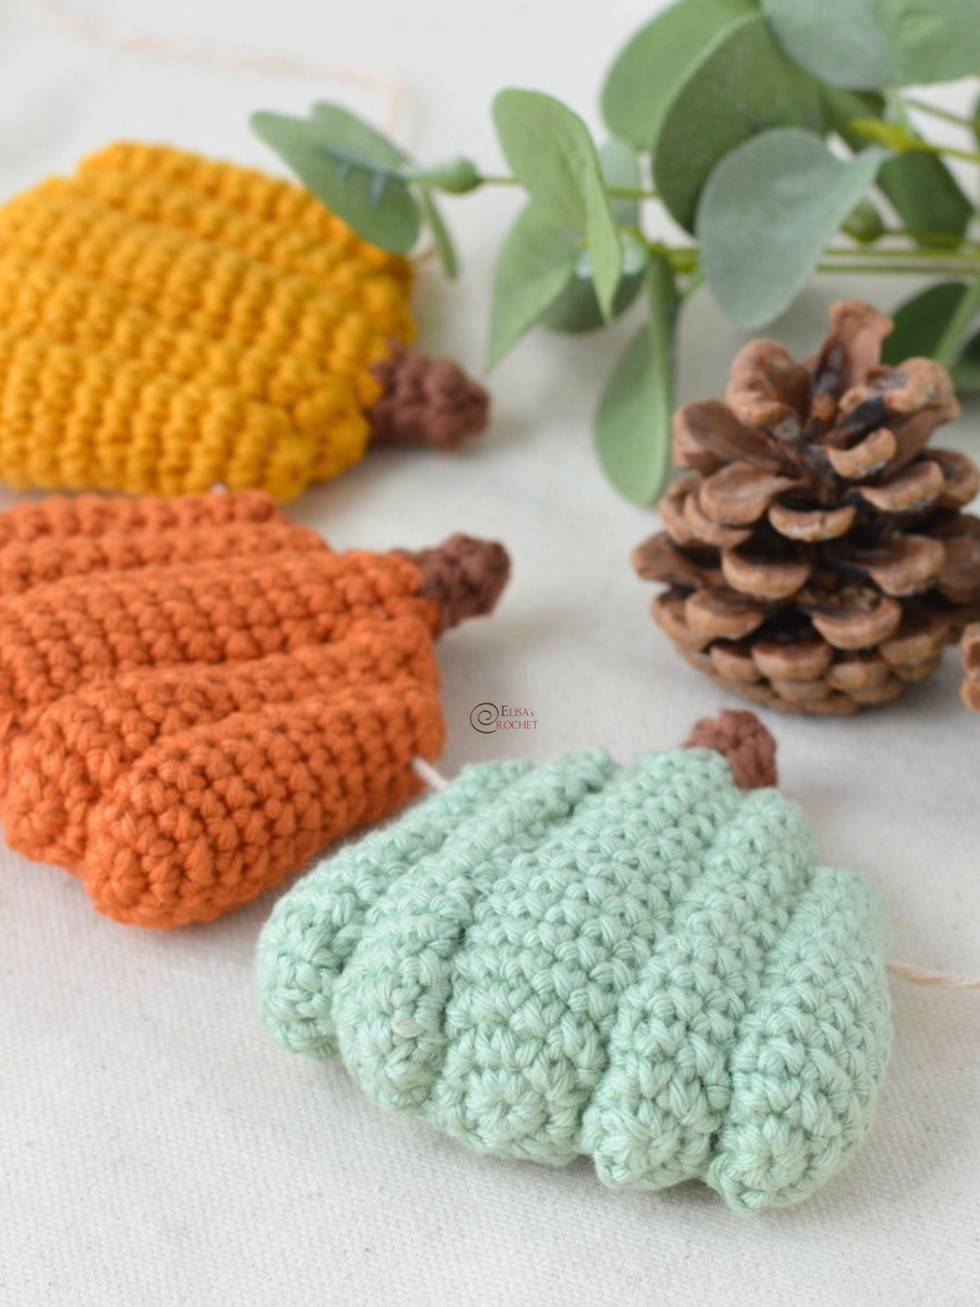
Pumpkin Applique Free Crochet Pattern
- Elisa
- Aug 13, 2025
- 4 min read

Updated: Aug 29, 2025

Happy Wednesday my fellow crafters!
It might still be summer, but it’s never too early to start getting ready for cozy season!
I designed these crocheted pumpkin appliques as a fun, quick project to ease into fall-making while the days are still sunny.
They have a nice little thickness while still lying flat - perfect for adding texture to your creations without too much bulk.
Whether you’re planning ahead for Halloween, Thanksgiving, or just love the charm of pumpkins, this is a beginner-friendly project that works up quickly and uses up leftover yarn.
Grab the free pattern here and start your own little crochet pumpkin patch!

***You can purchase a downloadable AD-FREE PDFs
of the patterns - many
step-by-step pictures and tips
Here is what you need!
YARN
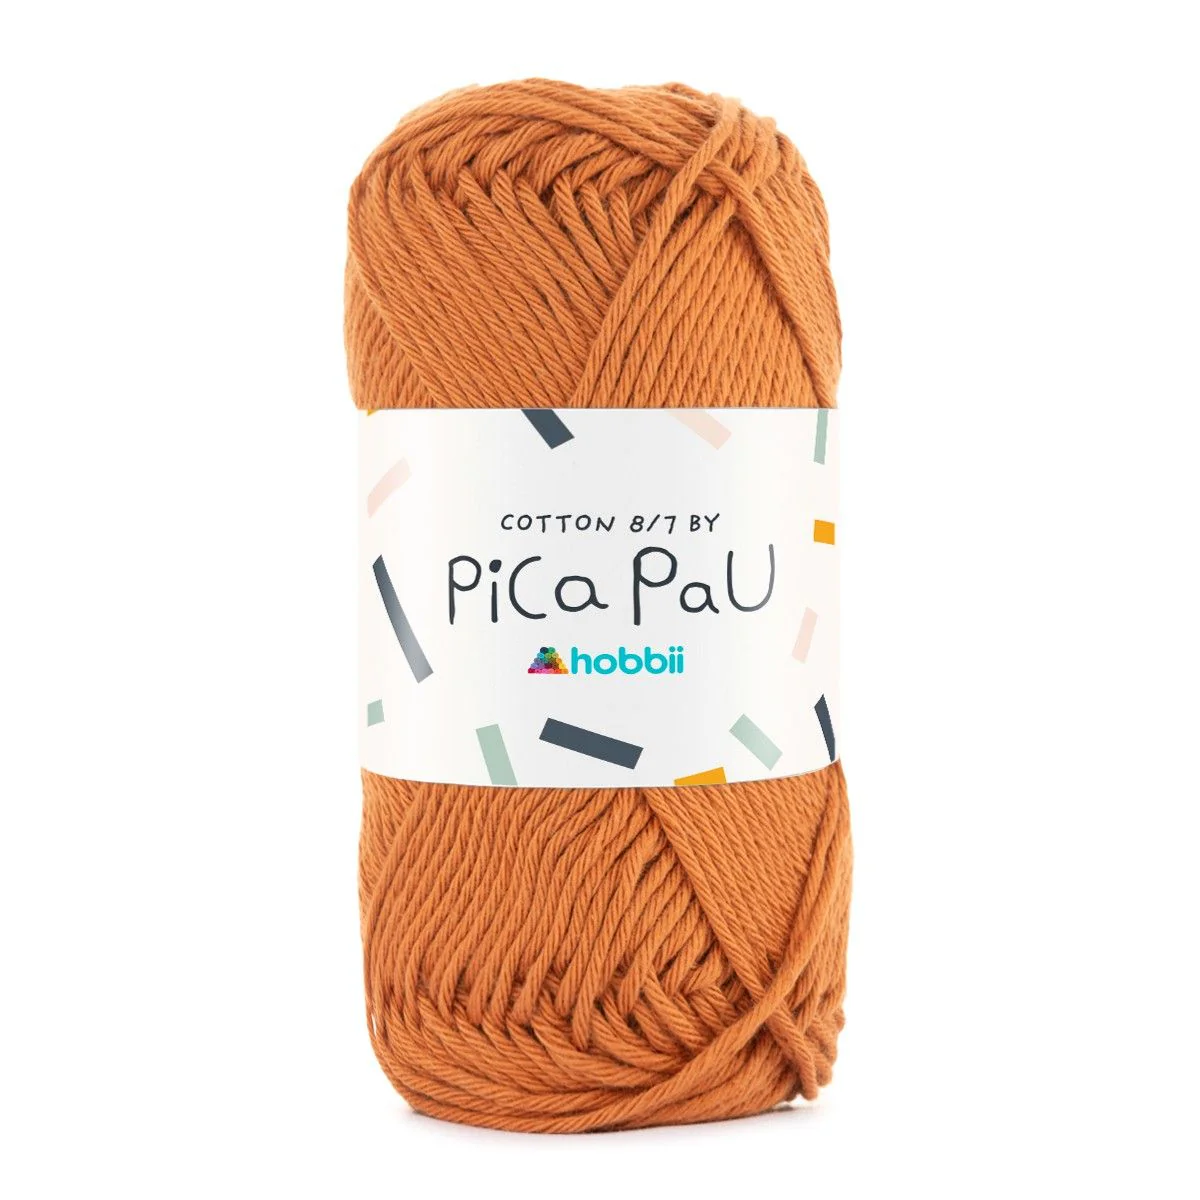
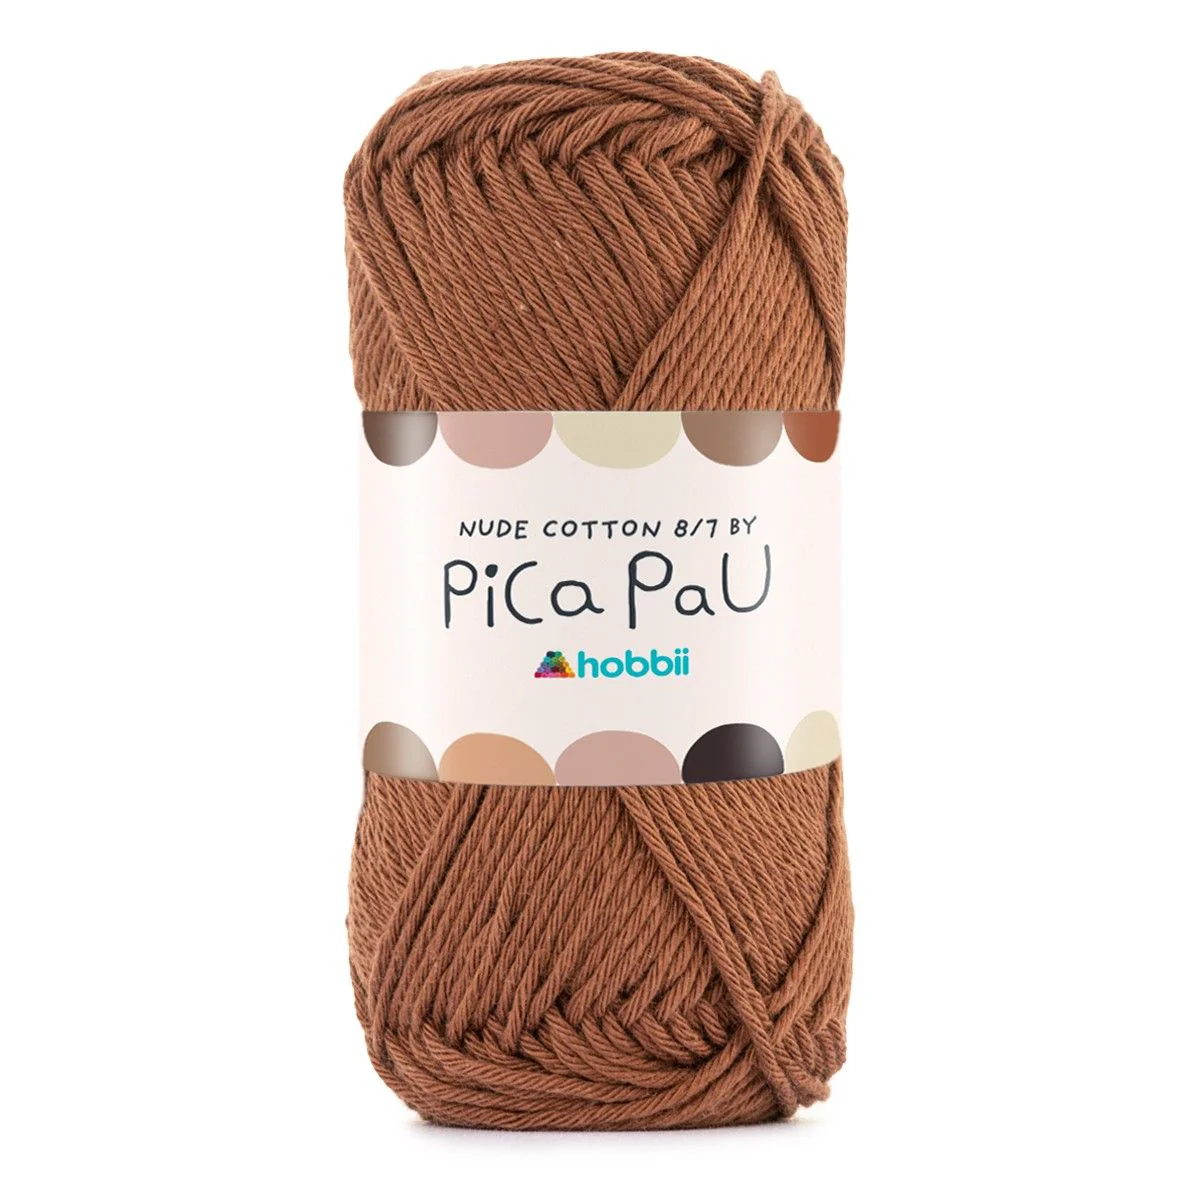
Hobbii Pica Pau® Yarn
#16 Terracotta 1 ball (A)
#27 Pistachio 1 ball (A)
#23 Golden Yellow 1 ball (A)
#29ST Chocolate 1 ball (B)
MATERIALS
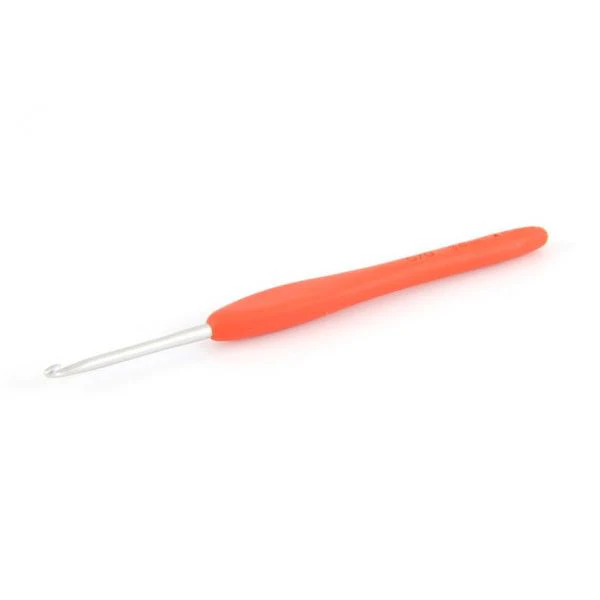
3 mm crochet hook
poly filling
yarn needle
ck)
DIMENSIONS
Approximately 3” x 3” (7.5 x 7.5 cm)
SKILL LEVEL
Easy
ABBREVIATIONS
magic ring (mr)
chain (ch)
stitch (st)
slip stitch (sl st)
single crochet (sc)
repeat (rep)


Disclosure. Most blog posts on this website contain affiliate links. This means I get a small commission if you click-through & purchase (no additional cost to you).
CENTRAL BUMP AND STEM
With A make a magic ring
Rnd 1: Work 6 sc in the ring – 6 sc.
Rnd 2: 2 sc in each st around – 12 sc.
Rnd 3: (sc in next st, 2 sc in next st) rep around – 18 sc.
Rnds 4 - 7: Sc in each st around – 18 sc.
Rnd 8: (sc in next 7 sts, sc2tog) rep twice – 16 sc.
Rnd 9: Sc in each st around – 16 sc.
Rnd 10: (sc in next 6 sts, sc2tog) rep twice – 14 sc.
Rnd 11: Sc in each st around – 14 sc.
Rnd 12: (sc in next 5 sts, sc2tog) rep twice – 12 sc.
Rnd 13: Sc in each st around – 12 sc.

Begin stuffing the Bump firmly and continue until piece is completed.
Rnd 14: (sc in next 4 sts, sc2tog) rep twice – 10 sc.
Rnd 15: sc in each st around – 10 sc.
Rnd 16: With B, sc2tog 5 times – 5 sc.
Rnds 17 - 18: Sc in each st around – 5 sc.
Fasten off, leaving a long tail. Thread tail through top of sts of last rnd.
Pull tail to close opening and knot securely.
MEDIUM BUMPS (make two)
With A make a magic ring
Rnd 1: Work 6 sc in the ring – 6 sc.
Rnd 2: 2 sc in each st around – 12 sc.
Rnd 3: (sc in next 2 sts, 2 sc in next st) rep around – 16 sc.
Rnds 4 - 6: Sc in each st around – 16 sc.
Rnd 7: (sc in next 6 sts, sc2tog) rep twice – 14 sc.
Rnd 8: Sc in each st around – 14 sc.
Rnd 9: (sc in next 5 sts, sc2tog) rep twice – 12 sc.
Rnds 10 - 11: Sc in each st around – 12 sc.
Rnd 12: (sc in next 4 sts, sc2tog) rep twice – 10 sc.
Rnd 13: Sc in each st around – 10 sc.
Rnd 14: (sc in next 3 sts, sc2tog) rep twice – 8 sc.
Do not stuff. Fasten off, leaving a long tail. Thread tail through top of sts of last rnd. Pull tail to close opening and knot securely.

LATERAL BUMPS (make two)
With A make a magic ring
Rnd 1: Work 6 sc in the ring – 6 sc.
Rnd 2: 2 sc in each st around – 12 sc.
Rnd 3: (sc in next 5 sts, 2 sc in next st) rep twice – 14 sc.
Rnds 4 -7: Sc in each st around – 14 sc.
Rnd 8: (sc in next 5 sts, sc2tog) rep twice – 12 sc.
Rnd 9: Sc in each st around – 12 sc.
Rnd 10: (sc in next 4 sts, sc2tog) rep twice – 10 sc.
Rnd 11: Sc in each st around – 10 sc.
Rnd 12: (sc in next 3 sts, sc2tog) rep twice – 8 sc.
Do not stuff. Fasten off, leaving a long tail. Thread tail through top of sts of last rnd. Pull tail to close opening and knot securely.
Once all bumps are complete, sew the two medium bumps to each side of the central bump. Sew the two lateral bumps to the outside of the medium bumps.


I can't wait to see your version of my PUMPKIN APPLIQUE. Feel free to tag me (@elisascrochet) in your photos on Instagram or Facebook!
Elisa
This pattern is an original pattern by Elisa Sartori of Elisa's Crochet. Please do not claim this pattern as your own. If you wish to share this pattern, you may link to this pattern but please do not reprint it on your site. You may keep a copy for your own personal use but please DO NOT sell the pattern or distribute it.
You may sell products made from this pattern but please clearly credit the design to me, Elisa Sartori of Elisa's Crochet. Permission is NOT granted for mass production or factory manufacturing of any kind. Thank you!


