Spaceship Free Crochet Pattern
- Elisa
- Feb 14, 2023
- 6 min read


Happy Valentine's Day my crafty friends...and welcome back to my blog!
We often hear saying "Love you to the moon and back" to express the strong affection for another person. Well today I want to take You to the Moon, with this fun crochet design - a colorful Spaceship!
If your kid loves and dreams about the outer space, you really cannot go wrong with this project!
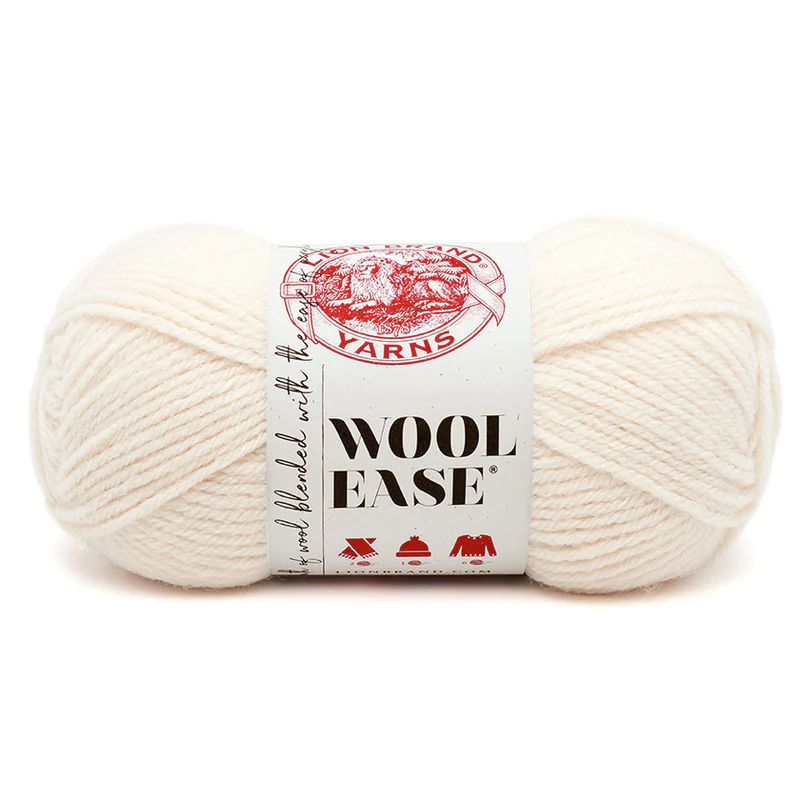
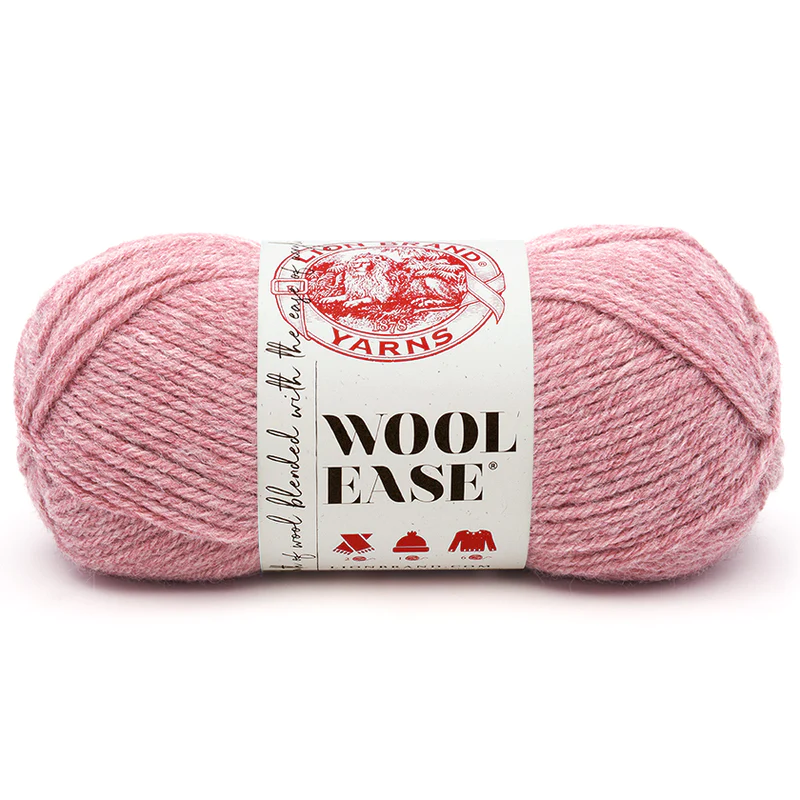
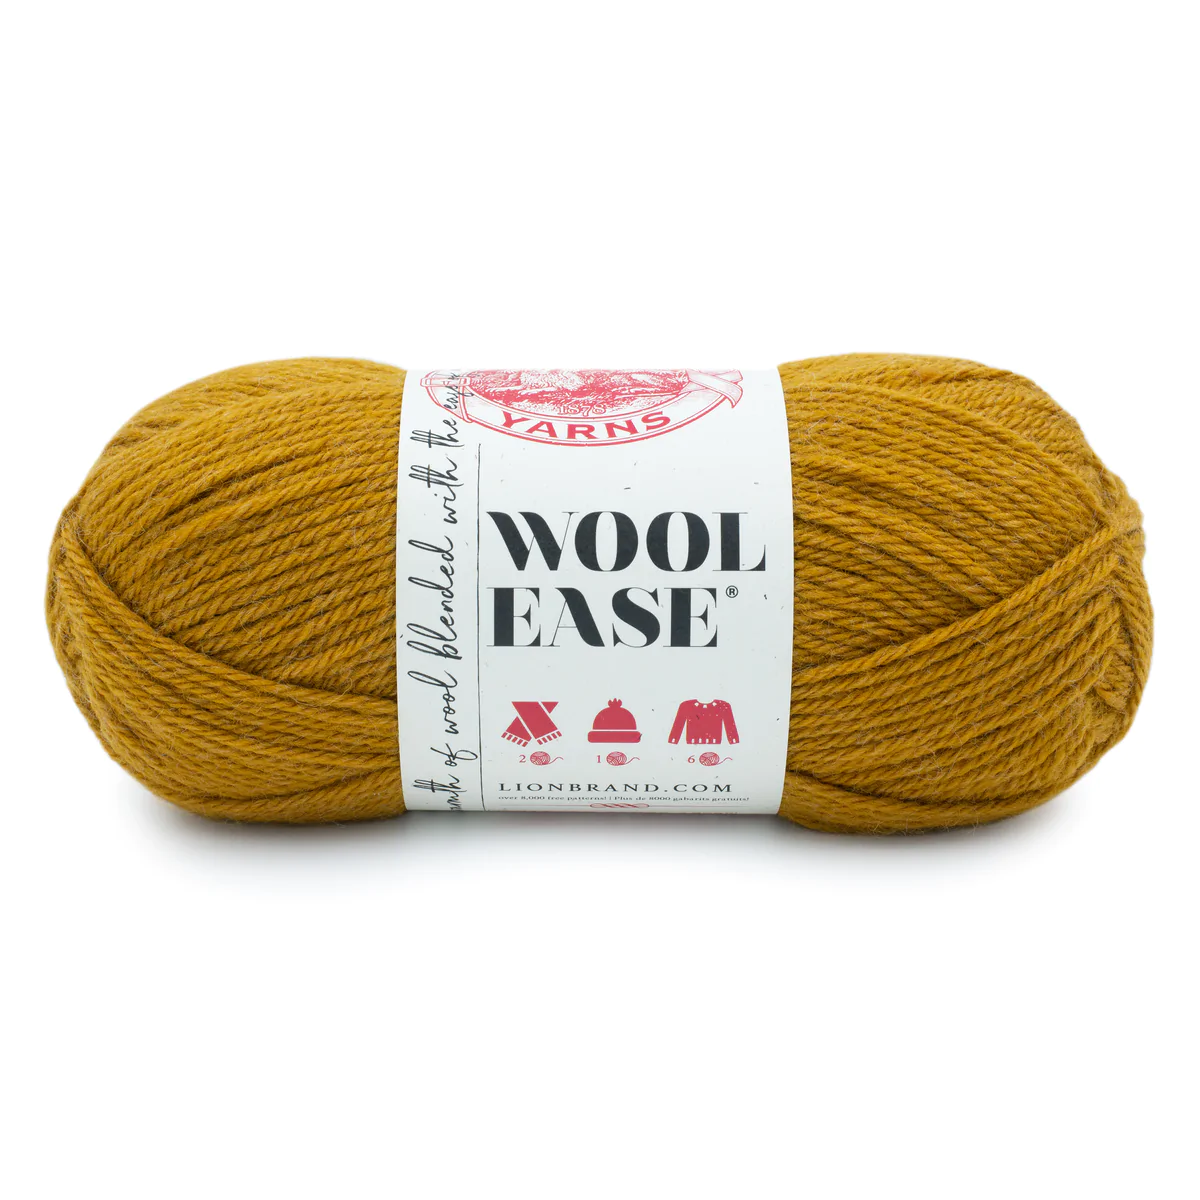
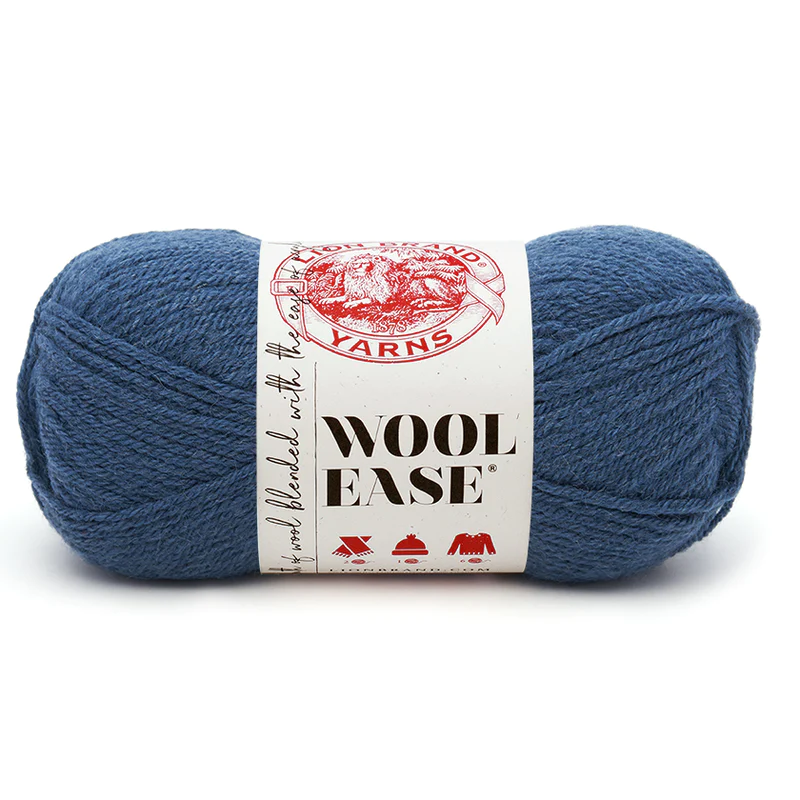
I crocheted the spaceship with the warm and soft Lion Brand Wool Ease. This easy to work yarn comes in so many beautiful colors! Choose your own color palette, or check the material list below to see what are the colors I worked the spaceship with!

***You can purchase a downloadable AD-FREE PDF of the pattern with more than 40

Here is the FREE pattern!
MATERIALS
· Lion Brand® WOOL EASE® (Art. #620)
#114B Denim 1 ball (A)
#140 Rose Heather 1 ball (B)
#087 Arrowwood 1 ball (C)
#099 Fisherman 1 ball (D)
· Lion Brand® crochet hook size F (3.75 mm)
ADDITIONAL MATERIALS
Fiberfill stuffing
ABBREVIATIONS: beg = begin(ninig); ch = chain; hdc = half double crochet; rep = repeat; rnd(s) = round(s); sc = single crochet; sl st = slip stitch; st(s) = stitch(es)
SKILL LEVEL: Easy


Disclosure. Most blog posts on this website contain affiliate links. This means I get a small commission if you click-through & purchase (no additional cost to you).
Spaceship
With A, make a magic ring.
Rnd 1: work 8 sc in ring.
Rnd 2: 2 sc in each st around – 16.
Rnd 3: * 1 sc, 2 sc in next st; rep from * around – 24 sc.
Rnd 4: sc in each st around.
Rnd 5: * 2 sc, 2 sc in next st; rep from * around – 32 sc.
Rnd 6: sc in each st around.
Rnd 7: With B, working in back loop, sc in each st around.
Rnd 8: sc in each st around.
Rnd 9: * 7 sc, 2 sc in next st; rep from * around – 36 sc.
Rnds 10 - 11: sc in each st around.
Rnd 12: * 8 sc, 2 sc in next st; rep from * around – 40 sc.
Rnd 13: sc in each st around.
Rnd 14: * 9 sc, 2 sc in next st; rep from * around – 44 sc.
Rnd 15: sc in each st around.
Rnd 16: * 10 sc, 2 sc in next st; rep from * around – 48 sc.
Rnds 17 - 19: sc in each st around.
Rnd 20: * 11 sc, 2 sc in next st; rep from * around – 52 sc.
Rnds 21 - 26: sc in each st around.
Rnd 27: * 11 sc, 2 sc tog; rep from * around – 48 sc.
Rnd 28: sc in each st around.
Begin stuffing piece and continue stuffing until piece is complete.
Rnd 29: working in back loop only, * 4 sc, 2 sc tog; rep from * around – 40 sc.
Rnd 30: * 3 sc, 2 sc tog; rep from * around – 32 sc.
Rnd 31: * 2 sc, 2 sc tog; rep from * around – 24 sc.
Rnd 32: * 1 sc, 2 sc tog; rep from * around – 16 sc.
Rnd 33: 2 sc tog rep around – 8 sc.
Fasten off, leaving a long tail. Thread tail through top of sts of last rnd. Pull tail to close opening and knot securely.
Join Bottom Part
Rnd 29 b: With A, insert hook in the front loop of any st of Rnd 28 of Spaceship and draw up a loop, ch 1, 1 sc in same st, 2 sc in the next st, *1 sc, 2 sc in the next st; rep from * around – 72 sts.
Rnds 30 b – 32 b: sc in each st around – 72 sts.
Rnd 33 b: *1 sc, 2 sc tog; rep from * around – 48 sts.
Rnd 34 b: 2 sc tog around – 24 sts.
Rnd 35 b: *2 sc, 2 sc tog; rep from * around – 18 sts.
Rnd 36 b: *1 sc, 2 sc tog; rep from * around – 12 sts.
Stuff the bottom part.
Rnd 37 b: 2 sc tog around – 6 sts.
Fasten off, leaving a long tail. Thread tail through
top of sts of last rnd. Pull tail to close opening and knot securely.
Windows (make two)
Rnd 1: With D, 1 sc, 1 hdc, 2 sc, 1 hdc, 1 sc – 6 sc.
Rnd 2: 2 sc in 1st st, 3 hdc in next st, 2 sc in each of the next 2 st, 3 hdc in the next st, 2 sc in the next st – 14.
Rnd 3: 1 sc, 2 sc in the next st, 1 hdc, 2 hdc in the next st, 1 hdc, *1 sc, 2 sc into the next st; rep from * twice, 1 hdc, 2 hdc in the next st, 1 hdc, 1 sc, 2 sc in the next st – 20 sc.
Rnd 4: 3 sc, 1 hdc, 2 hdc in each of the next 2 sts, 1 hdc, 6 sc, 1 hdc, 2 hdc in each of the next 2 sts, 1 hdc, 3 sc – 24.
Rnd 5: With A, 5 sc, 2 sc inc in each of the next 2 sts, 10 sc, 2 sc inc in each of the next 2 sts, 5 sc – 28 sc.
Fasten off, leaving a long tail for sewing the Windows to the Spaceship.
With A, sew Windows to the Spaceship, between Rnds 12 and 23, one on each side.
Circles (make 12)
With C, make a magic ring.
Rnd 1: Work 6 sc in ring; join with sl st in first sc.
Fasten off and leave a long strand of yarn.
With C, sew the Circles to the Spaceship, on the sides of the Windows between Rnds 10 and 14, 16 and 19, 21 and 25. Three on each side of the windows.
Wings (make two)
Panel I
Row 1: With A, Ch 4, 1 sc into the 2nd ch from the hook, 1 sc in each of the next 2 chs; Turn – 3 sts.
Rnd 2: Ch 1, 1 sc in each of the next 2 sts, 2 sc into the last st; Turn – 4 sts.
Rnd 3: Ch 1, 1 sc in each st along; Turn
Rnd 4: Ch 1, 1 sc in each of the next 3 sts, 2 sc into the last st; Turn – 5 sts.
Rnd 5: Ch 1, 1 sc in each st along; Turn
Rnd 6: Ch 1, 1 sc in each of the next 3 sts, 2 tog; Turn – 4 sts.
Rnd 7: Ch 1, 1 sc in each st along; Turn
Rnd 8: Ch 1, 1 sc in each of the next 2 sts, 2 tog; Turn – 3 sts.
Rnd 9: Ch 1, 1 sc in each st along; Turn
Rnd 10: Ch 1, 1 sc in each of the next 1 sts, 2 tog; Turn – 2 sts.
Rnd 11: Ch 1, 1 sc in each st along; Turn
Rnd 12: Ch 1, 2 tog; Turn – 1 sts.
Fasten off
Panel II
Work same as Panel I but do not fasten off.
Place the two panels on top of each other matching the edges and crochet around through both layers. Fasten off, leaving a long tail for sewing the wing to the Spaceship.
With A, sew the Wings to the Spaceship, between Rnds 11 and 24.
Engine Nozzles (make three)
With C, make a magic ring.
Rnd 1: work 8 sc in ring.
Rnd 2: 2 sc in each st around – 16.
Rnd 3: working in the back loop, 1 sc in each st around.
Rnds 4 - 5: sc in each st around.
Fasten off, leaving a long tail for sewing the Nozzles to the Spaceship.
With C, sew Engine Nozzles (front loop of Rnd 2) to the bottom part of the Spaceship.


I can't wait to see your version of my SPACESHIP! Feel free to tag me (@elisascrochet) in your photos on Instagram or Facebook!
Elisa
This pattern is an original pattern by Elisa Sartori of Elisa's Crochet. Please do not claim this pattern as your own. If you wish to share this pattern, you may link to this pattern but please do not reprint it on your site. You may keep a copy for your own personal use but please DO NOT sell the pattern or distribute it.
You may sell products made from this pattern but please clearly credit the design to me, Elisa Sartori of Elisa's Crochet. Permission is NOT granted for mass production or factory manufacturing of any kind. Thank you!