Spaceship Pillow Cover Free Crochet Pattern
- Elisa
- Sep 19, 2023
- 5 min read


Happy Tuesday my friends!
Are you all ready for another super fun glowing project!
I designed for you a gorgeous Pillow Cover to decorate your little galaxy lover's room!
Super soft at day time, it will lighten up before your kid's eyes at night!

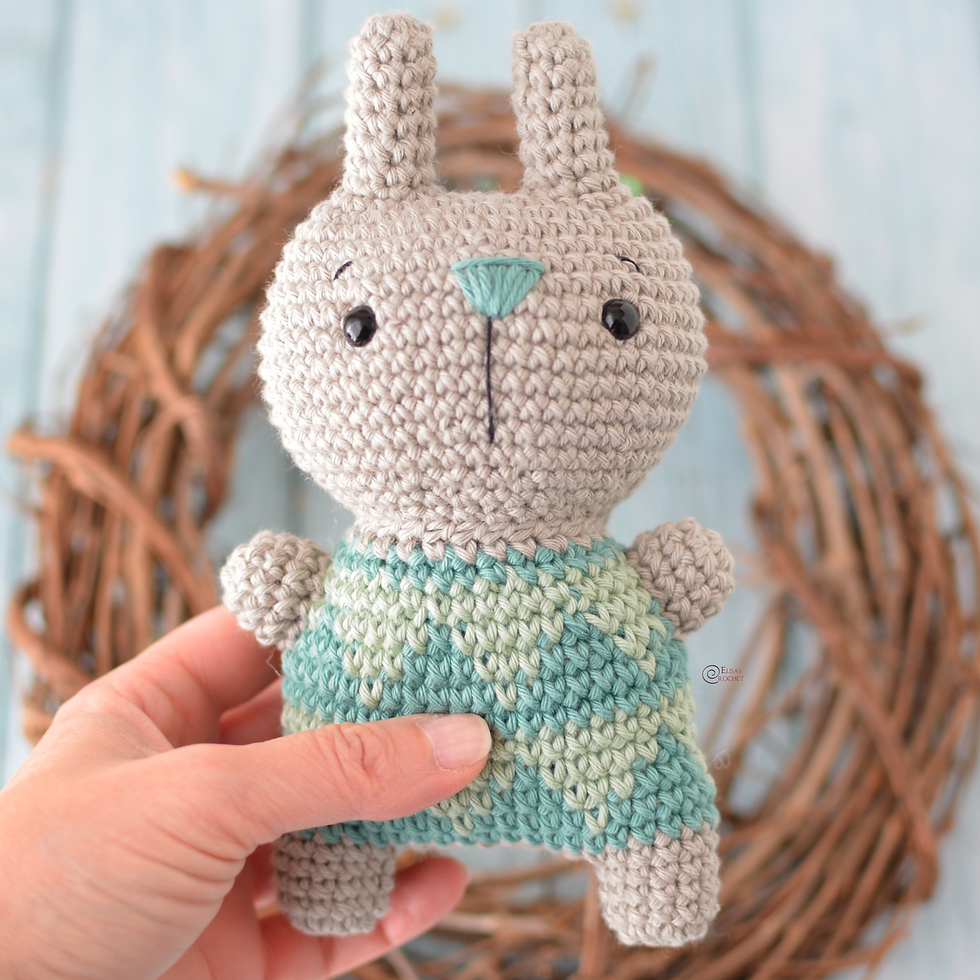
Combine this incredible project with the little Amigurumi Astronaut - click here on the right for the super detailed PDF pattern!
The Starship Pillow Cover is made with DIY Glow® and Baby Soft® yarn by LION BRAND YARN!

***You can purchase a downloadable AD-FREE PDF of the pattern -11 pages with more than 40 step-by-step pictures, schematics and tips to guide you through the making process
Here is the FREE Crochet Pattern!
EASY
SIZE
About 14 x 14 in. (35.5 x 35.5 cm)
MATERIALS
LION BRAND® BABY SOFT® (Art. #920)
#172 Dusty Green 2 balls (A)
#109 Dusty Blue 1 ball (B)
#108 Dusty Pink 1 ball (C)
#098 Natural 1 ball (D)
LION BRAND® large-eyed blunt needle
OTHER MATERIALS
Crochet hook size E-4 (3.5 mm)
14 x 14 in. (35.5 x 35.5 cm) pillow form
12-14 in. (30-36 cm) zipper
Sewing needle and thread
GAUGE
8 (chain 3, 3 dc) squares = about 4 in. (10 cm).
ABBREVIATIONS
beg = begin(ning)
ch = chain
ch-sp(s) = chains space(s) previously made
dc = double crochet
rep = repeat
RS = right side
sc = single crochet
sl st = slip
st st(s) = stitch(es)
WS = wrong side


Disclosure. Most blog posts on this website contain affiliate links. This means I get a small commission if you click-through & purchase (no additional cost to you).
TECHNIQUE EXPLANATION
Corner to Corner (C2C) C2C The Corner-to-Corner (C2C) technique of crocheting is made by starting in one corner of a Chart (typically the lower right corner) and following the Chart row by row diagonally to the other corner (typically the top left corner).
How to work your C2C Pillow Cover
Row 1: Starting in the lower right corner of the Chart. Chain 6. DC in 4th chain from hook. DC in last two chains. You now have a chain-3 space and a total of 3 DC stitches. This completes your first square and Row 1.
Row 2: Chain 6. DC in 4th chain from hook. DC in last two chains. Turn your work. At this point turning consists of just flipping over the first square. Slip stitch in the chain-3 space of the first square. Chain 3. Make 3 DC in the same chain-3 space. This completes your second two squares and Row 2.
Increase Rows
You will start each row by chaining 6, making a DC in the 4th chain from hook and then a DC in each of the remaining 2 chains, turn, and continue making squares (Slip stitch in chain-3 space then chain 3 and work 3 DC in the same chain-3 space).
Decrease Rows
At the beginning of each row, turn your work and slip stitch across the 3 DC’s of the last square made. Slip stitch in the chain-3 space then chain 3 and work 3 DC in the same chain-3 space. At the end of the row, end with a slip stitch in the last chain-3 space, do not work chain 3 and 3 DC in that last chain-3 space.
How to Change Yarn Colors
To attach a new color you will pull the new color yarn through as you make your slip stitch in the chain-3 space. Do not fasten off the old color. Leave the strand hanging and still attached to the ball. Keep the balls not being used on the wrong side of your work. You can easily carry your yarn strand up from the previous row. Take the yarn strand and pull it up to your hook when you need to join that color back into your project.
Back
Work in C2C technique.

Increase Section
Row 1 (RS): With A, ch 6, dc in 4th ch from hook, dc in next 2 ch – you will have 1 square in this row.
Row 2: Ch 6, turn, dc in 4th ch from hook, dc in next 2 ch, (sl st, ch 3, 3 dc) in next ch-3 sp – 2 squares.
Row 3: Ch 6, turn, dc in 4th ch from hook, dc in next 2 ch, (sl st, ch 3, 3 dc) in each ch-3 sp across – 3 squares. Rows 4-29: Rep Row 3 for 26 more times, increasing 1 square in each row – you will have 29 squares in Row 29.
Decrease Section
Row 30: Sl st in each dc across to first ch-3 sp, (sl st, ch 3, 3 dc) in each ch-3 sp to last ch-3 sp, sl st in last ch-3 sp (do not work ch 3, 3 dc in last ch-3 sp) – 28 squares.
Rows 31-57: Rep Row 30 for 27 more times, decreasing 1 square in each row – you will have 1 square remaining in Row 57. Fasten off. Edging From RS, draw up a loop of E anywhere in outer edge of Back, ch 1, sc evenly spaced all the way around outer edge, working 3 sc in each corner. Note: For best results count the number of sc you work along one side edge and work the same number of sc along each of the remaining 3 edges. Fasten off.
Edging
From RS, draw up a loop of E anywhere in outer edge of Back, ch 1, sc evenly spaced all the way around outer edge, working 3 sc in each corner. Note: For best results count the number of sc you work along one side edge and work the same number of sc along each of the remaining 3 edges. Fasten off.
Front
Work in C2C technique, changing yarn color following Chart, until all 57 rows have been completed.

Edging
Work same as Back edging.
Finishing
With sewing needle and thread, sew the sides of zipper to WS of upper edges of Front and Back. Hold Front and Back with WS together and sts matching. Working through both thicknesses, draw up a loop of E in a top corner so that you are ready to work down a side edge, sl st in each st along the 3 remaining open sides. Fasten off. Weave in ends. Insert pillow form into Cover


I can't wait to see your version of my STARSHIP PILLOW COVER! Feel free to tag me (@elisascrochet) in your photos on Instagram or Facebook!
Elisa
This pattern is an original pattern by Elisa Sartori of Elisa's Crochet. Please do not claim this pattern as your own. If you wish to share this pattern, you may link to this pattern but please do not reprint it on your site. You may keep a copy for your own personal use but please DO NOT sell the pattern or distribute it.
You may sell products made from this pattern but please clearly credit the design to me, Elisa Sartori of Elisa's Crochet. Permission is NOT granted for mass production or factory manufacturing of any kind. Thank you!