Submarine Free Crochet Pattern
- Elisa
- Feb 20, 2024
- 6 min read
Welcome aboard, fellow crochet enthusiasts!
Today we'll be learning how to work a charming amigurumi Submarine, a creation that will capture your kid's imaginative play!
Made of chunky yarn, this project is extremely quick to work and make a perfect huggable and squishy toy!
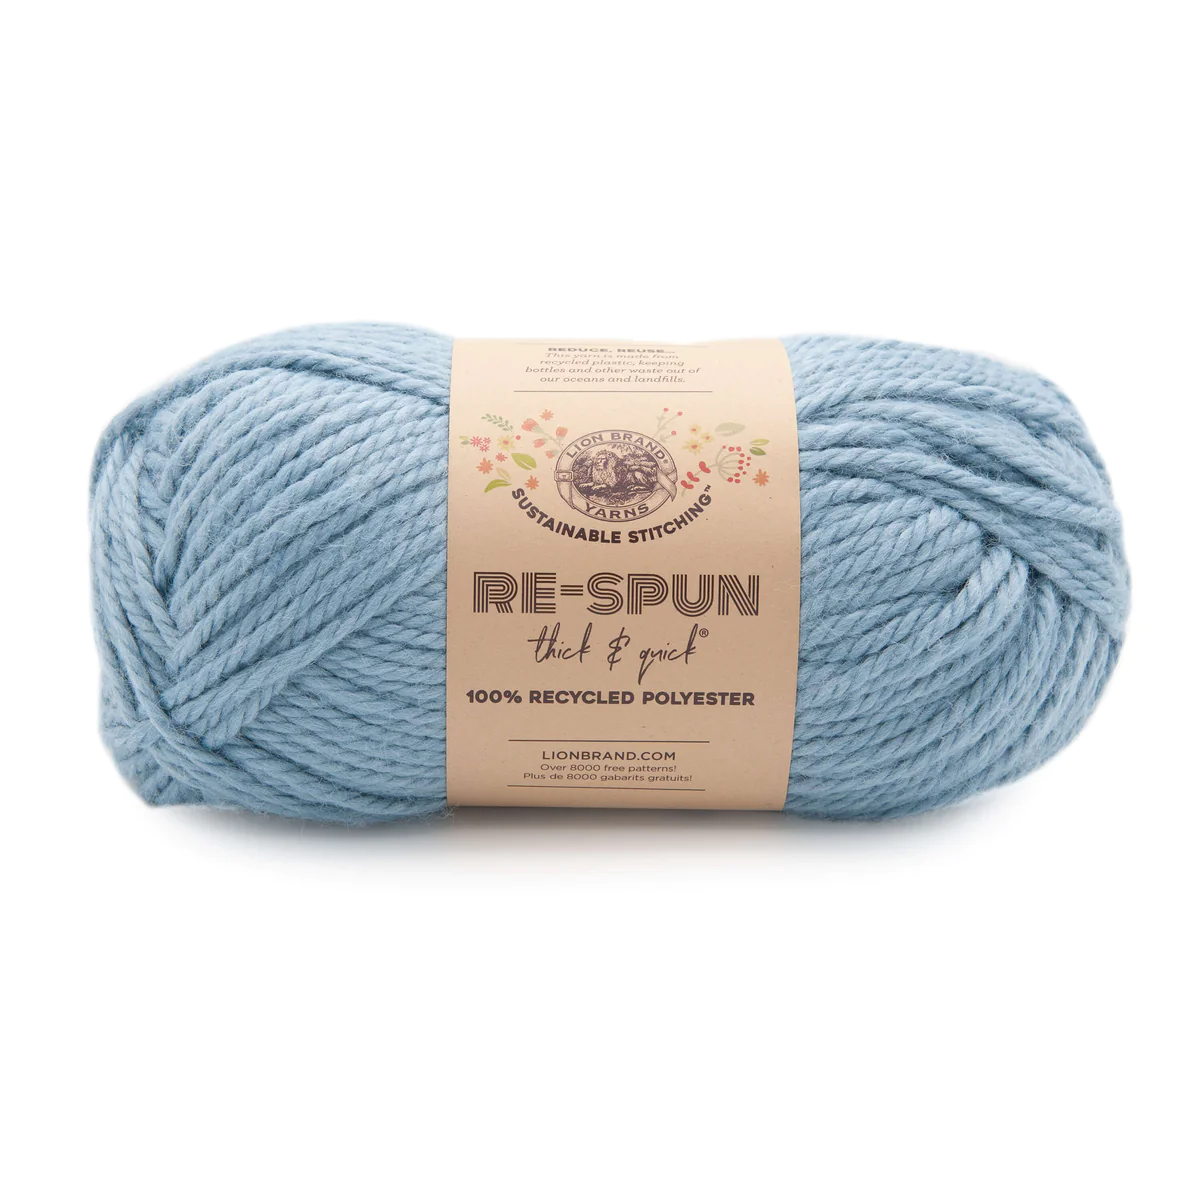
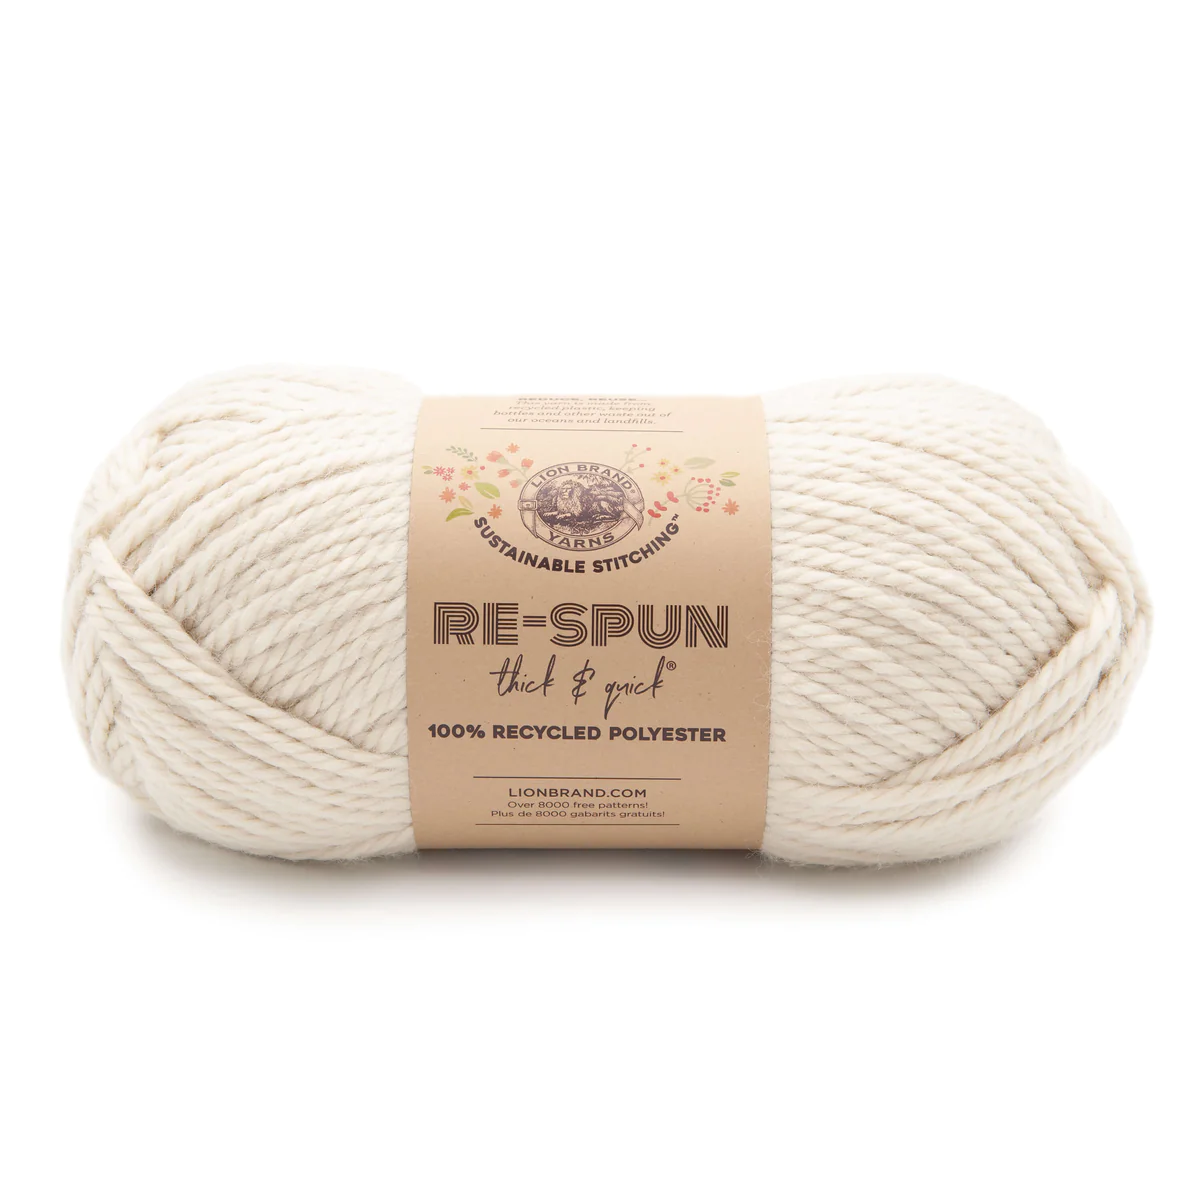
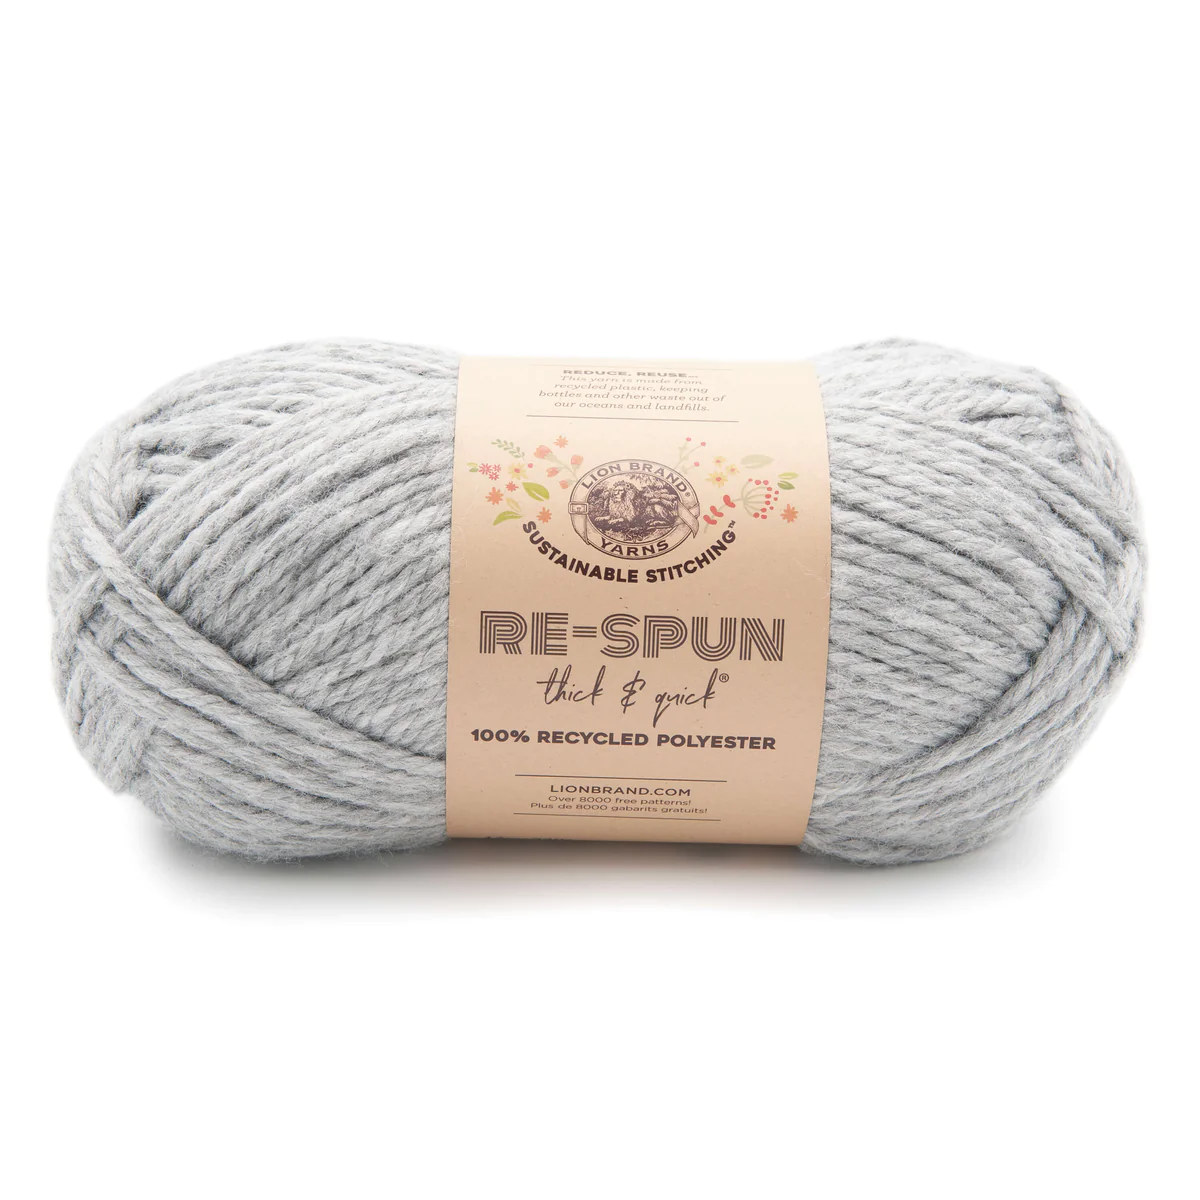
The Submarine is worked with Re-Spun Thick & Quick by Lion Brand - made from recycled plastics, this yarn is soft and perfect for everything from wearables to home décor.
***You can purchase a downloadable AD-FREE PDF of the pattern: 9 pages with more than
30 step-by-step pictures,
and tips to guide you through the making process
Here is the FREE pattern
EASY
SIZE
About 12 in. (30.5 cm) long and 9 in. (23 cm) tall.
MATERIALS
· Lion Brand® Re-SPUN THICK & QUICK® (Art. #843)
#149B Silver 1 ball (A)
#106BD Faded Denim 1 ball (B)
#098AF Whipped Cream 1 ball (C)
· Lion Brand® large-eyed blunt needle
ADDITIONAL MATERIALS
Crochet hook size J-6 mm
Fiberfill Stuffing
GAUGE
12 sc + 12 rnds = about 4 in. (10 cm).
ABBREVIATIONS
ch = chain
rep = repeat
rnd(s) = round(s)
RS = right side
WS = wrong side
sc = single crochet
hdc = half double crochet
sl st = slip stitch
st(s) = stitch(es)
Invisible Join When closing a round, insert your hook (free from the yarn) into the 1st st of the Rnd, from the back (WS), grab the yarn loop, pull it through and ch 1. Now move to the RS and keep working normally.
Disclosure. Most blog posts on this website contain affiliate links. This means I get a small commission if you click-through & purchase (no additional cost to you).
MAIN STRUCTURE
With A, make a magic ring.
Rnd 1: Work 8 sc in ring; invisible join with sl st in first sc.
Rnd 2: Ch 1, 2 sc in each st around – 16 sc; invisible join with sl st in first sc.
Rnd 3: Ch 1, * 1 sc in next st, 2 sc in next st; rep from * around – 24 sc; invisible join with sl st in first sc.
Rnd 4: Ch 1, * 1 sc in next 2 sts, 2 sc in next st; rep from * around – 32 sc; invisible join with sl st in first sc.
Rnd 5: Ch 1, sc in each st around – 32 sc; invisible join with sl st in first sc.
Rnd 6: Ch 1, * 1 sc in next 3 sts, 2 sc in next st; rep from * around – 40 sc; invisible join with sl st in first sc.
Rnds 7 - 8: Ch 1, sc in each st around – 40 sc; invisible join with sl st in first sc.
Rnd 9: Ch 1, * 1 sc in next 4 sts, 2 sc in next st; rep from * around – 48 sc; invisible join with sl st in first sc.
Work the next Rnd with the Half Color Change technique.
Rnd 10: Ch 1, work in back loop, sc in each st around – 48 sc; invisible join with sl st in first sc
Rnd 11: Ch 1, work in front loop, sc in each st around – 48 sc; invisible join with sl st in first sc.
Rnds 12 - 24: Ch 1, sc in each st around – 48 sc; invisible join with sl st in first sc.
Rnd 25: Ch 1, * 1 sc in next 6 sts, sc2tog; rep from * around – 42 sc; invisible join with sl st in first sc.
Rnd 26: Ch 1, sc in each st around – 42 sc; invisible join with sl st in first sc.
Begin stuffing and continue until piece is completed.
Rnd 27: Ch 1, * 1 sc in next 5 sts, sc2tog; rep from * around – 36 sc; invisible join with sl st in first sc.
Rnd 28: Ch 1, sc in each st around – 36 sc; invisible join with sl st in first sc.
Rnd 29: Ch 1, * 1 sc in next 7 sts, sc2tog; rep from * around – 32 sc; invisible join with sl st in first sc.
Rnd 30: Ch 1, * 1 sc in next 6 sts, sc2tog; rep from * around – 28 sc; invisible join with sl st in first sc.
Rnd 31: Ch 1, sc in each st around – 28 sc; invisible join with sl st in first sc.
Rnd 32: Ch 1, * 1 sc in next 5 sts, sc2tog; rep from * around – 24 sc; invisible join with sl st in first sc.
Rnd 33: Ch 1, sc in each st around – 24 sc; invisible join with sl st in first sc.
Rnd 34: Ch 1, * 1 sc in next 4 sts, sc2tog; rep from * around – 20 sc; invisible join with sl st in first sc.
Rnd 35: Ch 1, sc in each st around – 20 sc; invisible join with sl st in first sc.
Rnd 36: Ch 1, * 1 sc in next 3 sts, sc2tog; rep from * around – 16 sc; invisible join with sl st in first sc.
Rnd 37: Ch 1, * 1 sc in next 2 sts, sc2tog; rep from * around – 12 sc; invisible join with sl st in first sc.
Rnd 38: With A, ch 1, work in front loop, sc in each st around – 12 sc; invisible join with sl st in first sc.
Finish stuffing piece.
Rnd 39: Ch 1, sc in each st around – 12 sc; invisible join with sl st in first sc.
Rnd 40: Ch 1, work in back loop, * 1 sc in next st, sc2tog; rep from * around – 8 sc; invisible join with sl st in first sc.
Fasten off, leaving a long tail. Thread tail through top of sts of last rnd. Pull tail to close opening and knot securely.
PERISCOPE
Lens Part
With C, make a magic ring.
Rnd 1: Work 8 sc in ring; invisible join with sl st in first sc.
Rnd 2: With B, ch 1, work in back loop, sc in each st around – 8 sc; invisible join with sl st in first sc.
Fasten off leaving a long tail. Stuff the Lens.
Tube Part
With B, make a magic ring.
Rnd 1: Work 8 sc in ring; invisible join with sl st in first sc.
Rnd 2: Ch 1, work in back loop, sc in each st around – 8 sc; invisible join with sl st in first sc.
Rnds 3 - 9: Ch 1, sc in each st around – 8 sc; invisible join with sl st in first sc.
Rnd 10: Ch 1, work in front loop, sc in next 3 sts, 4 sc in next st, sc in next 3 sts, 4 sc in next st – 14 sc; invisible join with sl st in first sc.
Rnd 11: Ch 1, sc in next 4 sts, 2 sc in next 2 sts, sc in next 5 sts, 2 sc in next 2 sts, sc in next st – 18 sc; invisible join with sl st in first sc.
Rnd 12: Ch 1, work in back loop, sc in each st around – 18 sc; invisible join with sl st in first sc.
With B, sew Lens to side of upper part of Tube.
Fasten off leaving a long tail.
Stuff the Tube. With B, sew Periscope to upper side of Submarine, approximately 5 Rnds from A front section.
PORTHOLES
Large (make two)
With C
Rnd 1: Work 7 sc in ring; invisible join with sl st in first sc.
Rnd 2: Ch 1, 2 sc in each st around – 14 sc; invisible join with sl st in first sc.
Rnd 3: Ch 1, * 1 sc in next st, 2 sc in next st; rep from * around – 21 sc; invisible join with sl st in first sc.
Rnd 4: With A, ch 1, work in back loop, sl st in each st around – 21 sc; invisible join with sl st in first sc.
Fasten off, leaving a long tail.
Small (make two)
With C
Rnd 1: Work 8 sc in ring; invisible join with sl st in first sc.
Rnd 2: Ch 1, 2 sc in each st around – 16 sc; invisible join with sl st in first sc.
Rnd 4: With A, ch 1, work in back loop, sl st in each st around – 16 sc; invisible join with sl st in first sc.
Fasten off, leaving a long tail.
With A, sew Portholes to the sides of Submarine (Large portholes, 3 Rnds from A front section; Small portholes 3 Rnds from Large Portholes).
PROPELLERS (MAKE THREE)
With A, make a magic ring.
Rnd 1: Work 8 sc in ring; invisible join with sl st in first sc.
Row 2: Ch 1, hdc in next st, sc in next st, hdc in next st – 3 sc; Turn.
Row 3: Ch 1, sc in next st, sc2tog – 2 sc; Turn.
Row 4: Ch 1, sc2tog – 1 sc.
Fasten off leaving a long tail. With A, sew Propellers to the A section at the back of
With A, with the embroidery French Knot technique, create bolts, between Rnds 8 and 9 and Rnds 11 and 12, approximately 6 sts apart.
I can't wait to see your version of SUBMARINE! Feel free to tag me (@elisascrochet) in your photos on Instagram or Facebook!
Elisa
This pattern is an original pattern by Elisa Sartori of Elisa's Crochet. Please do not claim this pattern as your own. If you wish to share this pattern, you may link to this pattern but please do not reprint it on your site. You may keep a copy for your own personal use but please DO NOT sell the pattern or distribute it.
You may sell products made from this pattern but please clearly credit the design to me, Elisa Sartori of Elisa's Crochet. Permission is NOT granted for mass production or factory manufacturing of any kind. Thank you!


