
The Funny Bunny Free Crochet Pattern
- Elisa
- 11 minutes ago
- 6 min read

Hello my friends!
A little while ago, I was looking through my old crochet designs and found an old friend - my The Funny Bunny project. It is an older design, but its quirky little face always makes me smile. I posted a photo on Instagram and asked if you wanted the pattern for free.

Your answer was a big YES!
I was so happy to hear that, so I decided to give this little bunny a brand-new look.
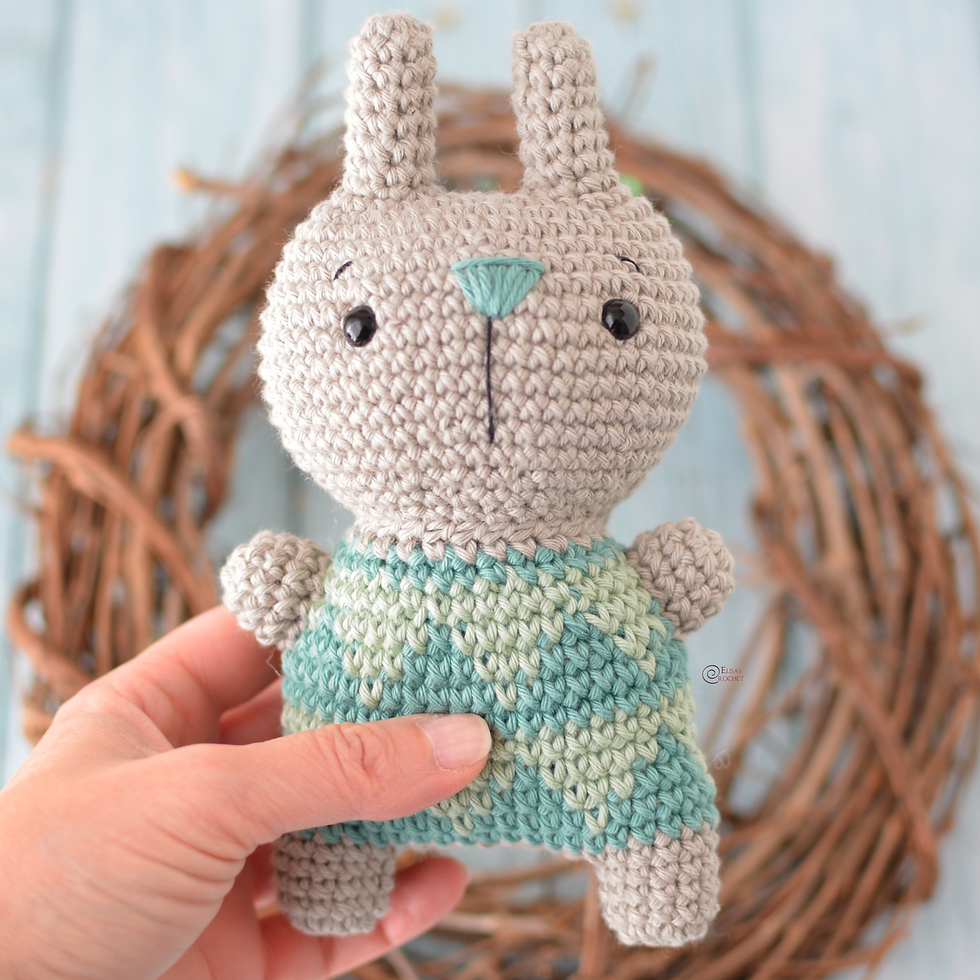
I wanted to try something different, so I made the bunny again using new yarns and colors. As you can see, the new bunny has a lovely sweater made with teal and pistachio colors, and a matching teal nose!
Changing the colors made me realize just how much fun this project can be.
I wanted to make sure the pattern is very easy for you to follow. I took this chance to rewrite all the instructions into a much nicer, cleaner format.
I also added helpful drawings to show you how to do the color changes for the sweater and how to finish the face.
The basic version of the pattern is completely free here on the blog!
If you prefer extra help while you crochet, I also made a premium version for my Etsy shop.
The shop version includes:
20+ step-by-step pictures to guide you through every single part.
Clear schematics to show you the exact stitch patterns.
Extra tips to help you get the perfect shape.
You can find the fully illustrated version in my Etsy shop.
Whether you choose the free blog version or the big Etsy version, I hope you love making this little bunny as much as I do.

10 pages with 20+ step-by step pictures, schematics, stitch tips designed to guide you through every stage of the project with ease!
Here is what you need!
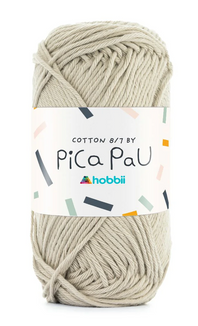
YARN
light yarn (3)
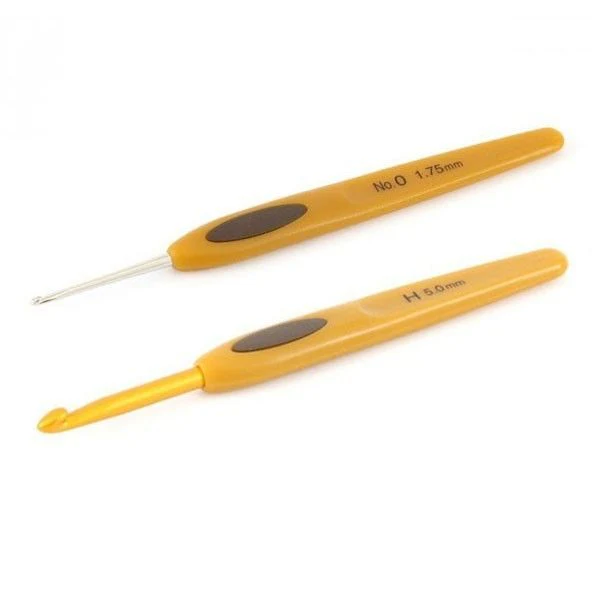
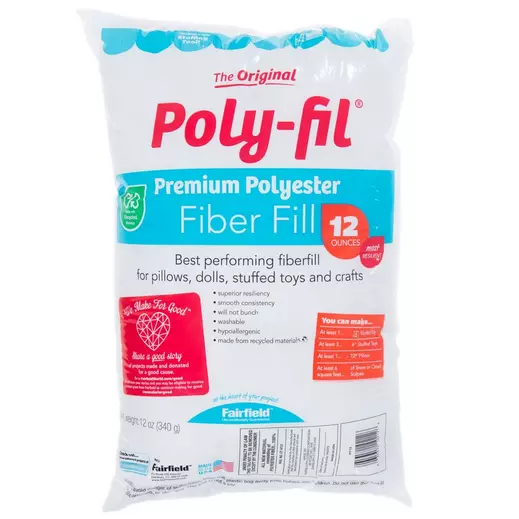
MATERIALS
3.5 mm Crochet Hook
Yarn Needle
Polyester Fiber Fill
Black Embroidery Thread
10 mm Black Plastic Safety
DIMENSIONS
Approximately 7” (18 cm) tall
ABBREVIATIONS
chain (ch)
stitch (st)
slip stitch (sl st)
single crochet (sc)
half double crochet (hdc)
repeat (rep)
SKILL LEVEL
Beginner


Disclosure. Most blog posts on this website contain affiliate links. This means I get a small commission if you click-through & purchase (no additional cost to you).
Ears & Head
EAR I
With A, make a magic ring.
Rnd 1: 8 sc in the ring – 8 sc.
Rnds 2 - 7: 1 sc in each st around – 8 sc.
Fasten off, cut the yarn and weave in ends. Stuff the Ear.
EAR II
With A, make a magic ring.
Rnd 1: 8 sc in the ring – 8 sc.
Rnds 2 - 7: 1 sc in each st around – 8 sc.
Do not fasten off. Stuff the Ear.
Join Ears
Rnd 8: Ch 4 (for space between Ears) , insert hook in 1st st of last Rnd of Ear I and draw up a loop, ch 1, sc in same st , 1 sc in next 7 sts; 1 hdc in each of the next 4 chains between Ears; keep working on Ear II - insert the hook in 1st st of last Rnd, 1 sc in same st, sc in next 7 sts; 1 hdc in each of the next 4 chains between Ears, join with a sl st to 1st st of the Rnd – 24 sts.
Rnd 9: (1 sc in next 2 sts, 2 sc in next st) rep around – 32 sc.
Rnd 10: (1 sc in next 3 sts, 2 sc in next st) rep around – 40 sc.
Rnd 11: (1 sc in next 4 sts, 2 sc in next st) rep around – 48 sc.
Rnd 12 - 13: 1 sc in each st around – 48 sc.
Rnd 14: (1 sc in next 7 sts, 2 sc in next st) rep around – 54 sc.
Rnd 15 - 19: 1 sc in each st around – 54 sc.
Rnd 20: (1 sc in next 7 sts, sc2tog) rep around – 48 sc.
Rnd 21: 1 sc in each st around – 48 sc.
Insert Safety Eyes between rnds 14 and 15, approximately 11 st apart.
Rnd 22: (1 sc in next 4 sts, sc2tog) rep around – 40 sc.
Rnd 23: (1 sc in next 3 sts, sc2tog) rep around – 32 sc.
Rnd 24: (1 sc in next 2 sts, sc2tog) rep around – 24 sc.
Fasten off, cut the yarn and weave in ends. Stuff the Head.
With B, embroider the NOSE between Rnds 13 and 16.
With black thread, embroider MOUTH (between Rnds 15 and 21), and the EYEBROWS, (between Rnds 12 and 14).
Legs & Body
LEG I
With A, make a magic ring.
Rnd 1: 6 sc in the ring – 6 sc.
Rnd 2: 2 sc in each st around – 12 sc.
Rnds 3 - 5: 1 sc in each st around – 12 sc.
Fasten off, cut the yarn and weave in ends. Stuff the Leg.
LEG II
With A, make a magic ring.
Rnd 1: 6 sc in the ring – 6 sc.
Rnd 2: 2 sc in each st around – 12 sc.
Rnds 3 - 5: 1 sc in each st around – 12 sc.
Do not fasten off. Stuff the Leg.
Join Legs
Rnd 6: Ch 9 (for space between Legs), insert hook in 1st st of last Rnd of Leg I and draw up a loop, ch 1, sc in same st, 1 sc in next 11 sts; 1 hdc in each of the next 9 chains between Legs; keep working on Leg II - insert the hook in 1st st of last Rnd, 1 sc in same st, sc in next 11 sts; 1 hdc in each of the next 9 chains between Legs, join with a sl st to 1st st of the Rnd – 42 sts.
Rnd 7: With B, 1 sc in each st around – 42 sc.
Rnd 8: (with B, 1 sc next 5 sts; with C, 1 sc in next st) rep 7 times – 42 sc.
Rnd 9: With C, 1 sc in next st, (with B, 1 sc next 3 sts; with C, 1 sc in next 3 sts) rep 6 times; with C, 1 sc in next 2 sts – 42 sc.
Rnd 10: With C, 1 sc in next 2 sts, (with B, 1 sc next st; with C, 1 sc in next 5 sts) rep 6 times; with C, 1 sc in next 3 sts – 42 sc.
Rnd 11: With C, 1 sc in each st around – 42 sc.
Rnd 12: With B, 1 sc in each st around – 42 sc.
Rnd 13: With B, 1 sc in next 3 sts, (with C, 1 sc next st; with B, 1 sc in next 5 sts) rep 6 times; with C, 1 sc in next st; with B, 1 sc in next 2 sts – 42 sc.
Rnd 14: With B, 1 sc in next 2 sts, (with C, 1 sc next 3 sts; with B, 1 sc in next 3 sts) rep 6 times; with C, 1 sc in next 3 sts; with B, 1 sc in next st – 42 sc.
Rnd 15: With B, 1 sc in next st, (with C, 1 sc next 5 sts; with B, 1 sc in next st) rep 6 times; with C, 1 sc in next 5 sts – 42 sc.
Keep stuffing.
Rnd 16: With C, (1 sc in next 5 sts, sc2tog) rep around – 36 sc.
Rnd 17: With B, (1 sc in next 4 sts, sc2tog) rep around – 30 sc.
Rnd 18: With A, (1 sc in next 3 sts, sc2tog) rep around – 24 sc.
Fasten off and leave a long tail of yarn to sew the Body to the Head. Stuff firmly as you sew.
Arms (make two)
With A, make a magic ring.
Rnd 1: 8 sc in the ring – 8 sc.
Rnd 2: (1 sc in next 3 sts, 2 sc in next st)rep twice – 10 sc.
Rnds 3 - 4: 1 sc in each st around – 10 sc.
Fasten off and leave a long tail of yarn to sew the Arms to the side of the Body, between Rnds 13 and 17. Stuff firmly before sewing.
Tail
With A, make a magic ring.
Rnd 1: 8 sc in the ring – 8 sc.
Rnd 2: (1 sc in next 3 sts, 2 sc in next st)rep twice – 10 sc.
Rnd 3: 1 sc in each st around – 10 sc.
Fasten off and leave a long strand of yarn to sew the Tail to the back of the Body, between Rnds 9 and 11. Stuff firmly before sewing.

I can't wait to see your version of my THE FUNNY BUNNY. Feel free to tag me (@elisascrochet) in your photos on Instagram or Facebook!
Elisa
This pattern is an original pattern by Elisa Sartori of Elisa's Crochet. Please do not claim this pattern as your own. If you wish to share this pattern, you may link to this pattern but please do not reprint it on your site. You may keep a copy for your own personal use but please DO NOT sell the pattern or distribute it.
You may sell products made from this pattern but please clearly credit the design to me, Elisa Sartori of Elisa's Crochet. Permission is NOT granted for mass production or factory manufacturing of any kind. Thank you!


