Andy the Acorn Free Crochet Pattern
- Elisa
- Oct 3, 2023
- 5 min read
Updated: Oct 24, 2024
Welcome back to my blog my friends,
Here we are with our second Fall project! After learning how to make the super cute Kleo the Pumpkin, today I'll be sharing the easy instructions to create an adorable amigurumi Acorn.
I love the fairly big size of these fun characters - perfect for being displayed as home decor, but also for your kids playtime!
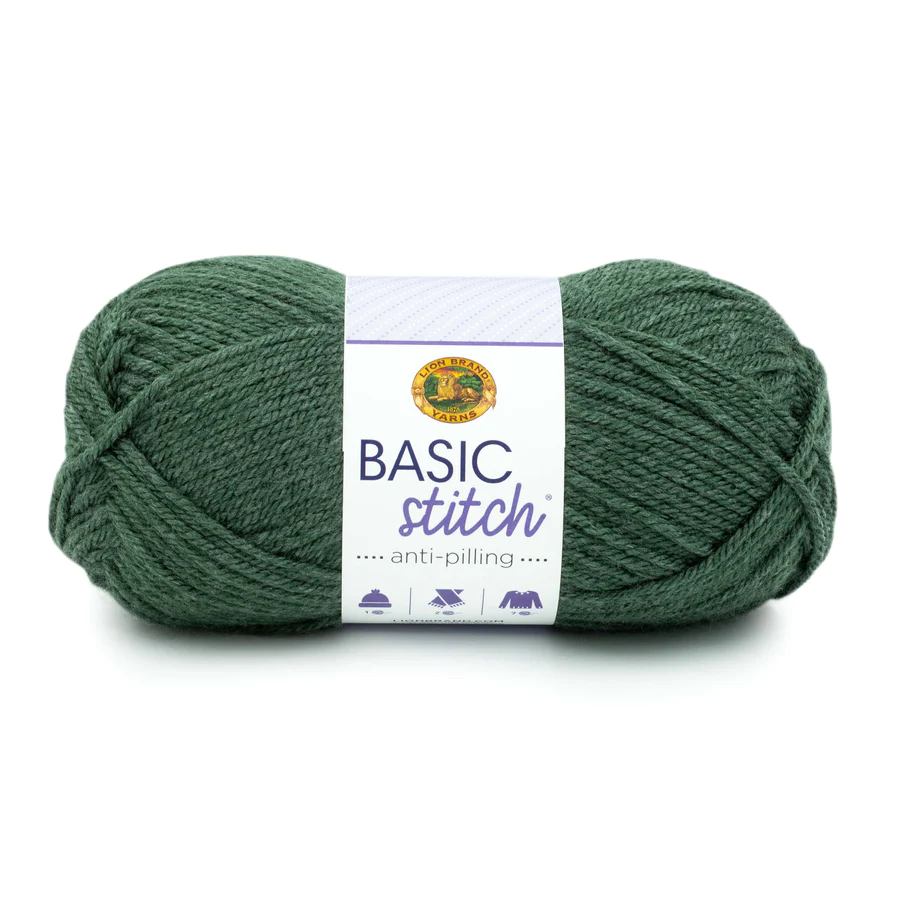
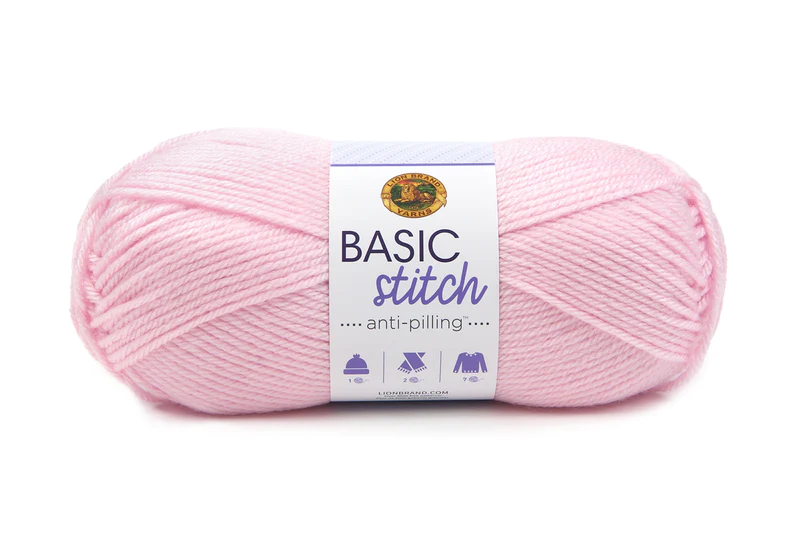
Andy the Acorn is worked with Basic Stitch® yarn by LION BRAND YARN!
***You can purchase a downloadable AD-FREE PDF of the pattern - 8 pages with more than 30 step-by-step pictures and tips to guide you through the making process on Etsy HERE !
Here is the FREE Crochet Pattern!
BEGINNER
SIZE
About 8 in. tall (20 cm)
MATERIALS
· Lion Brand® BASIC STITCH ANTI PILLING® (Art. # 202)
#126AL Mahogany 1 ball (A)
#115L Birch 1 ball (B)
#407K Pine Heather 1 ball (C)
#101F Baby Pink 1 ball (D)
OTHER MATERIALS
Crochet hook size G-6 (4 mm)
Plastic safety eyes (10 mm)
Black and White embroidery floss
Yarn needle
Poly filling
GAUGE
19 sc + 21 rows = about 4 in. (10 cm).
ABBREVIATIONS
beg = begin(ninig)
ch = chain
rep = repeat
rnd(s) = round(s)
sc = single crochet
hdc = half double crochet
dc = double crochet
sl st = slip stitch
st(s) = stitch(es)
ps = puff stitch
Disclosure. Most blog posts on this website contain affiliate links. This means I get a small commission if you click-through & purchase (no additional cost to you).
ACORN CAP
With A make a magic ring.
Rnd 1: Work 6 ps in ring.
Rnd 2: 2 ps in each st around – 12 st. (do not work in the chs, always skip them)
Rnd 3: * ps in next st, 2 ps in next ps; rep from * around – 18 st.
Rnd 4: * ps in next 2 ps, 2 ps in next ps; rep from * around – 24 st.
Rnd 5: * ps in next 3 ps, 2 ps in next ps; rep from * around – 30 st.
Rnds 6 - 7: 1 ps in each ps around – 30 st.
Rnd 8: * ps in next 4 ps, 2 ps in next ps; rep from * around – 36 st.
Rnd 9: Work in back loop, 1 sc in each st around (ps and chs) – 72 sc.
ACORN
With B
Rnd 1: Work 8 sc in ring.
Rnd 2: 2 sc in each st around – 16 sc.
Rnd 3: * sc in next st, 2 sc in next st; rep from * around – 24 sc.
Rnd 4: * sc in next 2 sts, 2 sc in next st; rep from * around – 32 sc.
Rnd 5: * sc in next 3 sts, 2 sc in next st; rep from * around – 40 sc.
Rnds 6 - 7: Sc in each st around – 40 sc.
Rnd 8: * sc in next 4 sts, 2 sc in next st; rep from * around – 48 sc.
Rnd 9: * sc in next 5 sts, 2 sc in next st; rep from * around – 56 sc.
Rnd 10: Sc in each st around – 56 sc.
Rnd 11: * sc in next 6 sts, 2 sc in next st; rep from * around – 64 sc.
Rnd 12: * sc in next 7 sts, 2 sc in next st; rep from * around – 72 sc.
Rnd 13 - 30: Sc in each st around – 72 sc.
Insert the plastic safety eyes between Rnds 22 and 23, approximately 14 sts apart.
Fasten off and leave a long tail to sew Acorn to Rnd 9 of Acorn Cap.
Holding the Acorn Cap, join A yarn and work 1 ps in each ps around – 36 st.
Work an extra Rnd of sl stitches (72). Fasten off.
CHEEKS (make two)
With C
Rnd 1: Work 8 sc in ring.
Fasten off and leave a strand of yarn to sew Cheeks below Eyes, between Rnds 16 and 20.
With white embroidery floss, embroider curves along outer edges of safety eyes for whites of eyes.
With black embroidery floss, embroider curves along upper edges of safety eyes for black of eyes.
With black embroidery floss, embroider straight stitch Eyebrows on face, above Eyes, between Rnds 25 and 28.
With black embroidery floss, embroider Mouth, between Rnds 17 and 20, approximately 6 sts long.
STEM
With A make a magic ring.
Rnd 1: Work 8 sc in ring.
Rnd 2: * sc in next 3 sts, 2 sc in next st; rep from * twice – 10 sc.
Rnds 3 - 4: 1 sc in each st around – 10 sc.
Rnd 5: * sc in next 3 sts, sc2tog; rep from * twice – 8 sc.
Rnd 6: * sc in next 2 sts, sc2tog; rep from * twice – 6 sc.
Fasten off and leave a strand to sew Stem to top of Acorn Cap. Stuff the Stem.
LEAVES (make two)
With D
Rnd 1: Ch 15, 2 sc in second ch from the hook, 1 sc in next 12 sts, 4 sc in next st; keep working on opposite side of foundation chain, 1 sc in next 12 st, 2 sc in the next st – 32 sc.
Rnd 2: 2 sc in the 1st st, * 1 sc and 1 hdc in the next st, 2 dc in the next st, 1 hdc and 1 sc in the next st, 1 sl st in the next st; rep from * three times, 1 sc in the next st, 1 hdc in the next st, 2 hdc in the next 2 sts, 1 hdc in the next st, 1 sc in the next st, * 1 sl st in the next
st, 1 sc and 1 hdc in the next st, 2 dc in the next st, 1 hdc and 1 sc in the next st: rep from * three times, 2 sc in the last st – 54 sts.
Fasten off and leave a strand of yarn to sew Leaf to Stem.
I can't wait to see your version of my ANDY THE ACORN! Feel free to tag me (@elisascrochet) in your photos on Instagram or Facebook!
Elisa
This pattern is an original pattern by Elisa Sartori of Elisa's Crochet. Please do not claim this pattern as your own. If you wish to share this pattern, you may link to this pattern but please do not reprint it on your site. You may keep a copy for your own personal use but please DO NOT sell the pattern or distribute it.
You may sell products made from this pattern but please clearly credit the design to me, Elisa Sartori of Elisa's Crochet. Permission is NOT granted for mass production or factory manufacturing of any kind. Thank you!


