
Ava the Butterfly Free Crochet Pattern
- Elisa
- Feb 21, 2023
- 6 min read

Hello my friends!
Are you ready to create a super cute butterfly? I promise you'll have a lot of fun working this project!
It may be Ava's happy face, or her fun little arms, or her beautiful wings, but this project really brings a smile to my face!
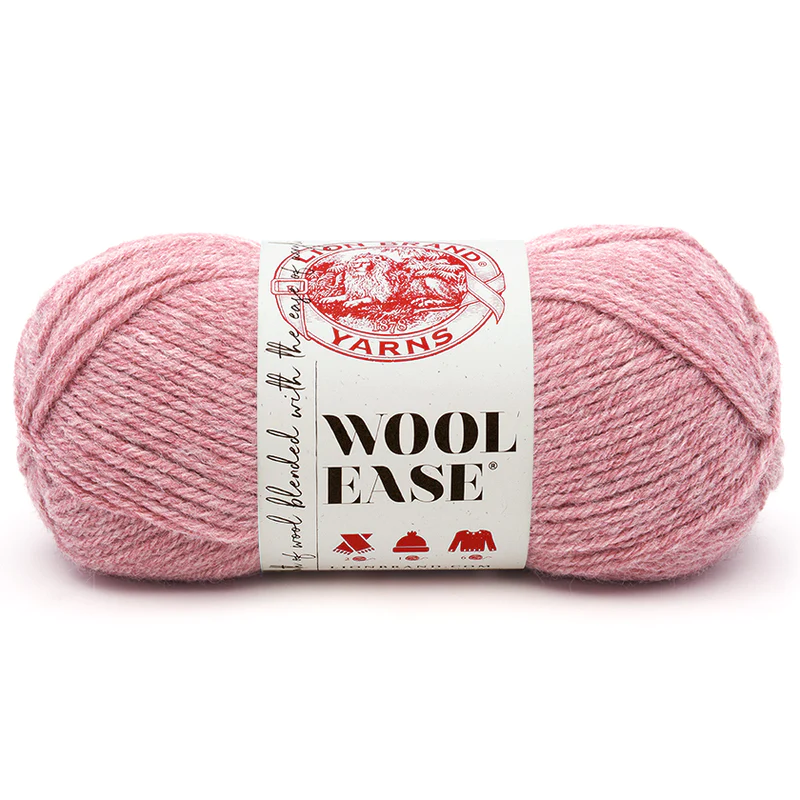
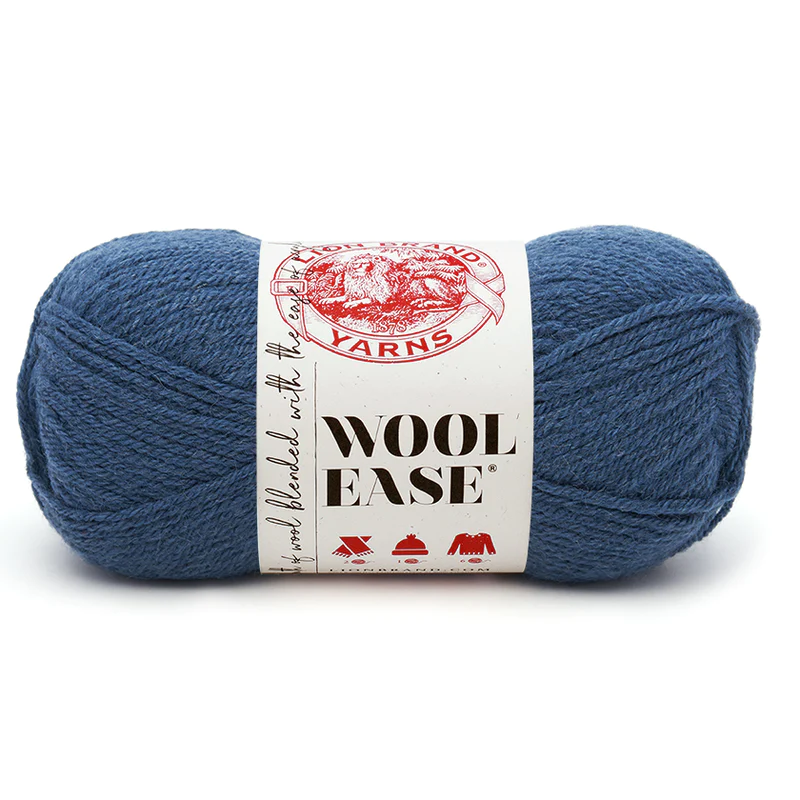
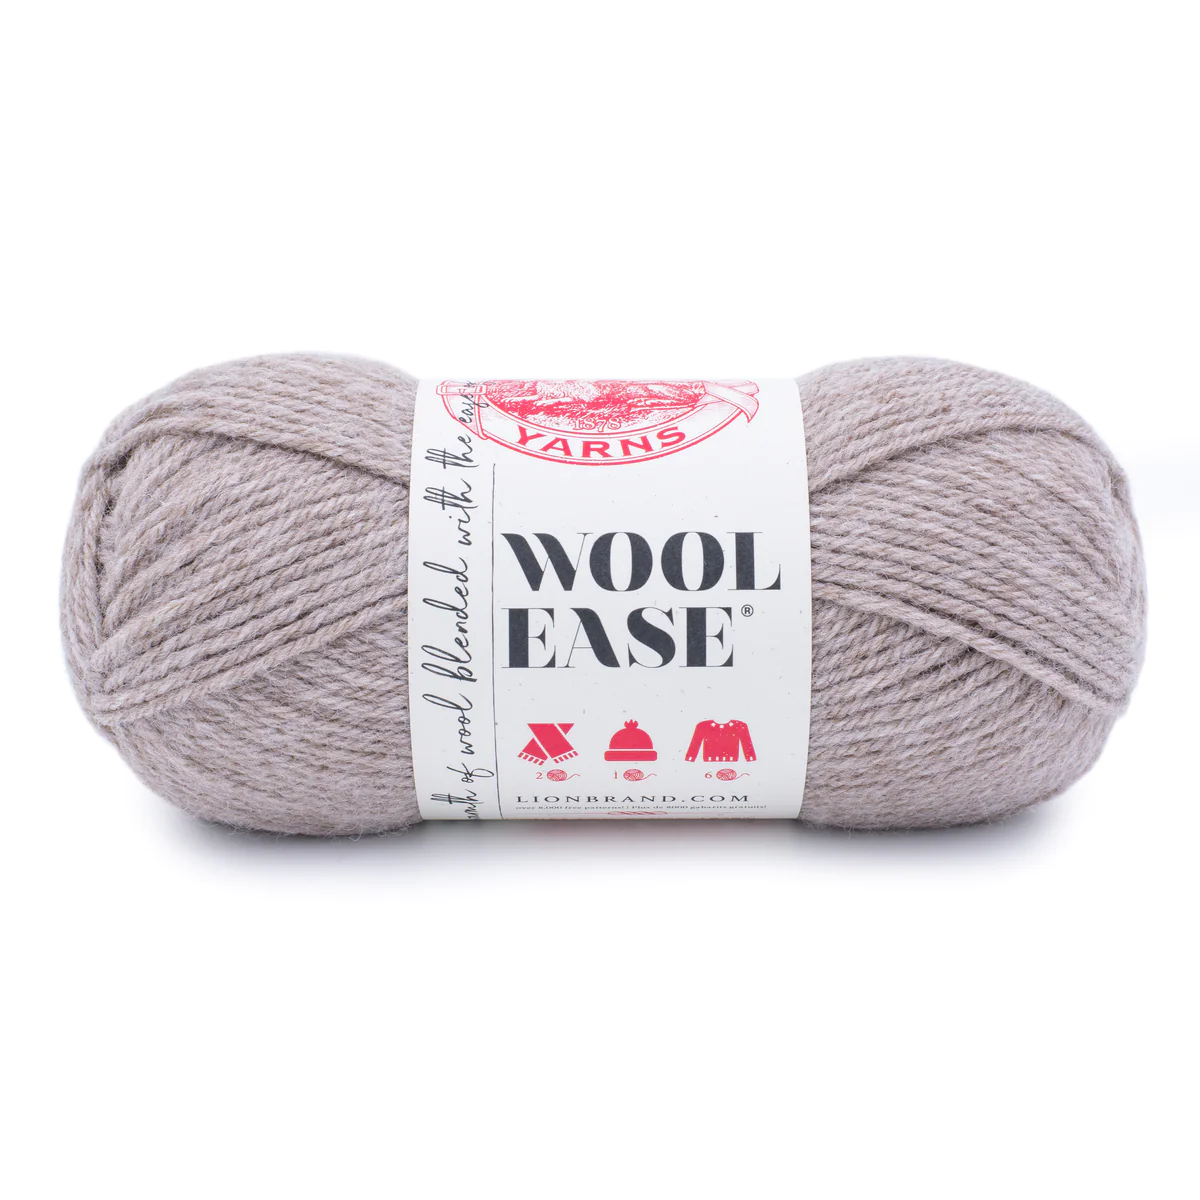
I crocheted Ava the Butterfly with the warm and soft Lion Brand Wool Ease. This easy to work yarn comes in so many beautiful colors! Choose your own color palette, or check the material list below to see what are the colors I worked the butterfly with!

***You can purchase a downloadable AD-FREE PDF of the pattern with more than 60
Here is the FREE pattern!
MATERIALS:
· Lion Brand® WOOL EASE® (Art. #620) – #140 Rose Heather 1 ball (A); #024 Oatmeal 1 ball (B); #114B Denim 1 ball (C)
· Lion Brand® crochet hook size F (3.75 mm)
· LION BRAND large-eyed blunt needle
ADDITIONAL MATERIALS: Crochet hook size 1.25 mm; Black Cotton Thread; Fiberfill stuffing
SIZE: About 7 in. (18 cm) tall

ABBREVIATIONS:
beg = begin(ninig)
ch = chain
dc = double crochet
hdc = half double crochet
rep = repeat
rnd(s) = round(s)
sc = single crochet
sl st = slip stitch
st(s) = stitch(es)
SKILL LEVEL: Easy


Disclosure. Most blog posts on this website contain affiliate links. This means I get a small commission if you click-through & purchase (no additional cost to you).
BODY
With A and the bigger hook, make a magic ring.
Rnd 1: work 8 sc in ring.
Rnd 2: 2 sc in each st around – 16 sc.
Rnd 3: * 1 sc, 2 sc in next st; rep from * around – 24 sc.
Rnd 4: * 2 sc, 2 sc in next st; rep from * around – 32 sc.
Rnds 5 - 10: sc in each st around.
Rnd 11: * 2 sc, 2 sc tog; rep from * around – 24 sc.
Rnd 12: * 1 sc, 2 sc tog; rep from * around – 16 sc.
Rnd 13: With B, working in front loop, * 1 sc, 2 sc in next st; rep from * around – 24 sc.
Begin stuffing piece and continue stuffing until piece is complete.
Rnd 14: * 3 sc, 2 sc in next st; rep from * around – 30 sc.
Rnds 15 - 18: sc in each st around.
Rnd 19: * 1 sc, 2 sc tog; rep from * around – 20 sc.
Rnd 20: * 3 sc, 2 sc tog; rep from * around – 16 sc.
Rnd 21: With A, working in front loop, * 1 sc, 2 sc in next st; rep from * around – 24 sc.
Rnd 22: * 5 sc, 2 sc in next st; rep from * around – 28 sc.
Rnds 23 - 25: sc in each st around.
Rnd 26: * 2 sc, 2 sc tog; rep from * around – 21 sc.
Rnd 27: * 1 sc, 2 sc tog; rep from * around – 14 sc.
Rnd 28: With B, working in front loop, * 1 sc, 2 sc in next st; rep from * around – 21 sc.
Rnds 29 - 31: sc in each st around.
Rnd 32: * 1 sc, 2 sc tog; rep from * around – 14 sc.
Rnd 33: 2 sc tog rep around – 7 sc.
Rnd 34: With A, working in front loop, 2 sc in each st around – 14 sc.
Rnds 35 - 36: sc in each st around.
Rnd 37: 2 sc tog rep around – 7 sc.
Fasten off, leaving a long tail. Thread the tail through top of sts of last rnd. Pull tail to close opening and knot securely.
WINGS (make two)
With the bigger hook.
Panel I
Rnd 1: With C, Ch 8, 1 sc in 2nd ch from hook, 1 sc in each of next 2 chs, 1 hdc in next ch, 1 hdc and 1 dc in next ch, 2 dc in next ch, 4 dc in next ch; working along opposite side of beg ch-8, 2 dc in next ch, 1 dc and 1 hdc in next ch, 1 hdc in next ch, 1 sc in each of next 3 chs; join with sl st in first sc – 20 sts.
Rnd 2: With B, 1 sc in each of next 4 sts, 1 hdc in each of next 2 sts, 2 hdc in next st, 2 dc in next st, 1 dc in next st, 2 dc in each of next 2 sts, 1 dc in next st, 2 dc in next st, 2 hdc in next st, 1 hdc in each of next 2 sts, 1 sc in each of next 4 sts – 26 sts.
Rnd 3: With C, 1 sc in each of next 9 sts, 2 sc in next st, 1 hdc in next st, 2 dc in each of next 4 sts, 1 hdc in next st, 2 sc in next st, 1 sc in each of next 9 sts – 32 sts.
Start working in back-and-forth rows.
Row 1: With C, 1 sc in each of next 5 sts, 1 hdc in each of next 3 st, 1 hdc inc in the next st, 2 dc in each of next 3 st; Turn – 16 sts
Row 2: With A, Ch 2, 2 dc in next st, 1 dc in each of next 5 sts, 1 hdc in each of next 5 sts, 1 sc in each of next 5 sts; Turn – 17 sts.
Row 3: With C, Ch 1, 1 sc in each of next 10 sts, 1 hdc in each of next 3 st, 1 dc in each of next 3 st, 2 dc in next st; Turn – 18 sts.
Row 4: With A, Ch 2, dc 2 tog, 1 dc in each of next 3 sts, 1 hdc in each of next 3 sts, 1 sc in each of next 10 sts; Turn – 17 sts.
Row 5: With C, Ch 1, 1 sc in each of next 10 sts, 1 hdc in each of next 3 st, 1 dc in each of next 2 st, dc 2 tog – 16 sts.
Fasten off.
Panel II
Rnd 1: With C, Ch 8, 1 sc in 2nd ch from hook, 1 sc in each of next 2 chs, 1 hdc in next ch, 1 hdc and 1 dc in next ch, 2 dc in next ch, 4 dc in next ch; working along opposite side of beg ch-8, 2 dc in next ch, 1 dc and 1 hdc in next ch, 1 hdc in next ch, 1 sc in each of next 3 chs; join with sl st in first sc – 20 sts.
Rnd 2: With B, 1 sc in each of next 4 sts, 1 hdc in each of next 2 sts, 2 hdc in next st, 2 dc in next st, 1 dc in next st, 2 dc in each of next 2 sts, 1 dc in next st, 2 dc in next st, 2 hdc in next st, 1 hdc in each of next 2 sts, 1 sc in each of next 4 sts – 26 sts.
Rnd 3: With C, 1 sc in each of next 9 sts, 2 sc in next st, 1 hdc in next st, 2 dc in each of next 4 sts, 1 hdc in next st, 2 sc in next st, 1 sc in each of next 9 sts; Turn – 32 sts.
Start working in back-and-forth rows.
Row 1: Facing the back of the wing, With C, 1 sc in each of next 5 sts, 1 hdc in each of next 3 st, 1 hdc inc in the next st, 2 dc in each of next 3 st; Turn – 16 sts.
Row 2: With A, Ch 2, 2 dc in next st, 1 dc in each of next 5 sts, 1 hdc in each of next 5 sts, 1 sc in each of next 5 sts; Turn – 17 sts.
Row 3: With C, Ch 1, 1 sc in each of next 10 sts, 1 hdc in each of next 3 st, 1 dc in each of next 3 st, 2 dc in next st; Turn – 18 sts.
Row 4: With A, Ch 2, dc 2 tog, 1 dc in each of next 3 sts, 1 hdc in each of next 3 sts, 1 sc in each of next 10 sts; Turn – 17 sts.
Row 5: With C, Ch 1, 1 sc in each of next 10 sts, 1 hdc in each of next 3 st, 1 dc in each of next 2 st, dc 2 tog – 16 sts.
Do not fasten off.
Line up edges of Panels I and II, and sl st around through both layers. Fasten off.
With C, sew Wings to the back of Body, between Rnds 12 and 19, 6 sts apart.
With Black Cotton Thread, embroider Eyes between Rnds 5 and 8, 4 sts apart.
With Black Cotton Thread, embroider 2 Arms between Rnds 14 and 19, and 2 Arms between Rnds 21 and 26.
ANTENNAE (make 2)
With Black Cotton Thread and the smaller hook.
Rnd 1: 6 sc in ring. Close the ring and work 8 chs.
Fasten off and leave a strand of thread to sew the antennae to Head between Rnd 1 and Rnd 2. Weave in ends.

I can't wait to see your version of my AVA THE BUTTERFLY! Feel free to tag me (@elisascrochet) in your photos on Instagram or Facebook!
Elisa
This pattern is an original pattern by Elisa Sartori of Elisa's Crochet. Please do not claim this pattern as your own. If you wish to share this pattern, you may link to this pattern but please do not reprint it on your site. You may keep a copy for your own personal use but please DO NOT sell the pattern or distribute it.
You may sell products made from this pattern but please clearly credit the design to me, Elisa Sartori of Elisa's Crochet. Permission is NOT granted for mass production or factory manufacturing of any kind. Thank you!