
Vintage Emergency Vehicles Free Crochet Pattern
- Elisa
- Jan 10, 2023
- 5 min read

Updated: Aug 12, 2023

Happy Tuesday my fellow crafters! Are you all ready for a new exciting project?
Today's design is definitely one of my favorites among the latest projects I've worked on.
When asked to work with Re-Spun Thick and Quick yarn by Lion Brand, I immediately noticed and fell in love with the vintage vibes of the colors. This classic look inspired me to create these absolutely adorable emergency vehicles - a police and a firefighter cars.
Super easy to make and customize, it's a quick project, perfect as baby shower gift!

***You can purchase a downloadable AD-FREE PDF of the pattern with more than 60
step-by-step pictures,
schematic and tips to guide you through the making process

Here is the FREE pattern!
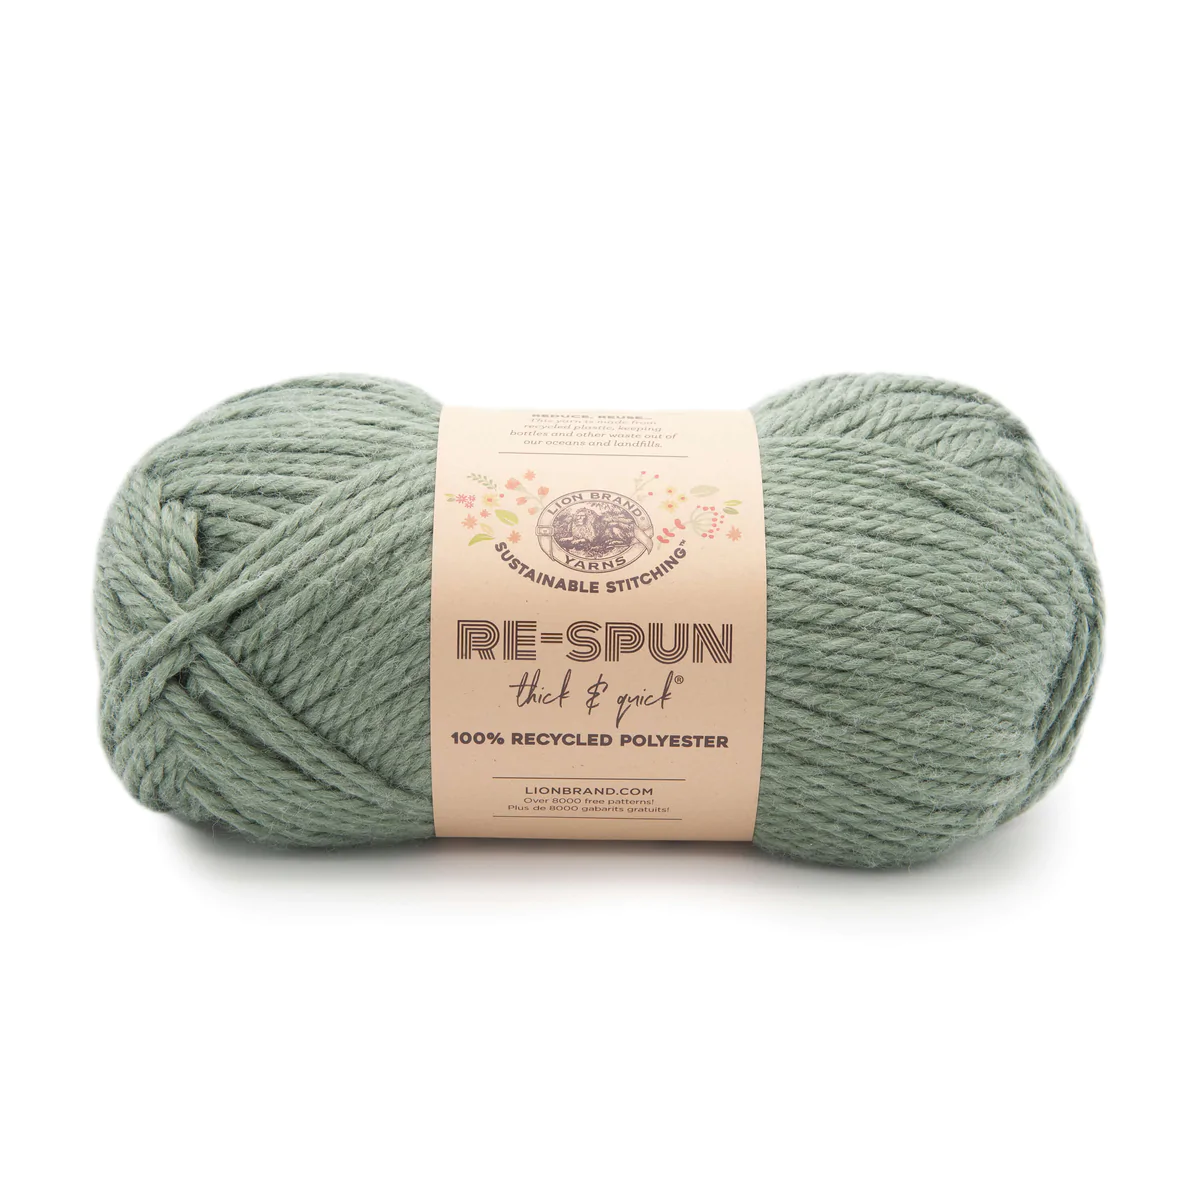
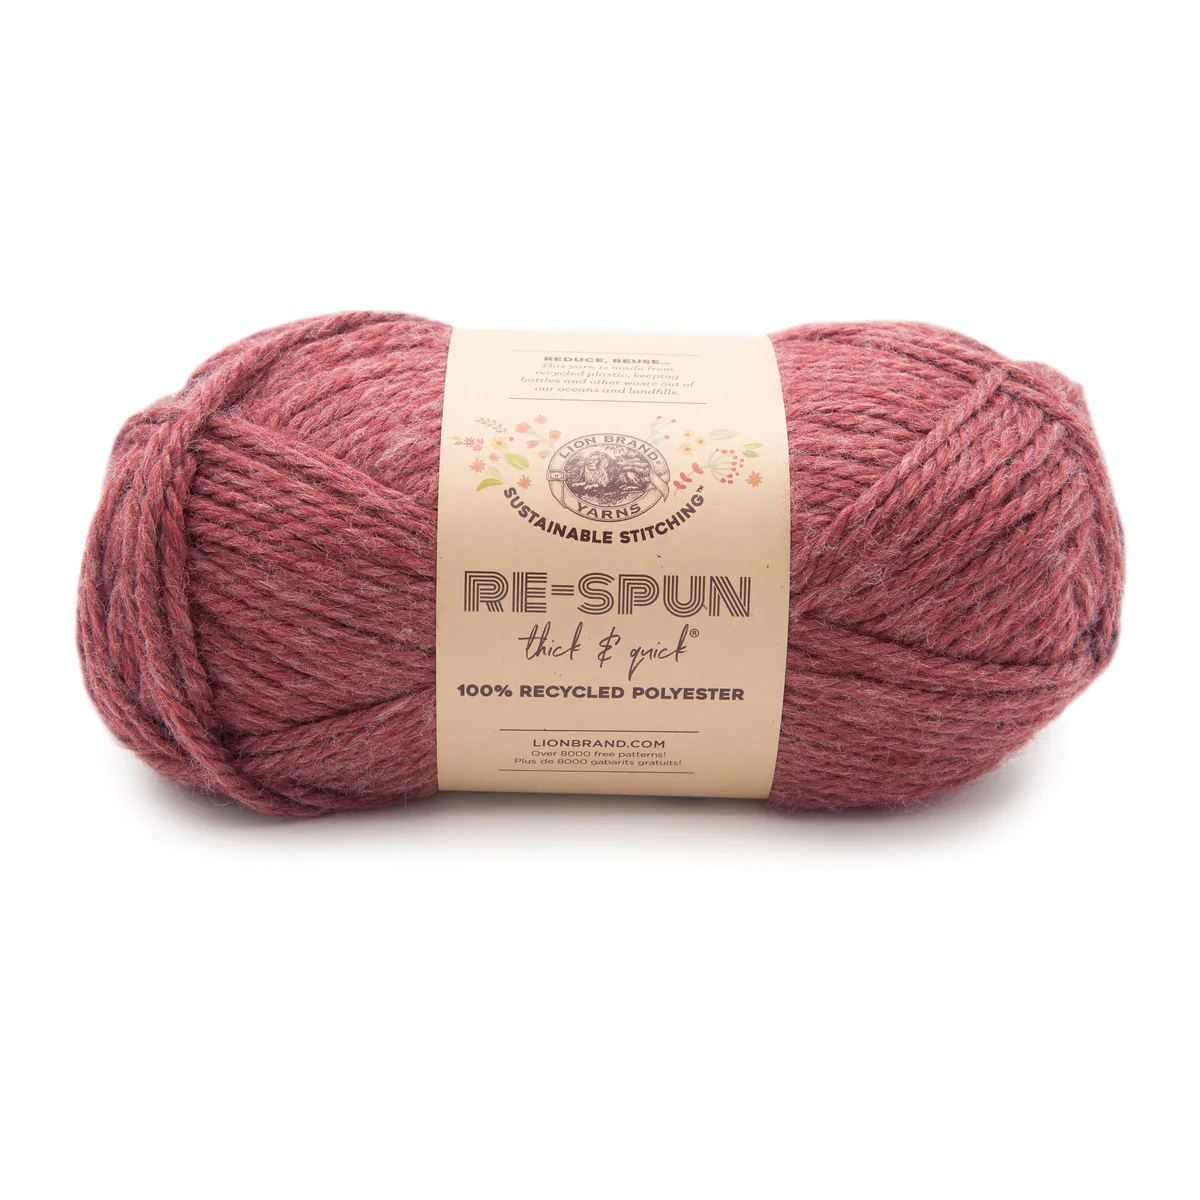
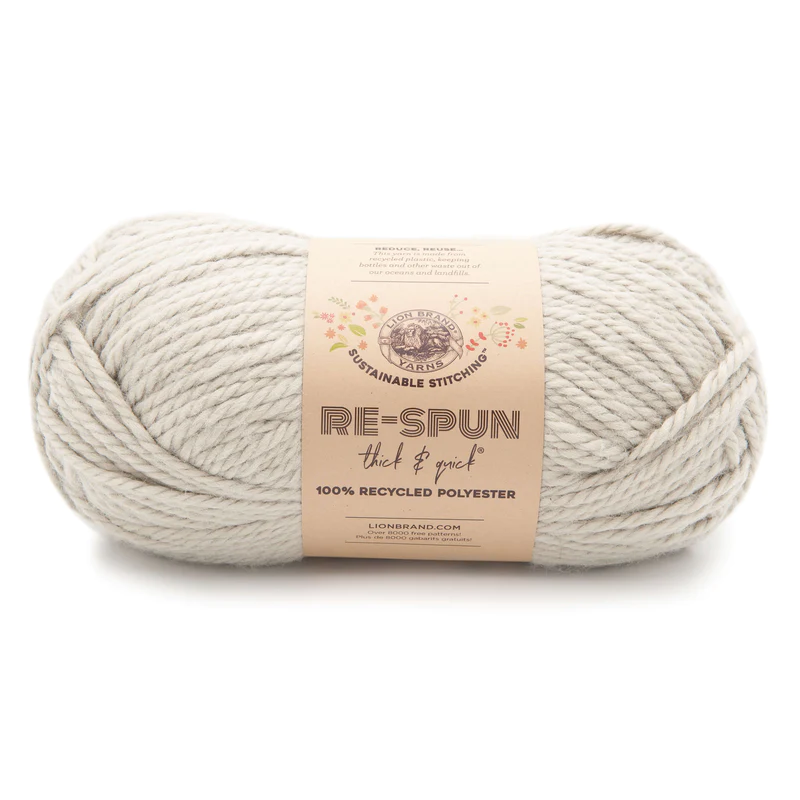
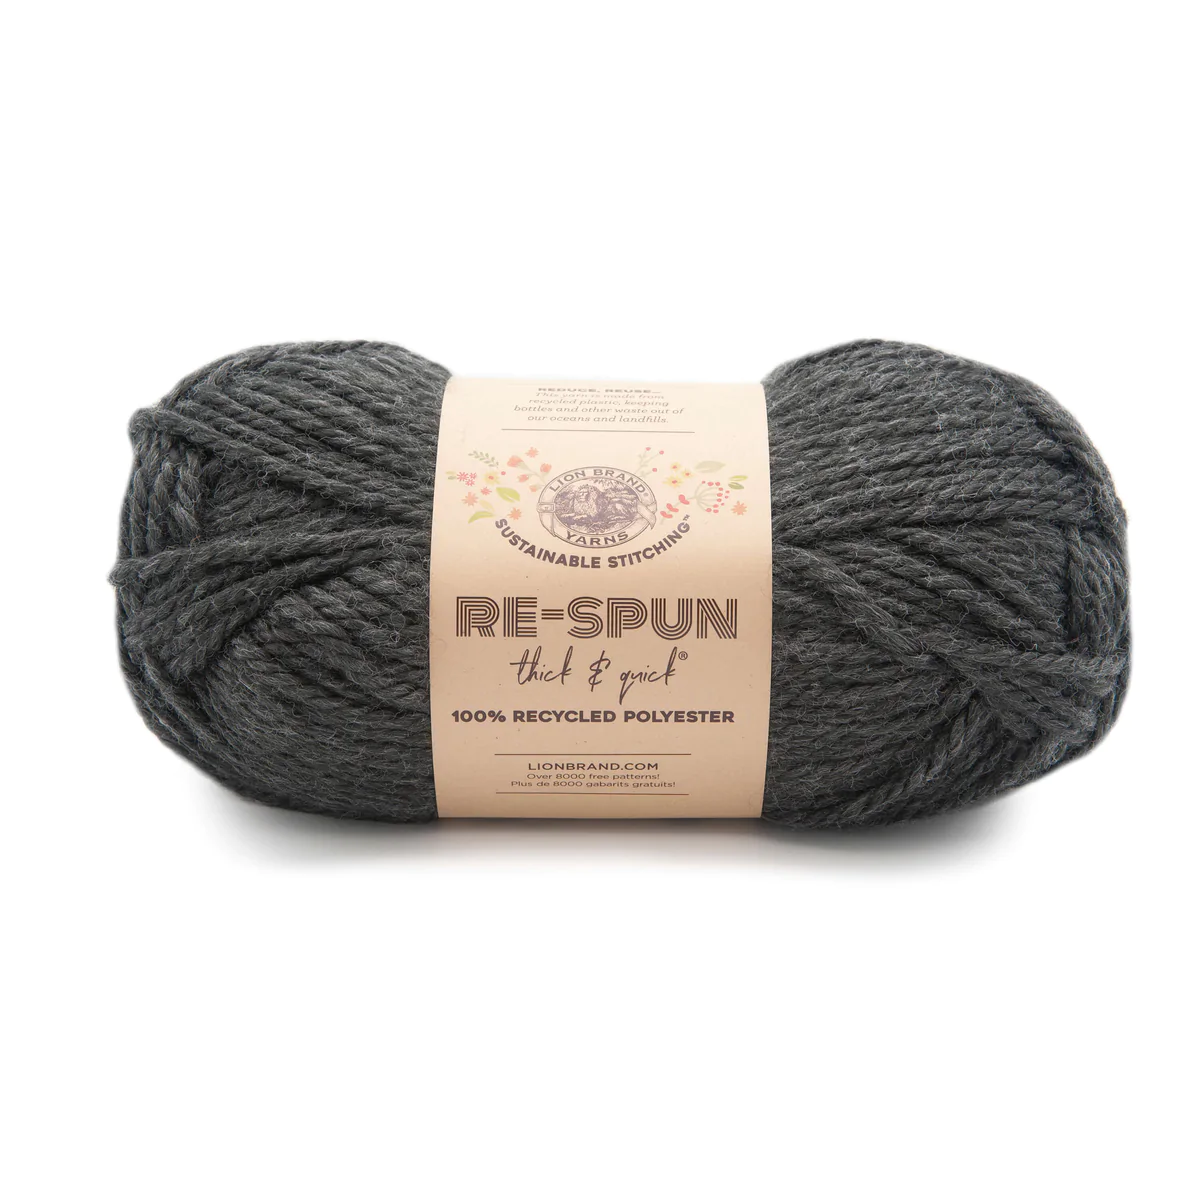
YARN: Lion Brand Re-Spun Thick and Quick - super bulky yarn (6) in Pumice Stone, Spruce, Raven and Dark Cherry
MATERIALS: 4.5 mm crochet hook; poly filling; yarn needle
ABBREVIATIONS: magic ring (mr); chain (ch); stitch (st); slip stitch (sl st); single crochet (sc); half double crochet (hdc); back loop only (BLO); fasten off (F/O); increase (inc); decrease (dec)
SKILL LEVEL: Beginner


Disclosure. Most blog posts on this website contain affiliate links. This means I get a small commission if you click-through & purchase (no additional cost to you).
POLICE CAR
Body (spruce, pumice stone)
Rnd 1: starting off with spruce - (2 sc, 1 ch, 2 sc, 1 ch, 2 sc, 1 ch, 2 sc, 1 ch) in a magic ring (8, 4 chs)
Rnd 2: {2 sc, [(1 sc, 2 ch, 1 sc) in the ch-space]} rep 4 times (16, 4 ch-spaces)
Rnd 3: 3 sc, [(1 sc, 2 ch, 1 sc) in the ch-space], {4 sc, [(1 sc, 2 ch, 1 sc) in the ch-space]} rep 3 times, 1 sc (24, 4 ch-spaces)
Rnd 4: switch to pumice stone and work in back loop - 4 sc, 1 sc into the ch-space, 3 sc, 1 sc inc, 2 sc, 1 sc into the ch-space, 6 sc, 1 sc into the ch-space, 3 sc, 1 sc inc, 2 sc, 1 sc into the ch-space, 2 sc (30)
Rnds 5 - 7: rep rnd # 4 (30)
Rnd 8: switch back to spruce - 4 sc, (1 sc and 1 hdc) into the next st, [working in FLO, 1 hdc, 5 hdc inc, 1 hdc], (1 hdc and 1 dc) into the next st, 6 sc, (1 sc and 1 hdc) into the next st, [working in FLO, 1 hdc, 5 hdc inc, 1 hdc], (1 hdc and 1 dc) into the next st, 2 sc (44)
Rnd 9: 6 sc, 2 hdc inc, 8 hdc, 2 hdc inc, 10 sc, 2 hdc inc, 8 hdc, 2 hdc inc, 4 sc (52)
Rnd 10: 8 sc, [working in BLO, 12 sc], 14 sc, [working in BLO, 12 sc], 6 sc (52)
Rnd 11: sc even around (52)
Rnd 12: 7 sc, 1 sc dec, 10 sc, 1 sc dec, 12 sc, 1 sc dec, 10 sc, 1 sc dec, 5 sc (48); fasten off and cut the yarn.
Base (spruce)
From outside of Body, draw up a loop of spruce yarn into the st #19 of Rnd 10.
Row 1: 13 sc (13); ch 1 and turn
Row 2: sc even (13); ch 1 and turn
Rows 3 - 7: sc even (13); fasten off and leave a long strand of yarn to sew the base of the car to rnd #10 of the body. Stuff the car while sewing it close.
With same yarn color as Body, embroider vertical straight st lines to separate windshield from side window and back window.
Beacon (red cherry)
Rnd 1: 6 sc in a magic ring (6)
Rnd 2: working in BLO, sc even (6); fasten off and leave a long strand of yarn to sew the light on the top of the car.
Tires (raven)
With a tapestry needle, embroider the 4 tires on the bottom of the cars, by simply wrapping yarn over 4 stitches lengthwise.
FIREFIGHTER CAR
Body (red cherry, pumice stone)
Rnd 1: starting off with red cherry - (2 sc, 1 ch, 2 sc, 1 ch, 2 sc, 1 ch, 2 sc, 1 ch) in a magic ring (8, 4 chs)
Rnd 2: {2 sc, [(1 sc, 2 ch, 1 sc) in the ch-space]} rep 4 times (16, 4 ch-spaces)
Rnd 3: 3 sc, [(1 sc, 2 ch, 1 sc) in the ch-space], {4 sc, [(1 sc, 2 ch, 1 sc) in the ch-space]} rep 3 times, 1 sc (24, 4 ch-spaces)
Rnd 4: switch to pumice stone and work in bak loop - 4 sc, 1 sc into the ch-space, 3 sc, 1 sc inc, 2 sc, 1 sc into the ch-space, 6 sc, 1 sc into the ch-space, 3 sc, 1 sc inc, 2 sc, 1 sc into the ch-space, 2 sc (30)
Rnds 5 - 7: rep rnd # 4 (30)
Rnd 8: switch back to red cherry - 4 sc, (1 sc and 1 hdc) into the next st, [working in FLO, 1 hdc, 5 hdc inc, 1 hdc], (1 hdc and 1 dc) into the next st, 6 sc, (1 sc and 1 hdc) into the next st, [working in FLO, 1 hdc, 5 hdc inc, 1 hdc], (1 hdc and 1 dc) into the next st, 2 sc (44)
Rnd 9: 6 sc, 2 hdc inc, 8 hdc, 2 hdc inc, 10 sc, 2 hdc inc, 8 hdc, 2 hdc inc, 4 sc (52)
Rnd 10: 8 sc, [working in BLO, 12 sc], 14 sc, [working in BLO, 12 sc], 6 sc (52)
Rnd 11: sc even around (52)
Rnd 12: switch to piumice stone - 7 sc, 1 sc dec, 10 sc, 1 sc dec, 12 sc, 1 sc dec, 10 sc, 1 sc dec, 5 sc (48)
Rnd 13: switch back to red cherry - sc even (48); fasten off and cut the yarn.
Base (red cherry)
From outside of Body, draw up a loop of spruce yarn into st #19 of Rnd 11.
Row 1: 13 sc (13); ch 1 and turn
Row 2: sc even (13); ch 1 and turn
Rows 3 - 7: sc even (13); fasten off and leave a long strand of yarn to sew the base of the car to rnd #11 of the body. Stuff the car while sewing it close.
With same yarn color as Body, embroider vertical straight st lines to separate windshield from side window and back window.
Beacon (red cherry, raven)
Rnd 1: 6 sc in a magic ring (6)
Rnd 2: switch to raven, working in BLO, sc even (6)
Fasten off and leave a long strand of yarn to sew the
light on the top of the car.
Tires (raven)
With a tapestry needle, embroider the 4 tires on the bottom of the cars, by simply wrapping yarn over 4 stitches lengthwise.

I can't wait to see your version of VINTAGE EMERGENCY VEHICLES! Feel free to tag me (@elisascrochet) in your photos on Instagram or Facebook!
Elisa
This pattern is an original pattern by Elisa Sartori of Elisa's Crochet. Please do not claim this pattern as your own. If you wish to share this pattern, you may link to this pattern but please do not reprint it on your site. You may keep a copy for your own personal use but please DO NOT sell the pattern or distribute it.
You may sell products made from this pattern but please clearly credit the design to me, Elisa Sartori of Elisa's Crochet. Permission is NOT granted for mass production or factory manufacturing of any kind. Thank you!


